How to input drawing data and manage assemblies
This guide covers the process to efficiently create, edit, delete assemblies and import data in it.
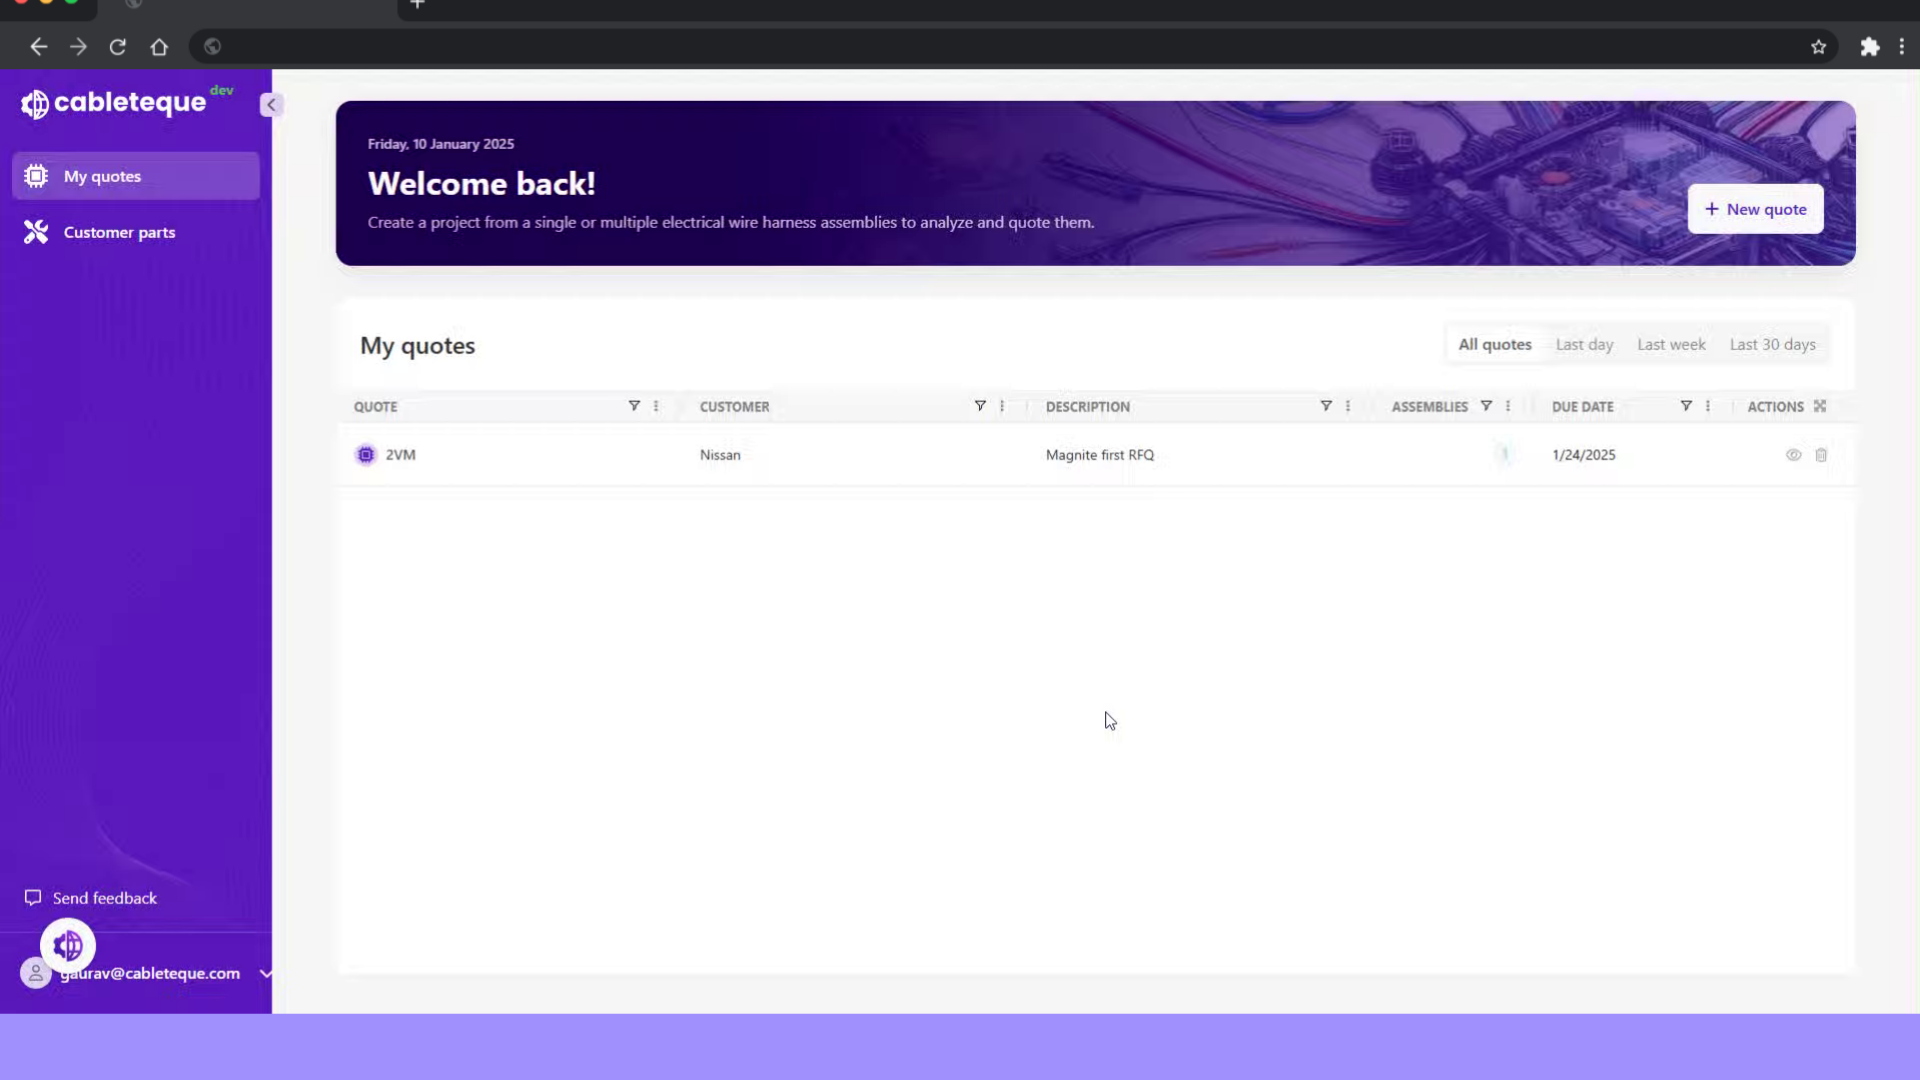
Go to app.cableteque.com
1. Introduction
These engaging steps will help you effectively manage assembly creation and data import tasks.
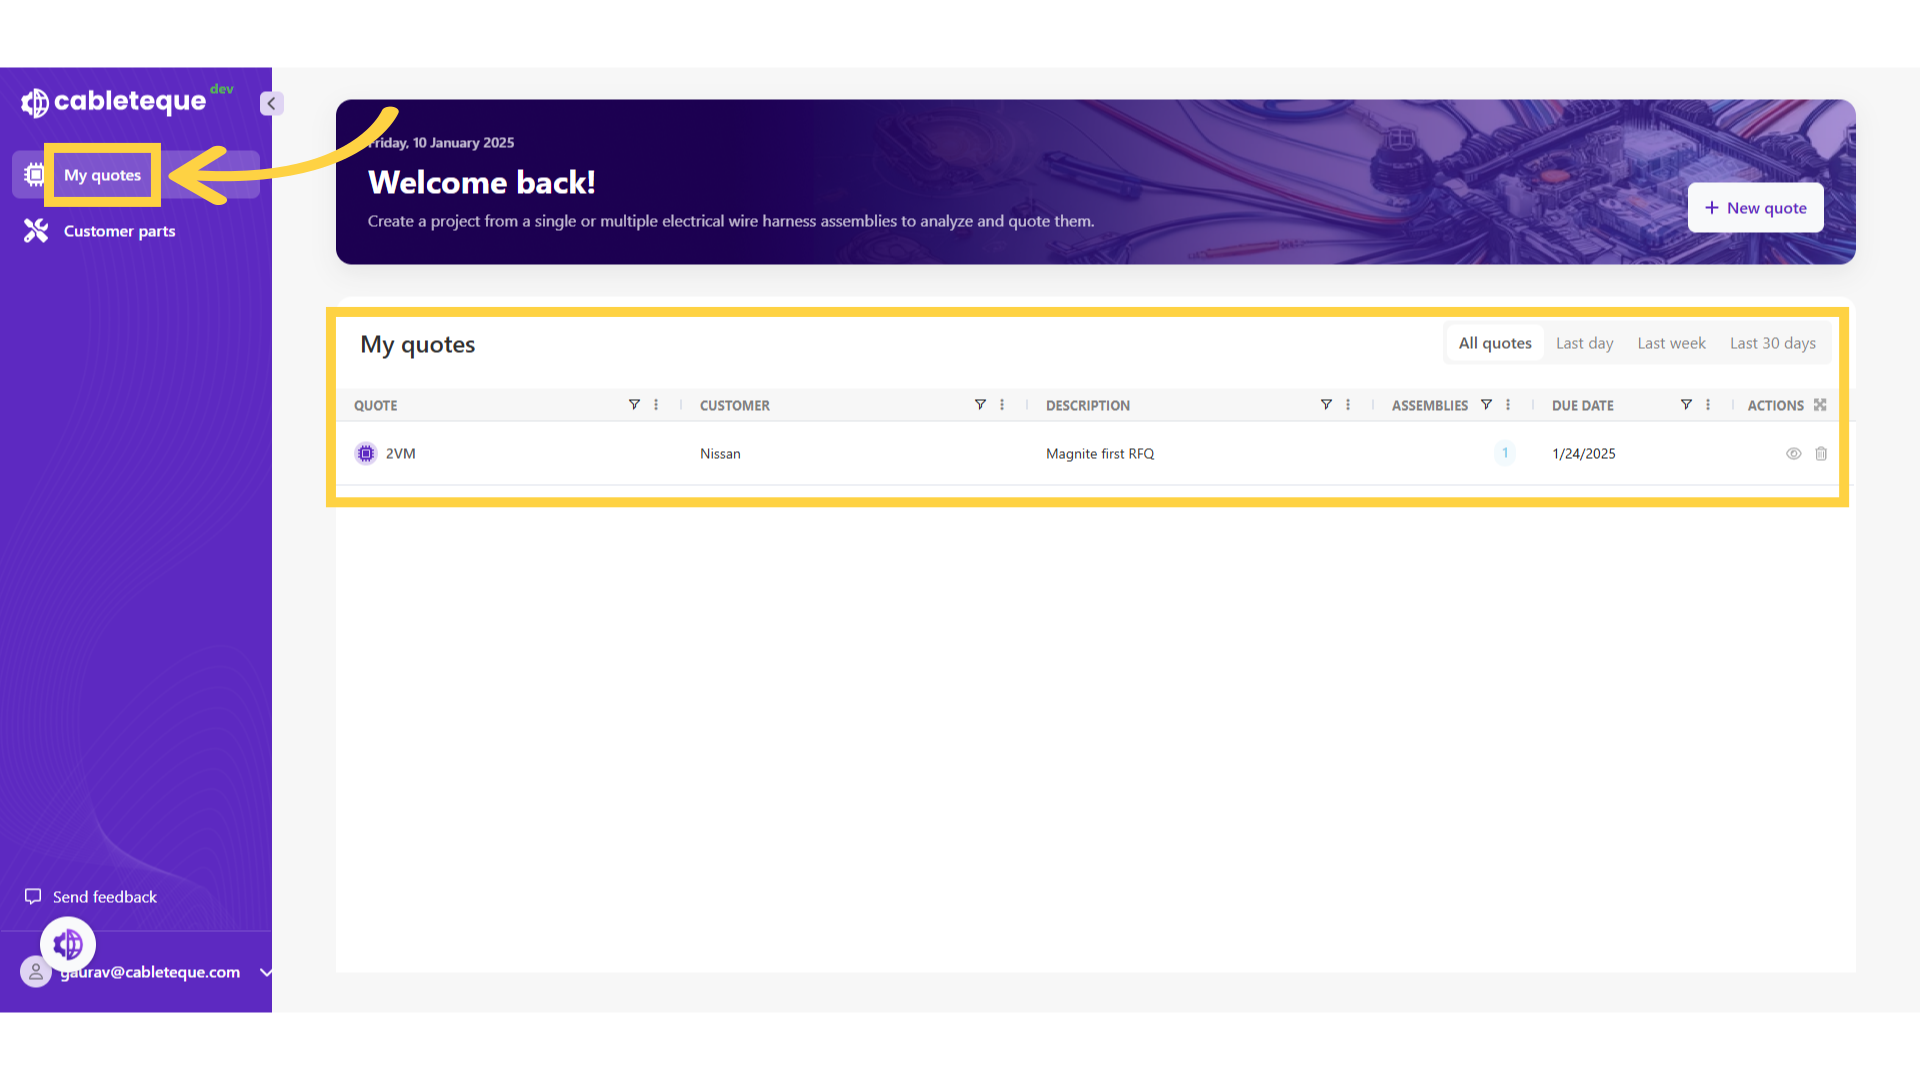
2. Click "My quotes"
Access My quotes section, to view all the created quotes.
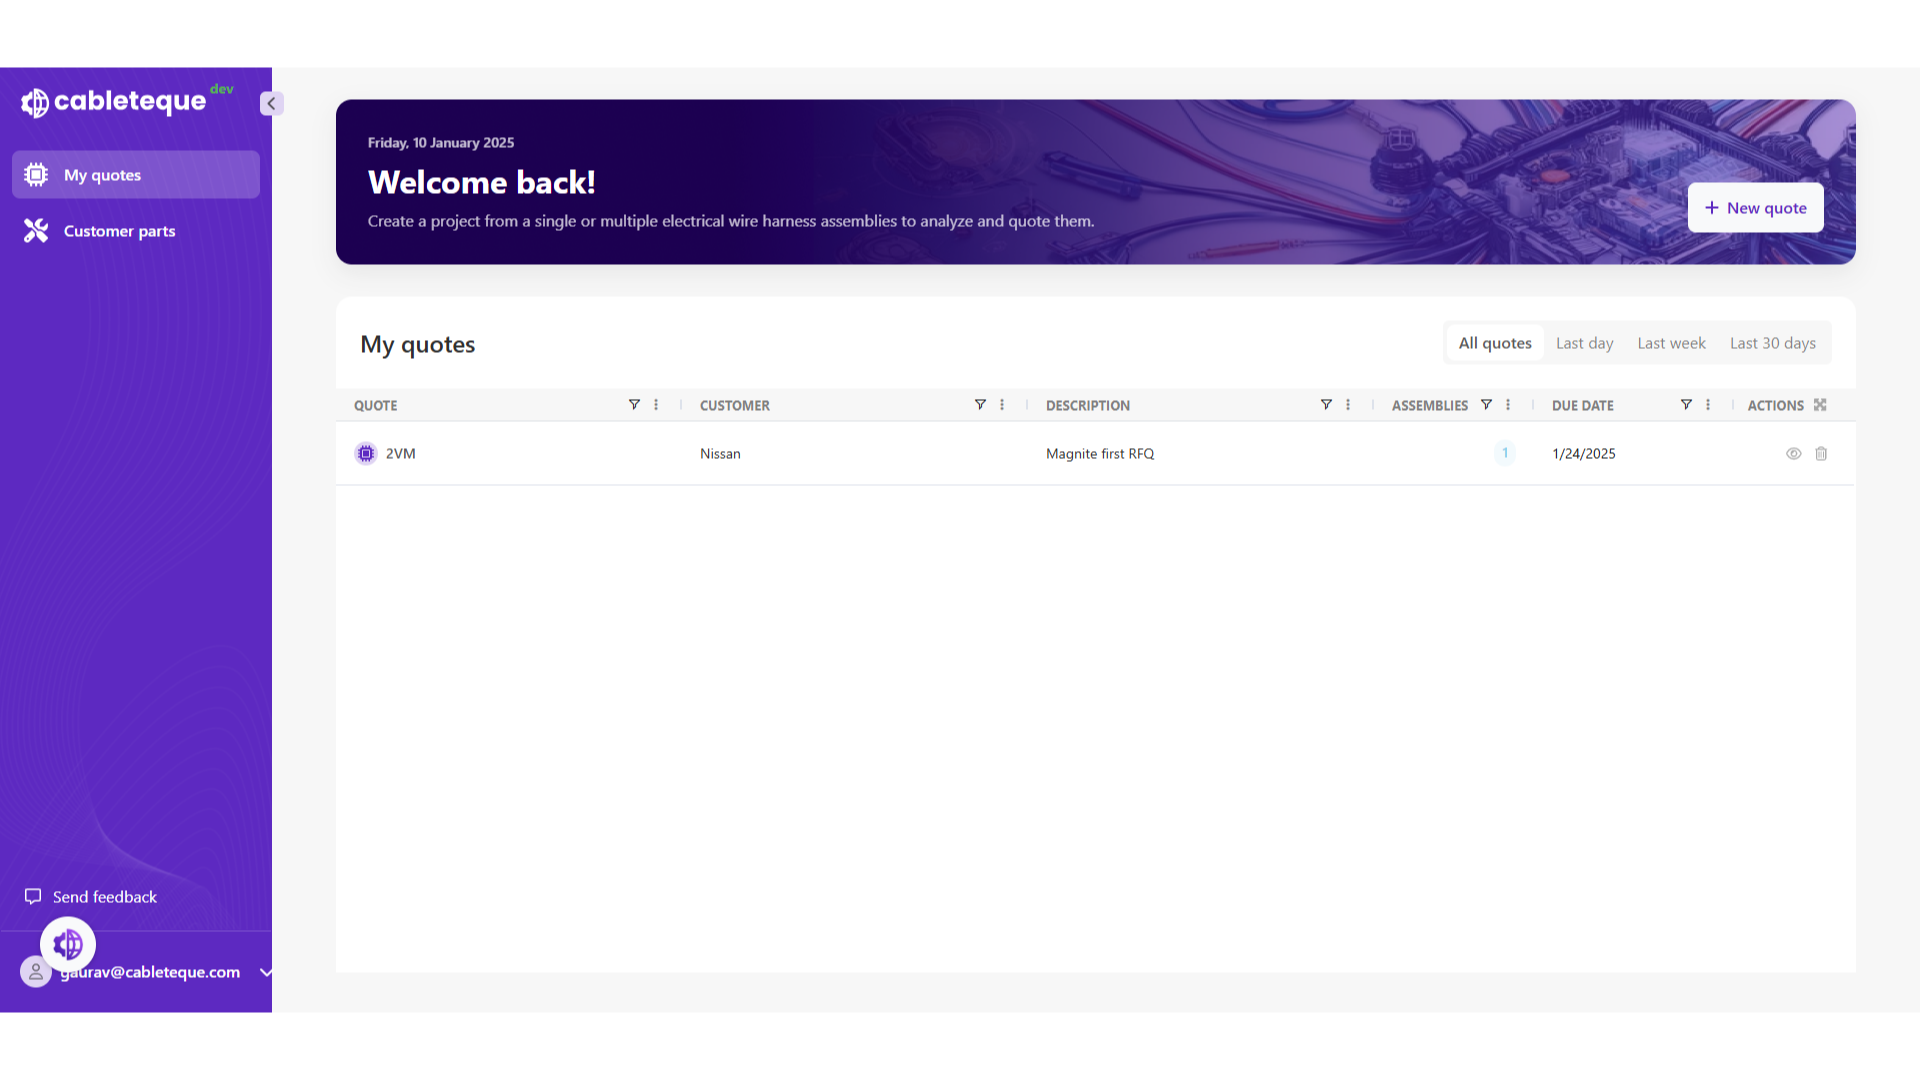
3. My quotes
All the quotes will be listed under My quotes section.
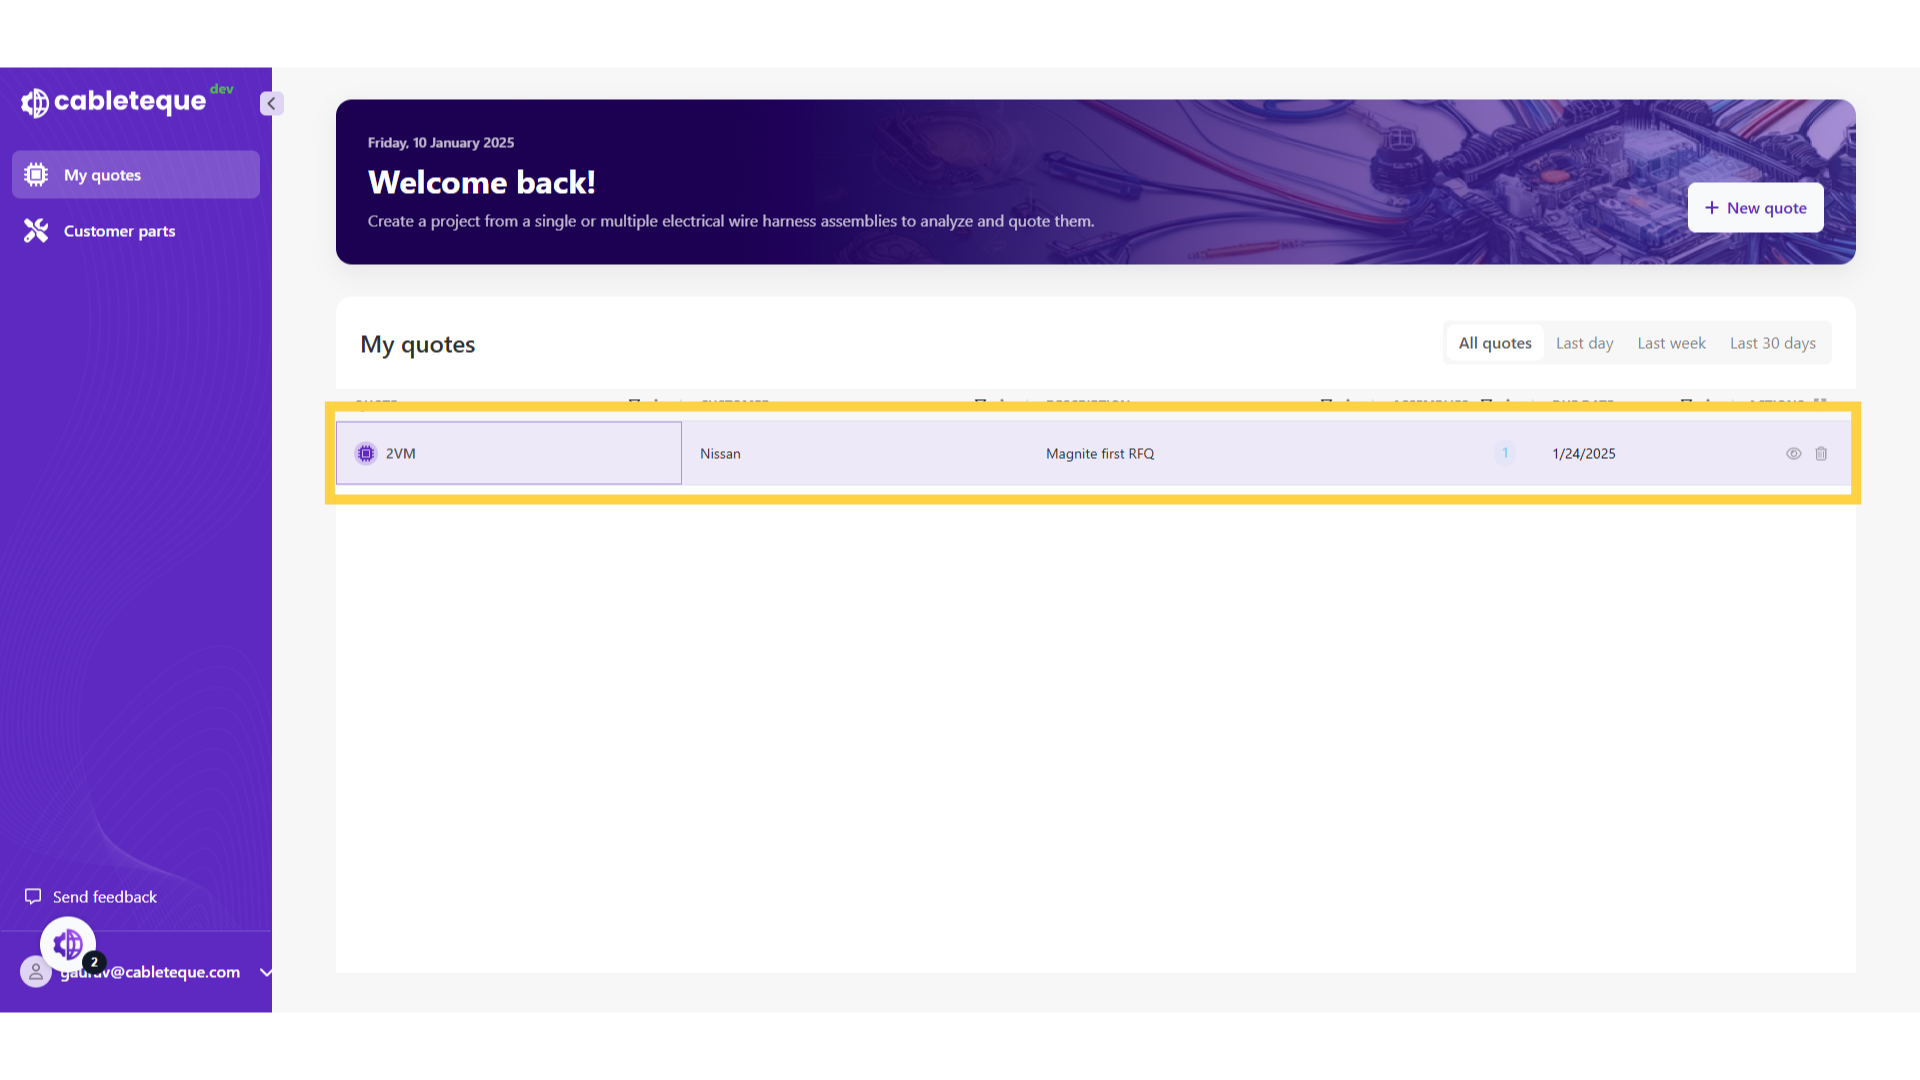
4. Click on quote
select a quote for which assembly has to be created.
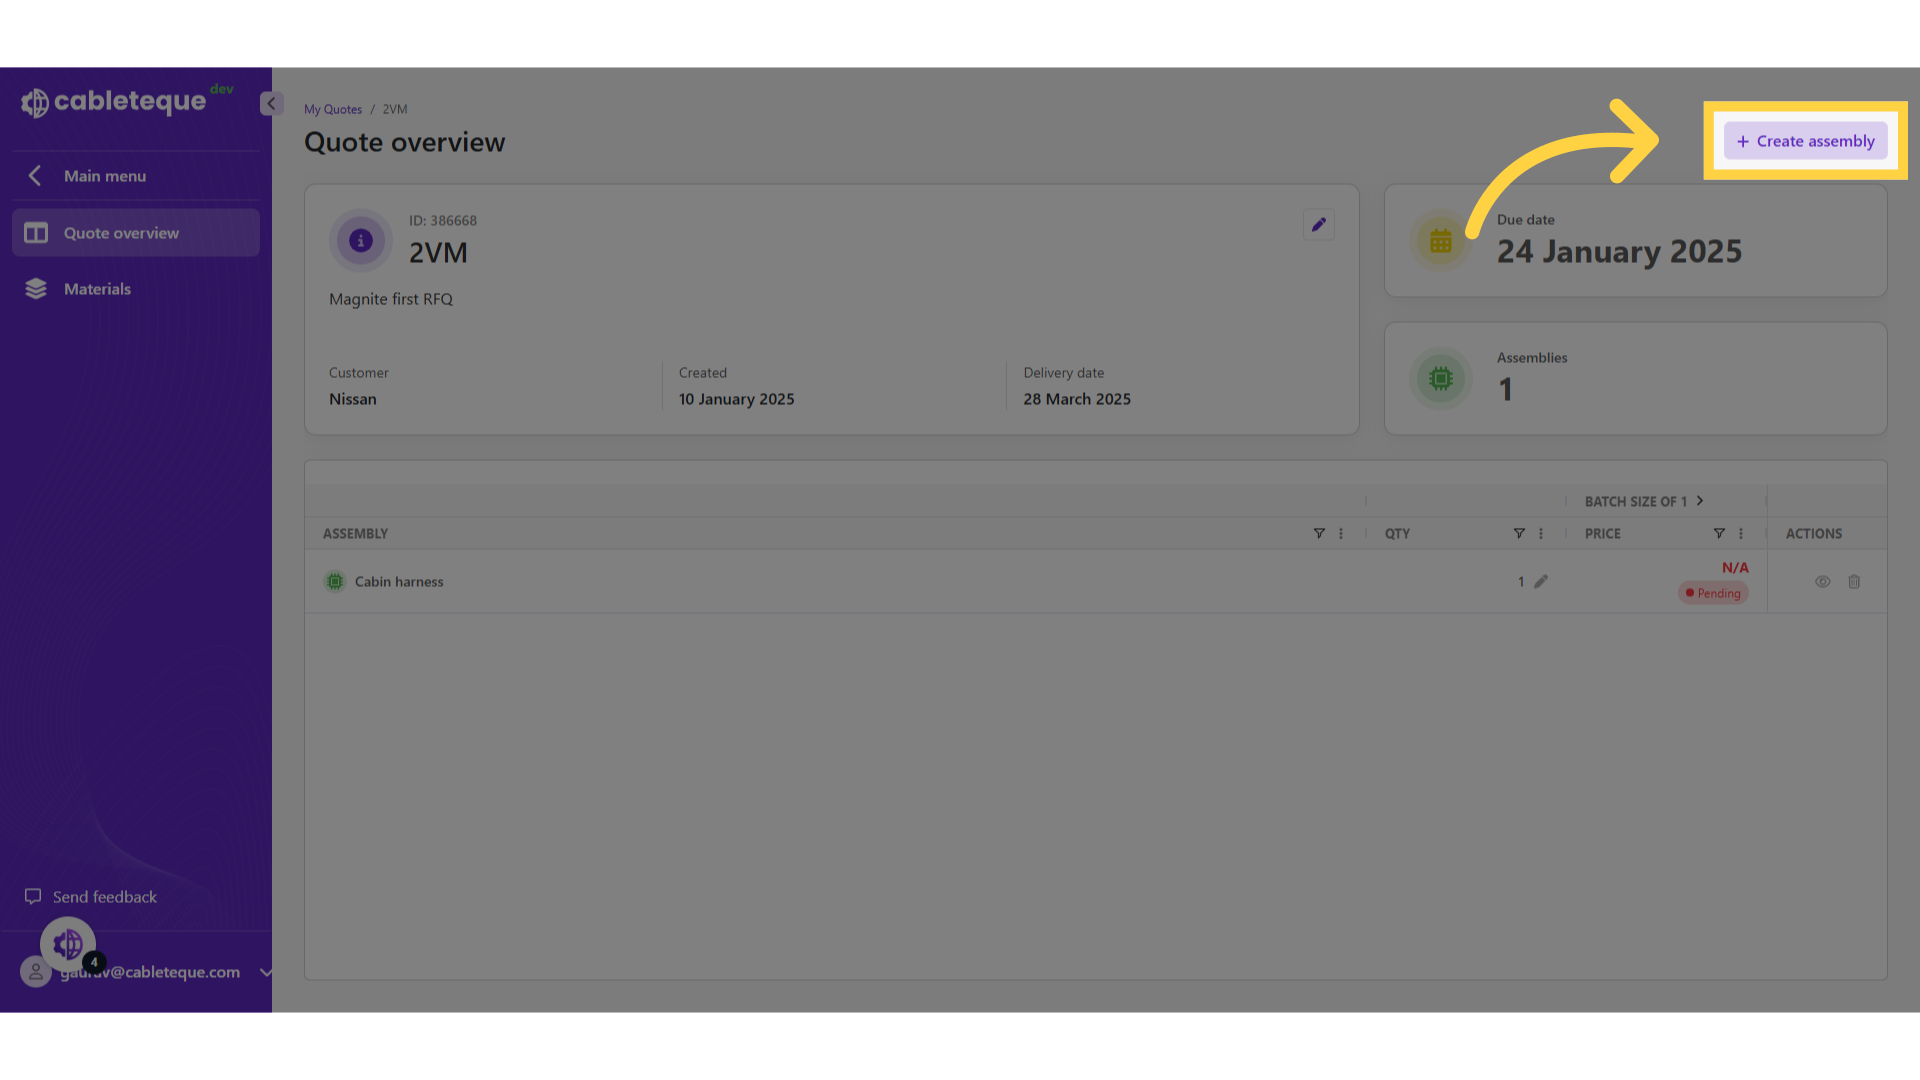
5. Click "Create assembly"
New assembly can be created using this Create assembly button.
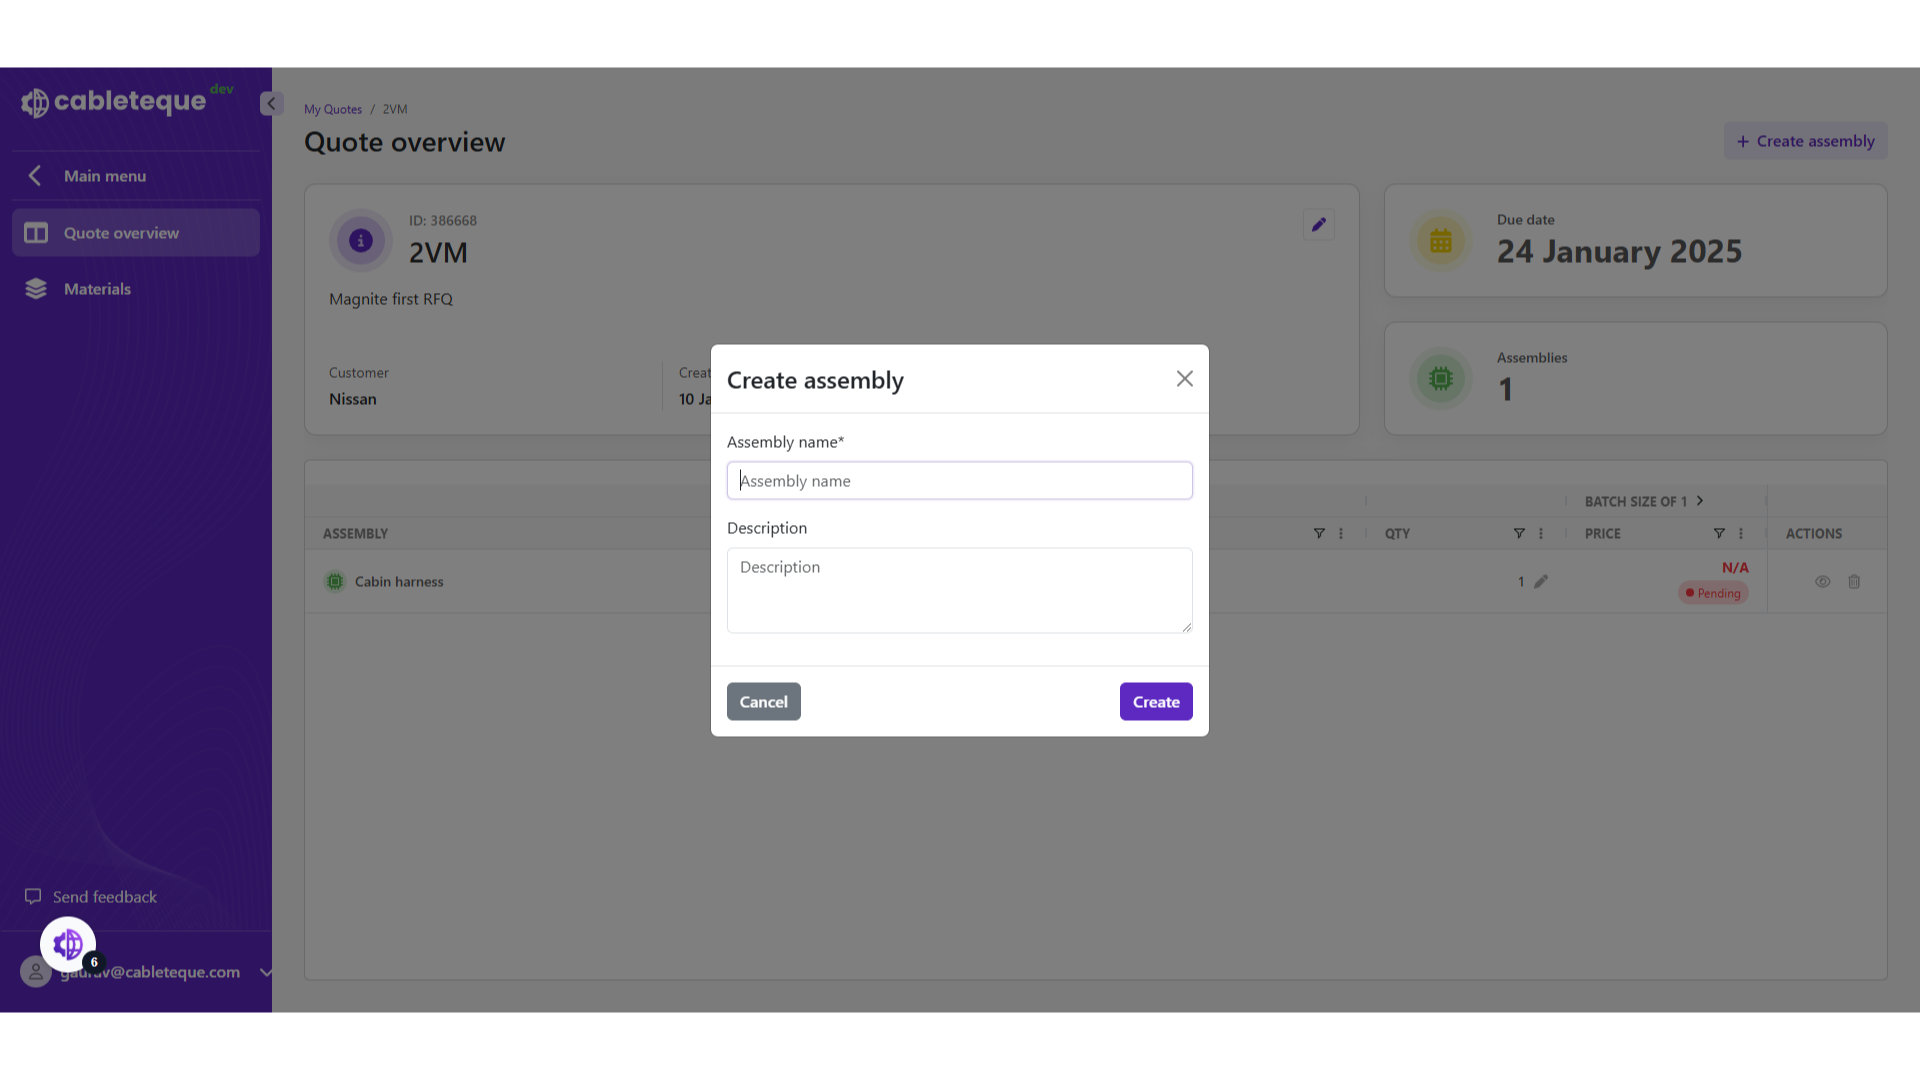
6. Create assembly
Enter the assembly name and description if required.
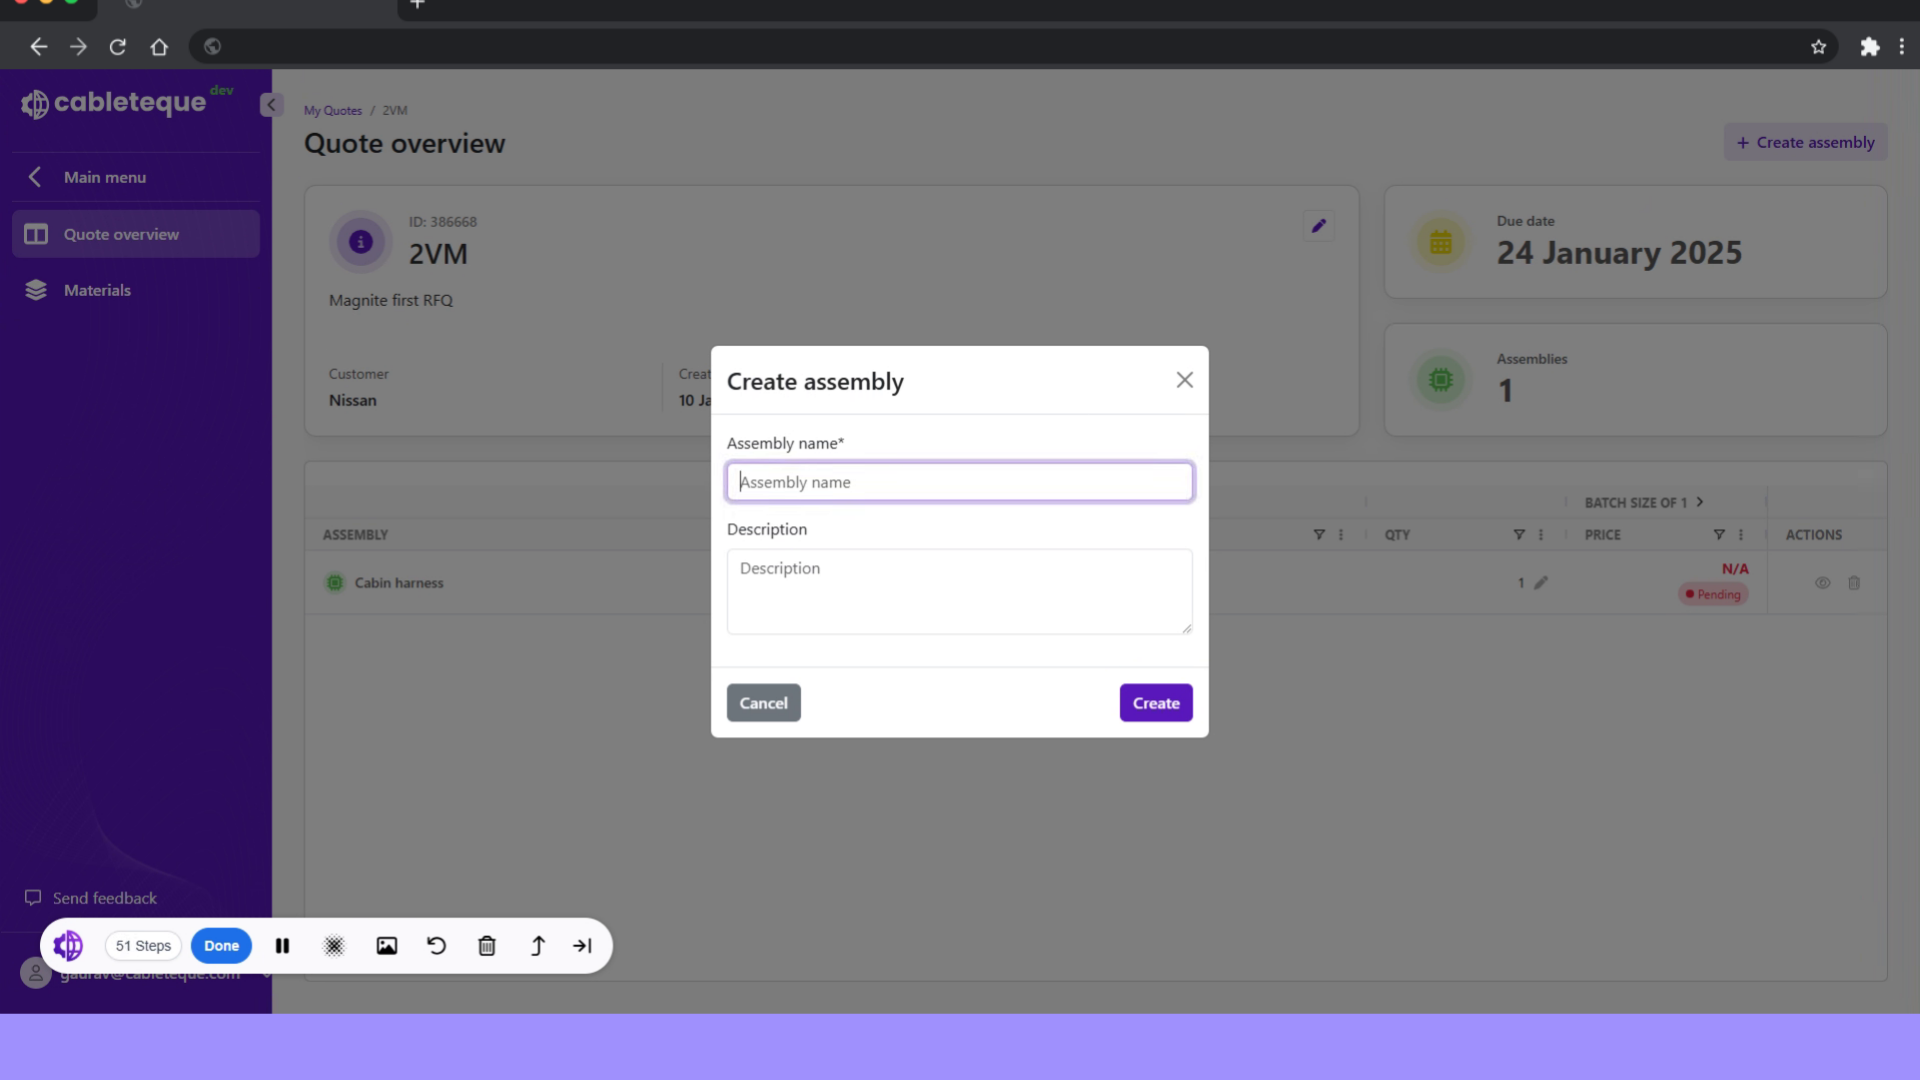
7. Click "Assembly name"
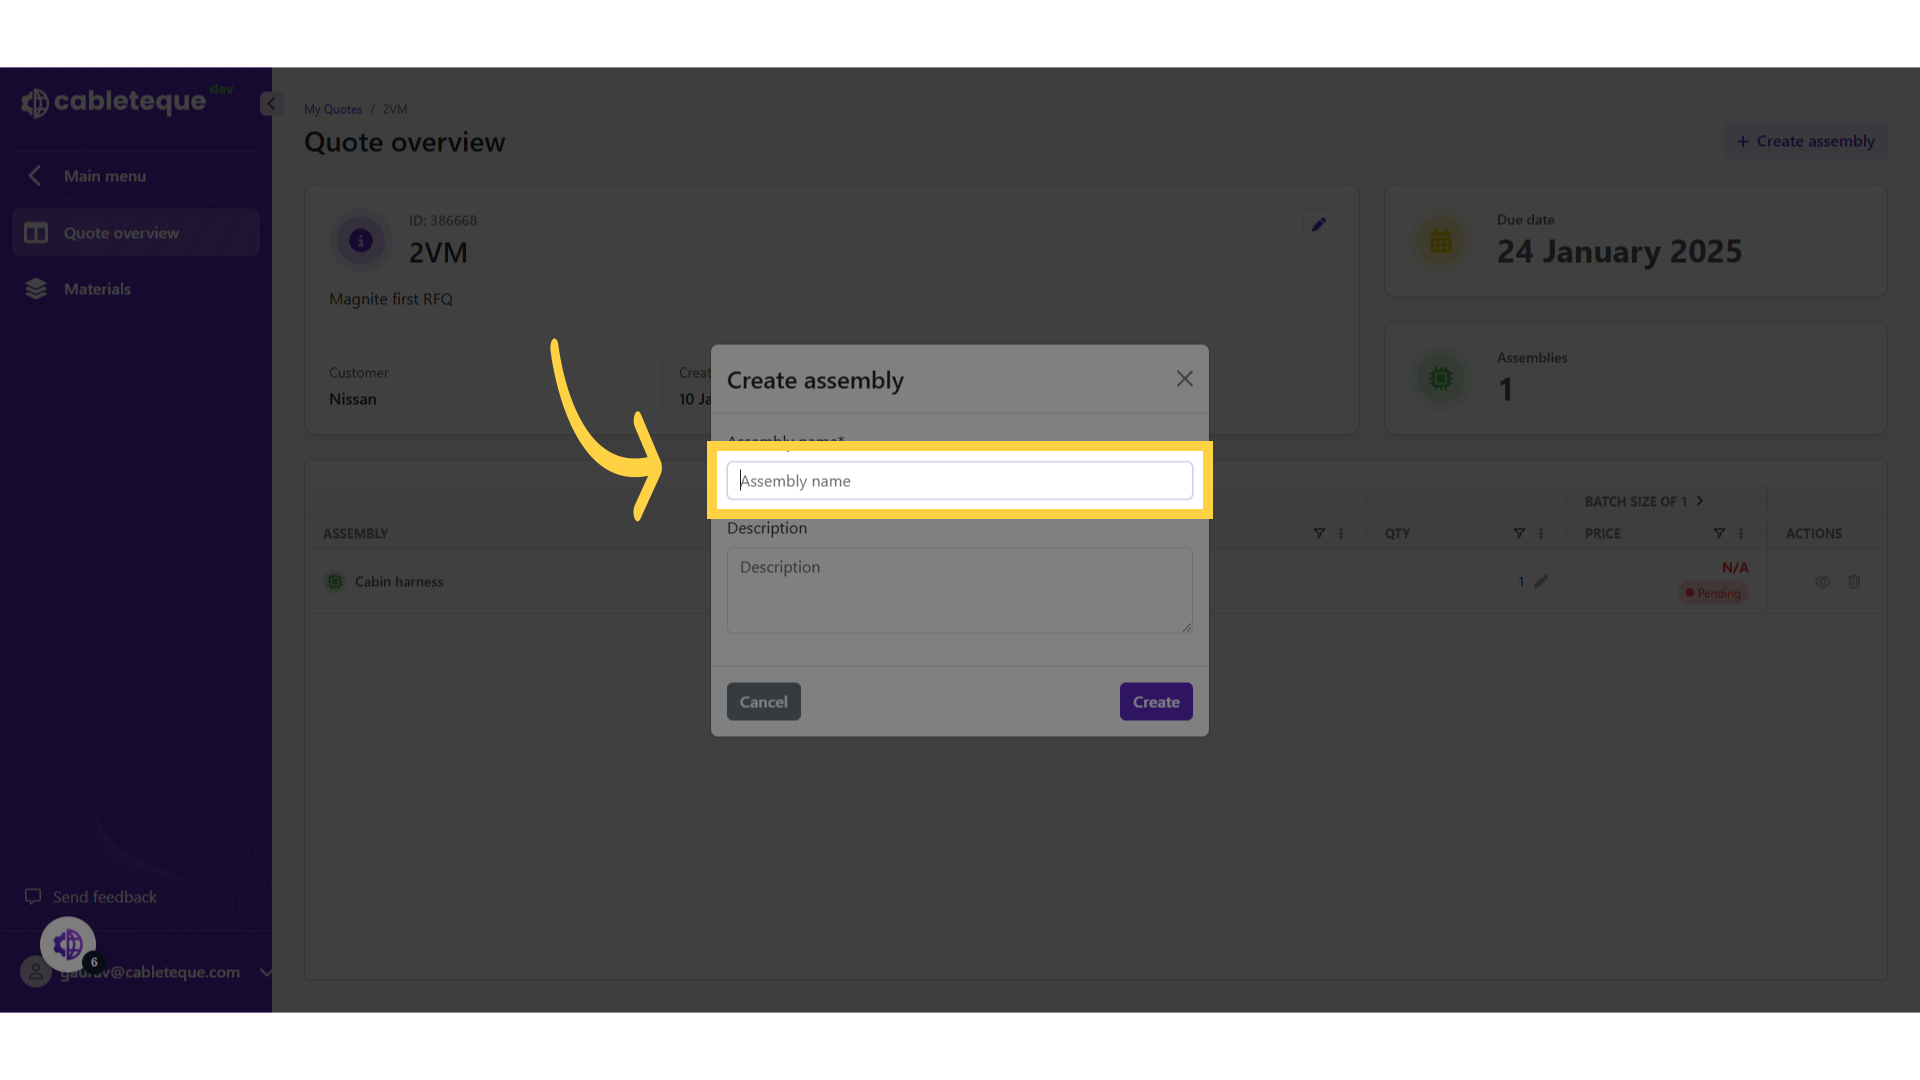
8. Fill assembly name
Enter the assembly name.
9. Click "Description"
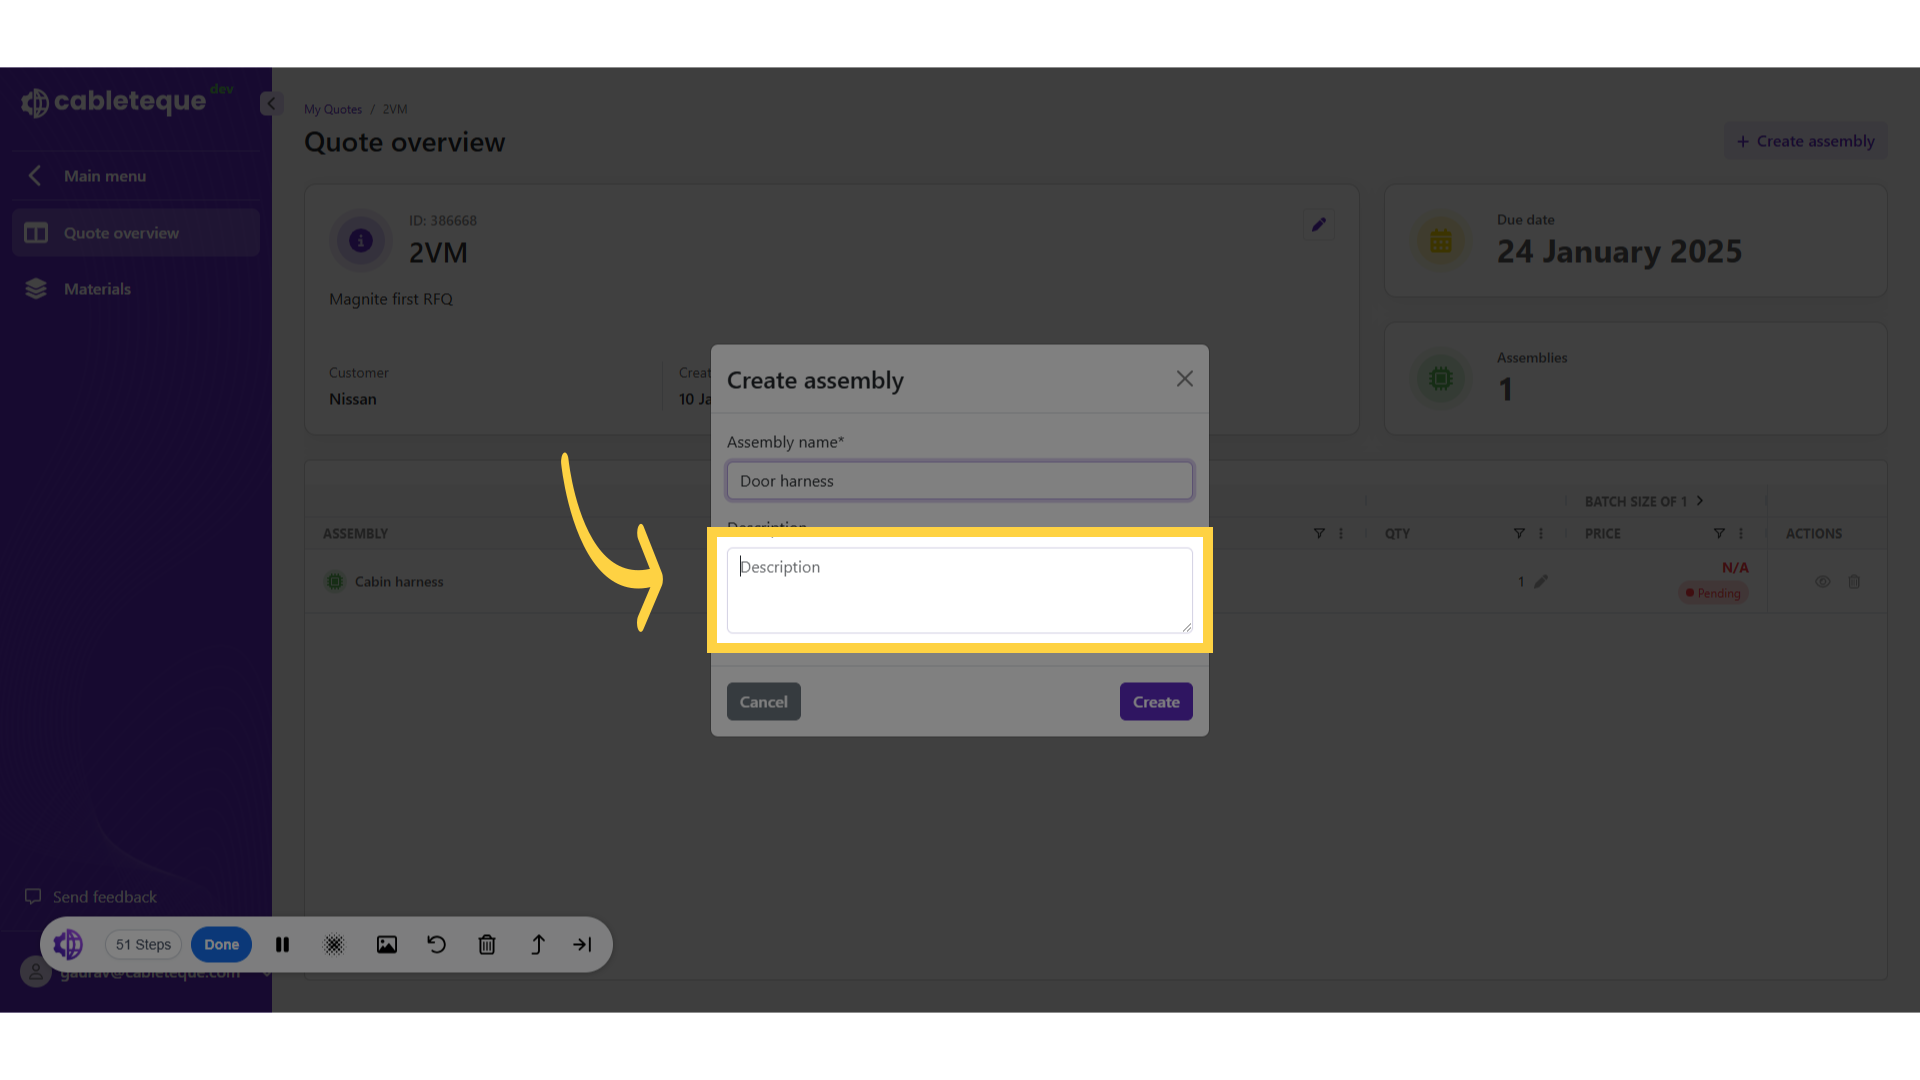
10. Fill Description
Add a brief description.

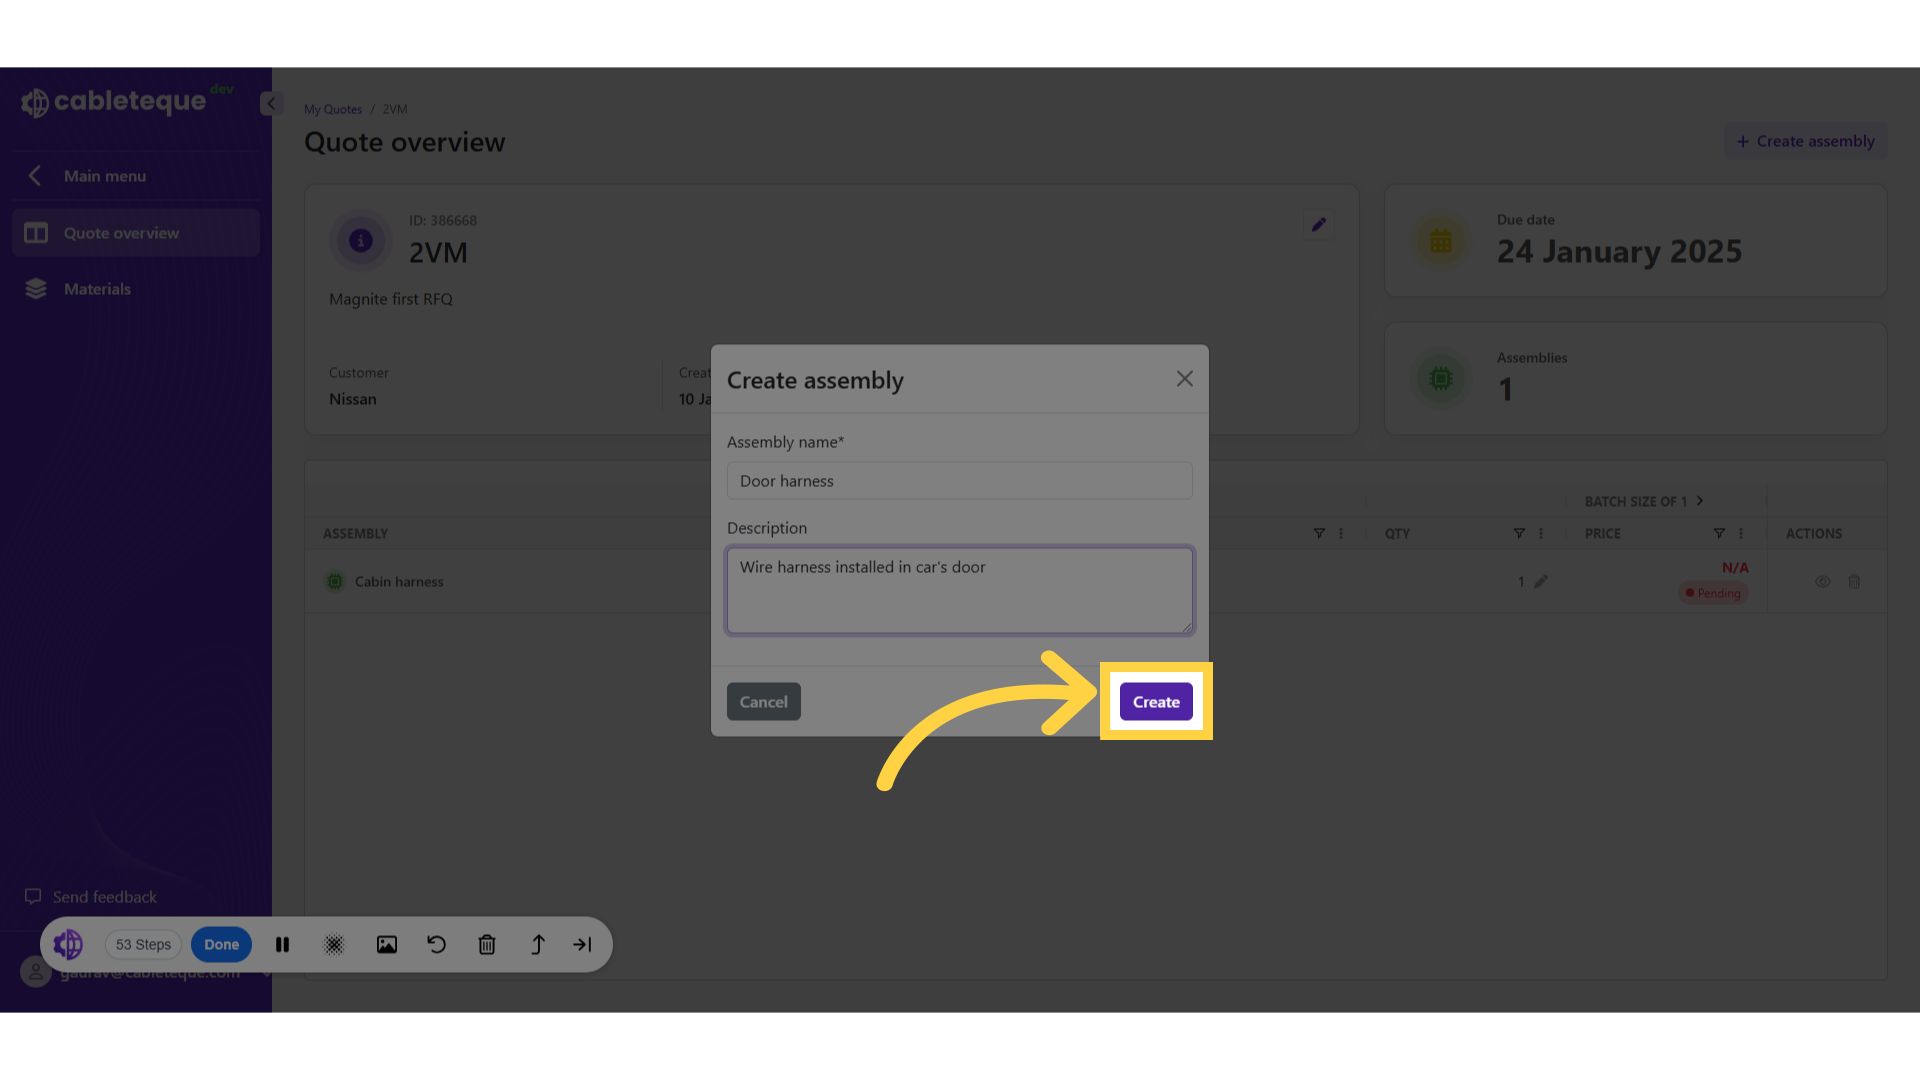
11. Click "Create"
Complete and create the assembly.
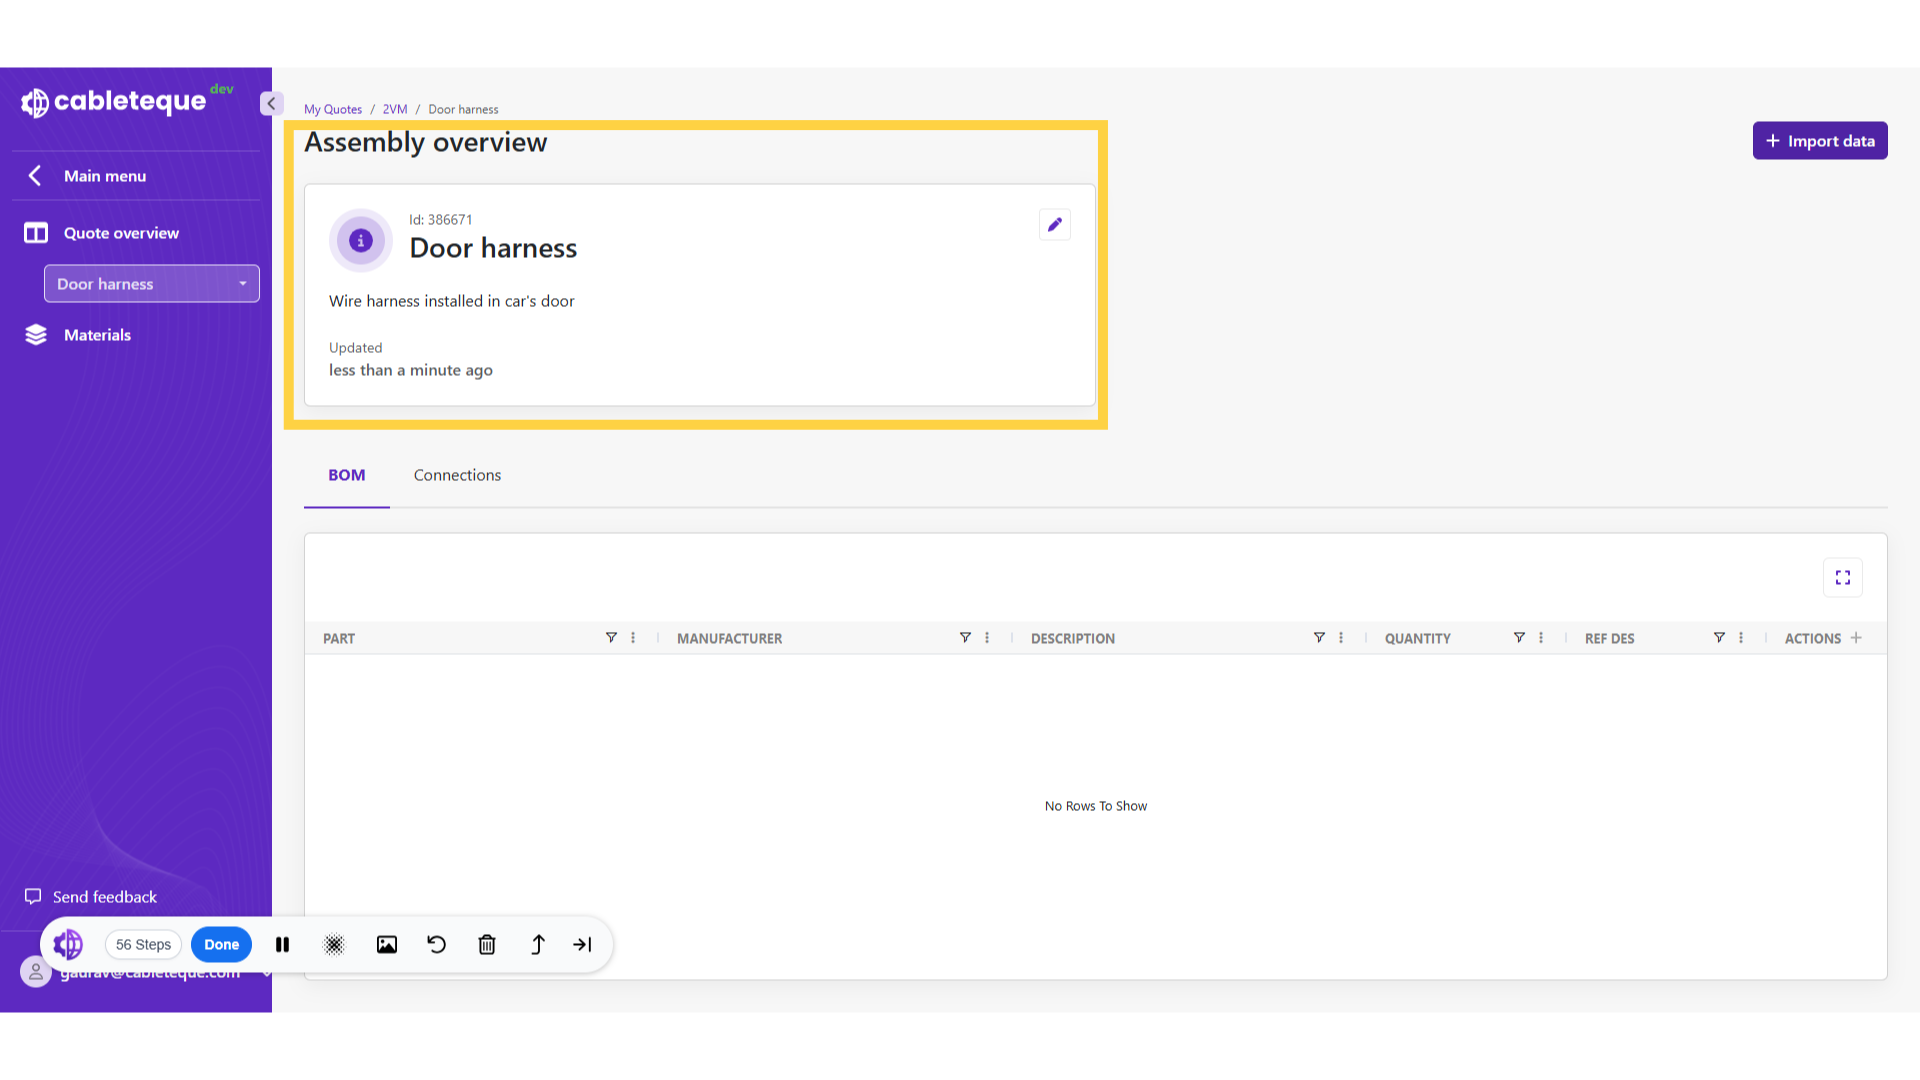
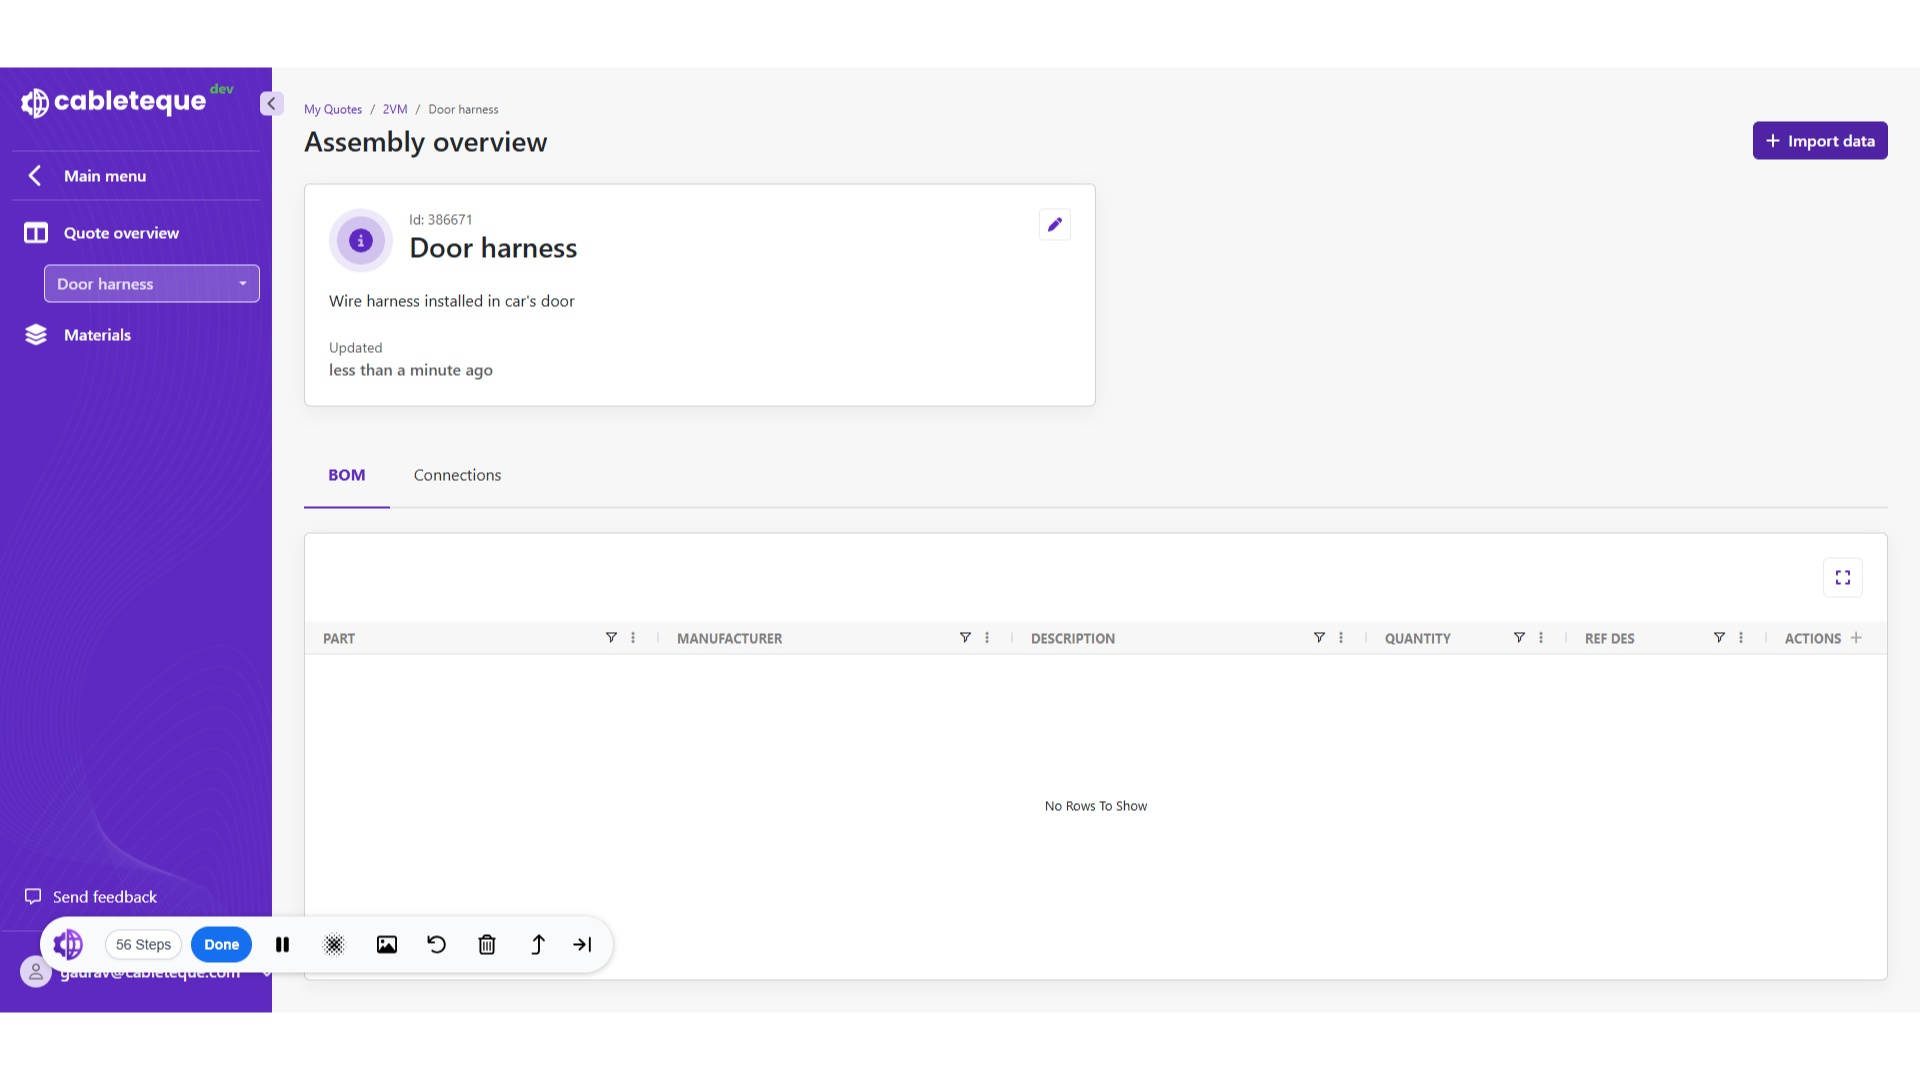
12. Assembly overview
Assembly is created and assembly information entered can be seen in assembly overview.
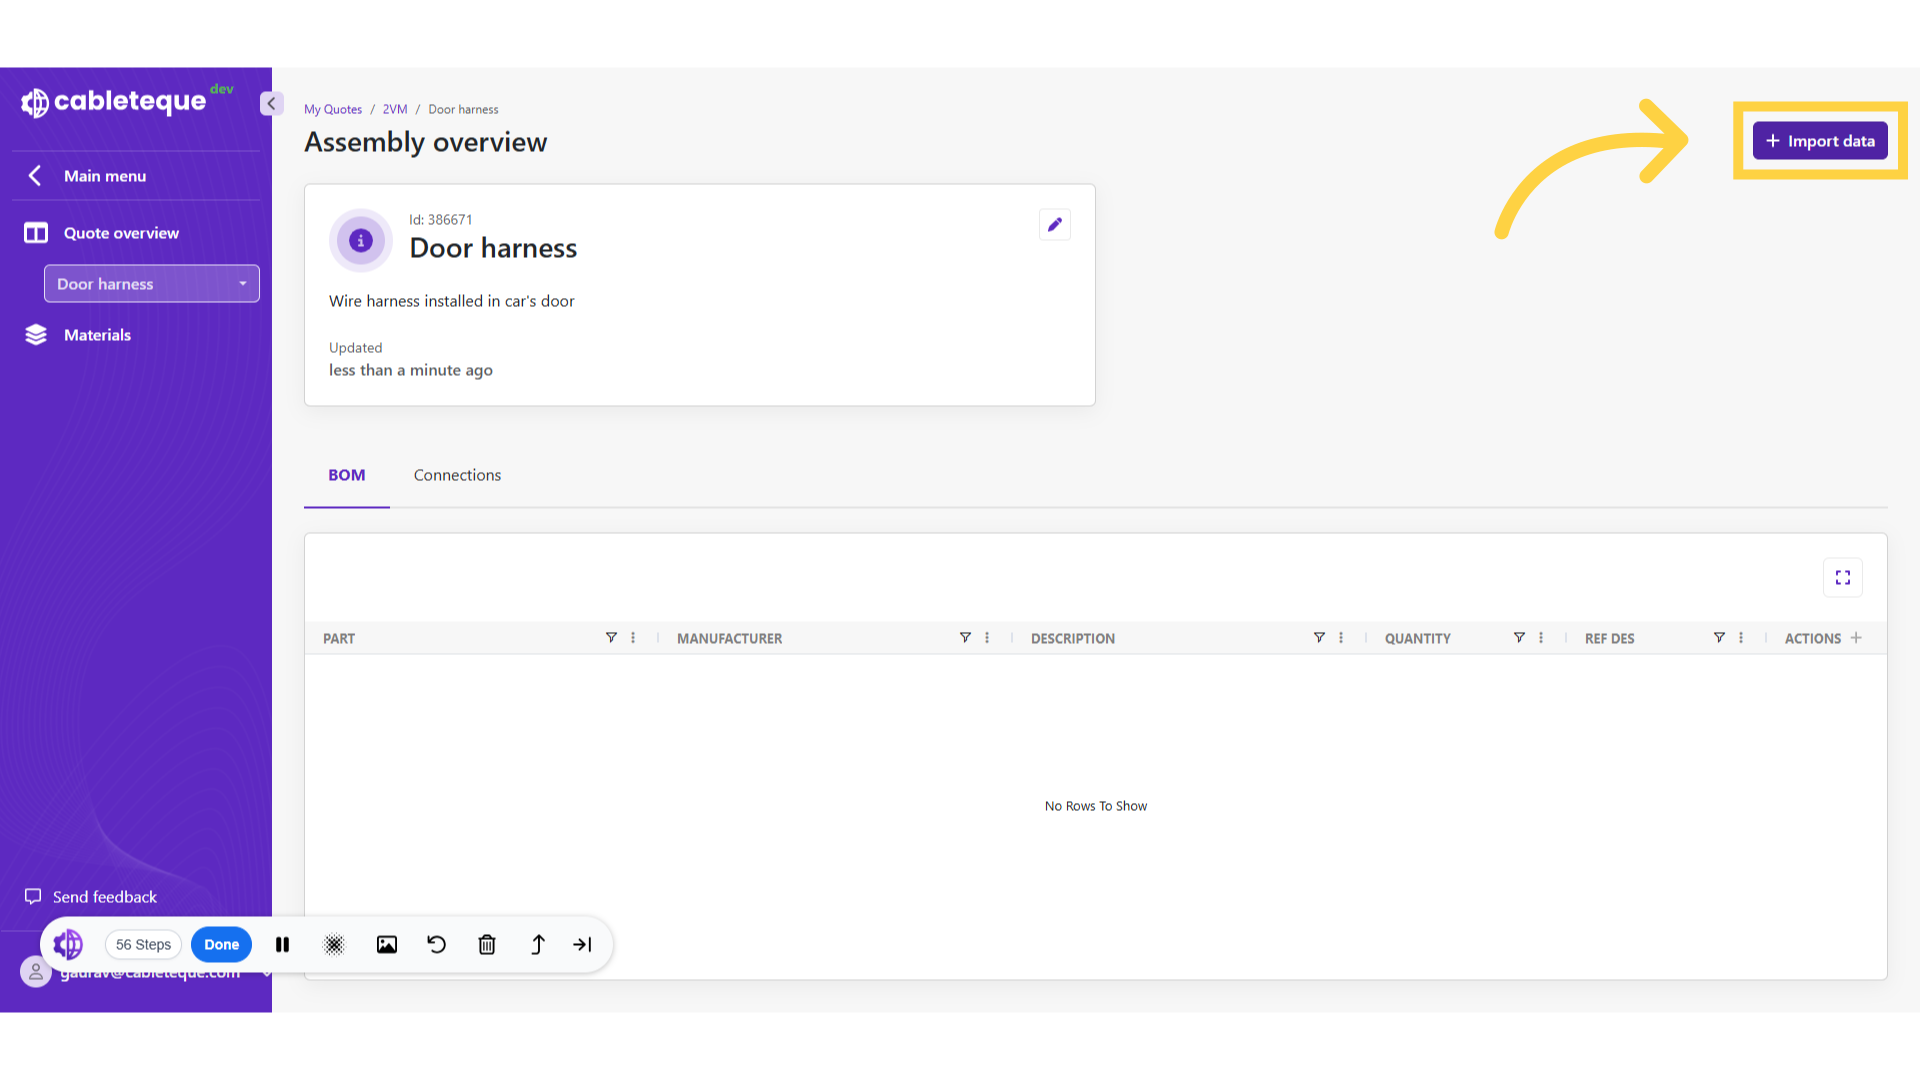
13. Importing data

14. Click "Import data"
Now we can start importing data under this assembly using this Import data button.
15. Import file
Import the Bom data by selecting Bom spreadsheet or drawing.
16. Imported drawing
In this example we are importing drawing as data.
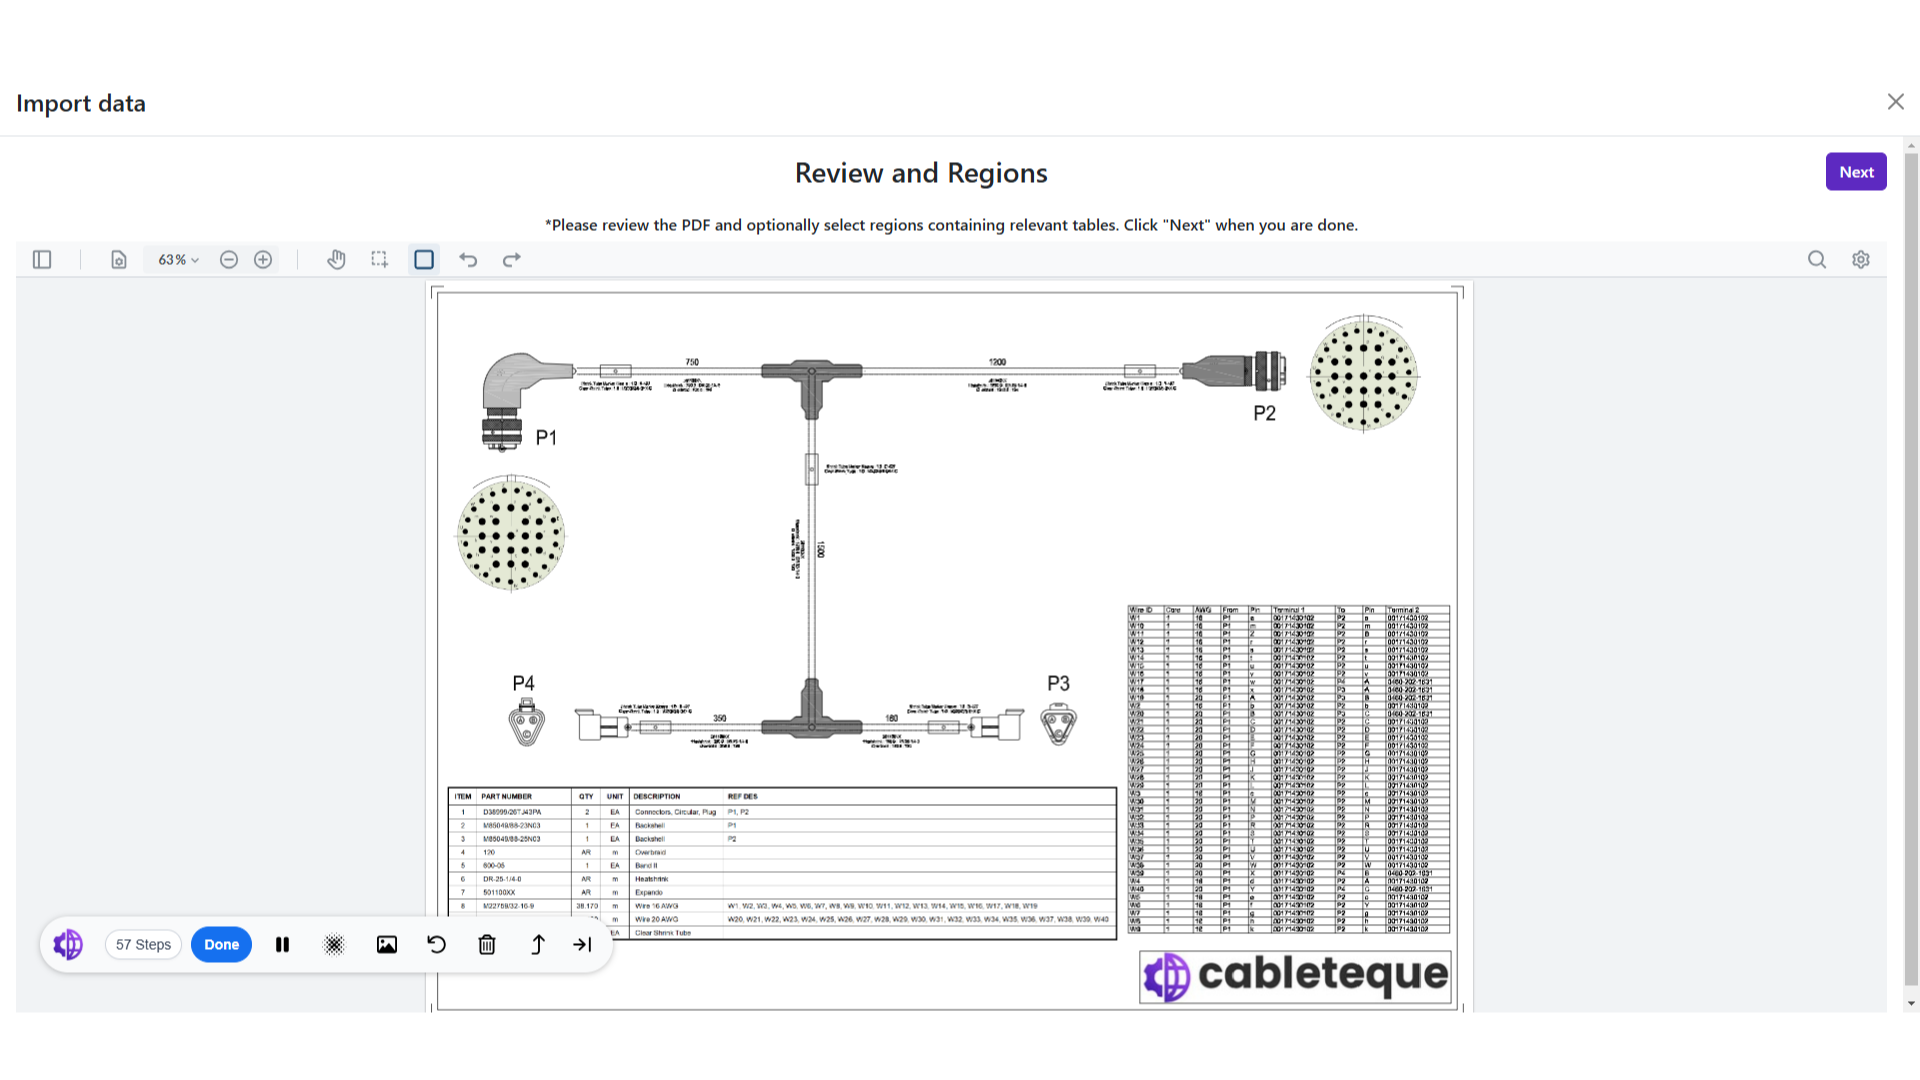
17. BOM selection
As the drawing is imported, we need to now select the Bom table to use that further for the selection of offers.

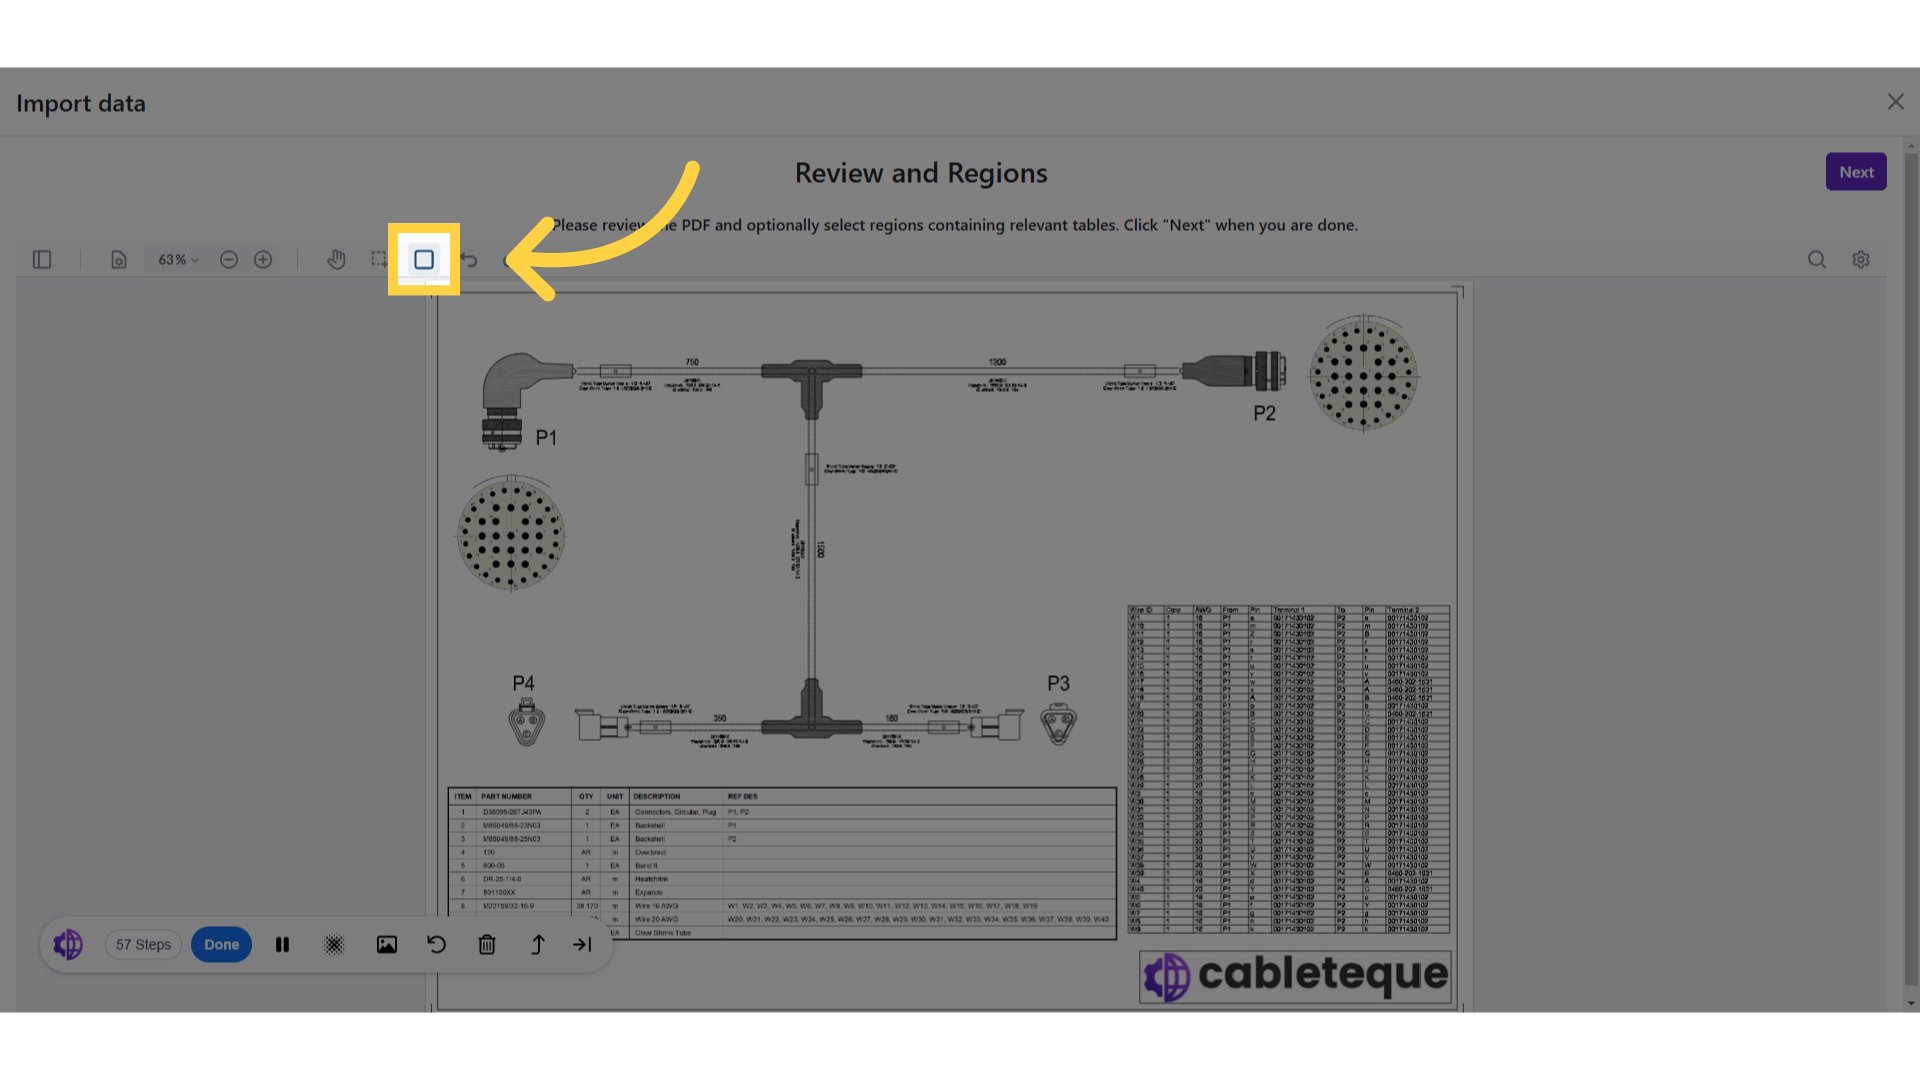
18. Select area symbol
Here use this select area symbol for selection of BOM table.
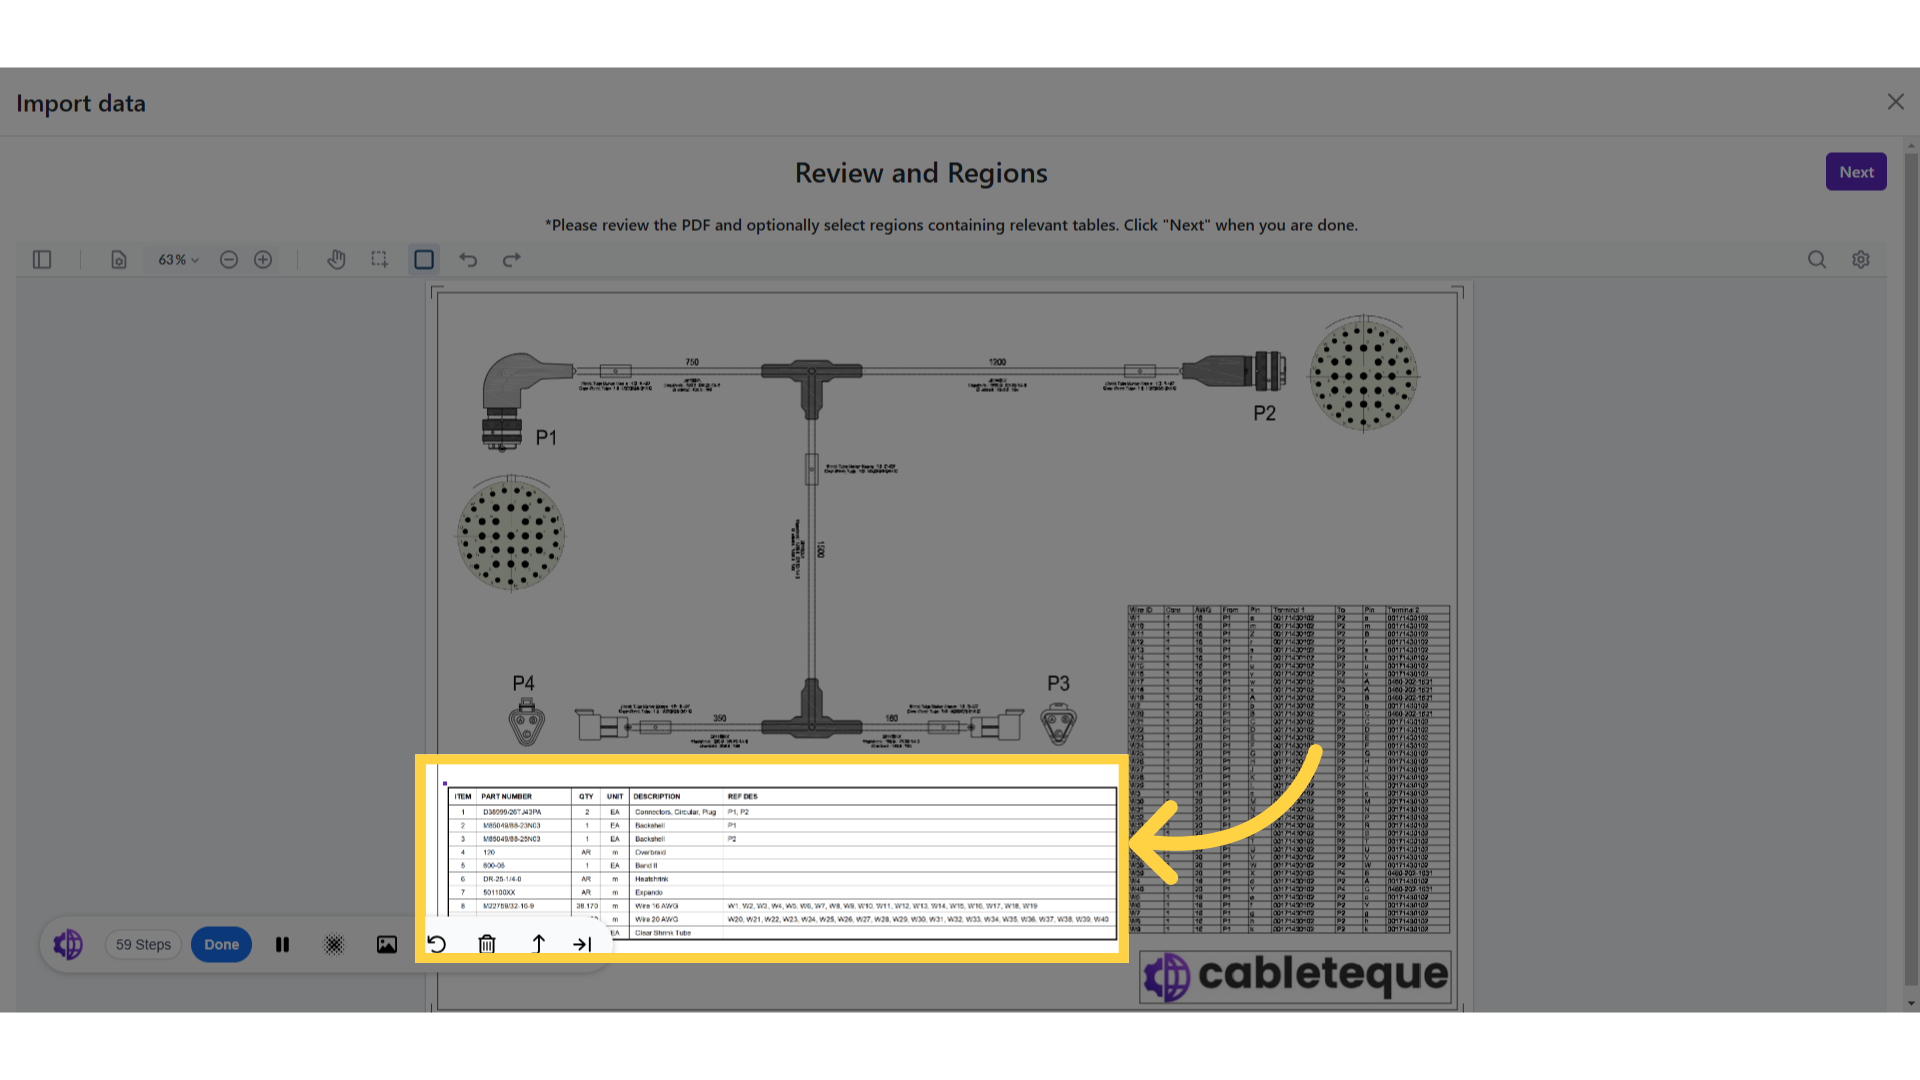
19. Select the BOM table
Select the BOM table.
20. Click "Next"
Proceed to the next step.

21. Imported BOM columns mapping
As now BOM is extracted from the drawing, we need to further set configuration and map fields with columns.
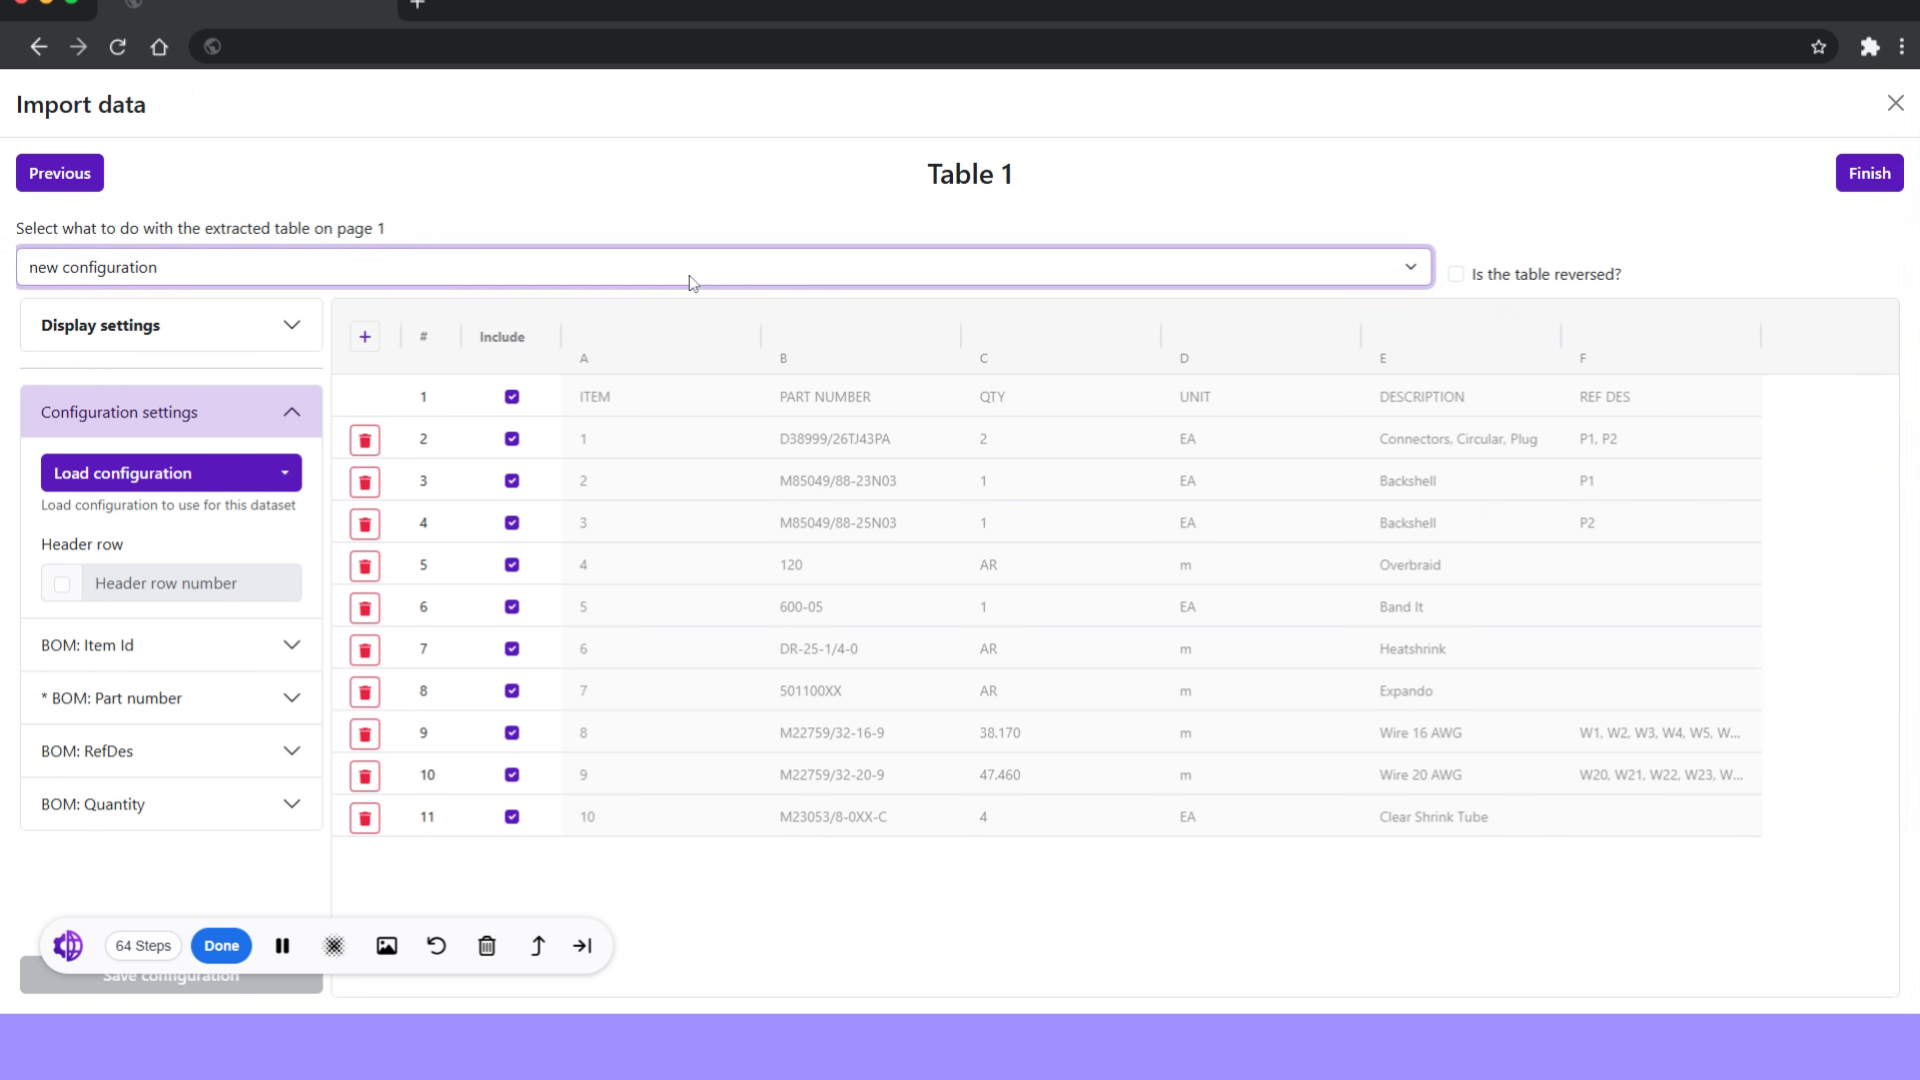
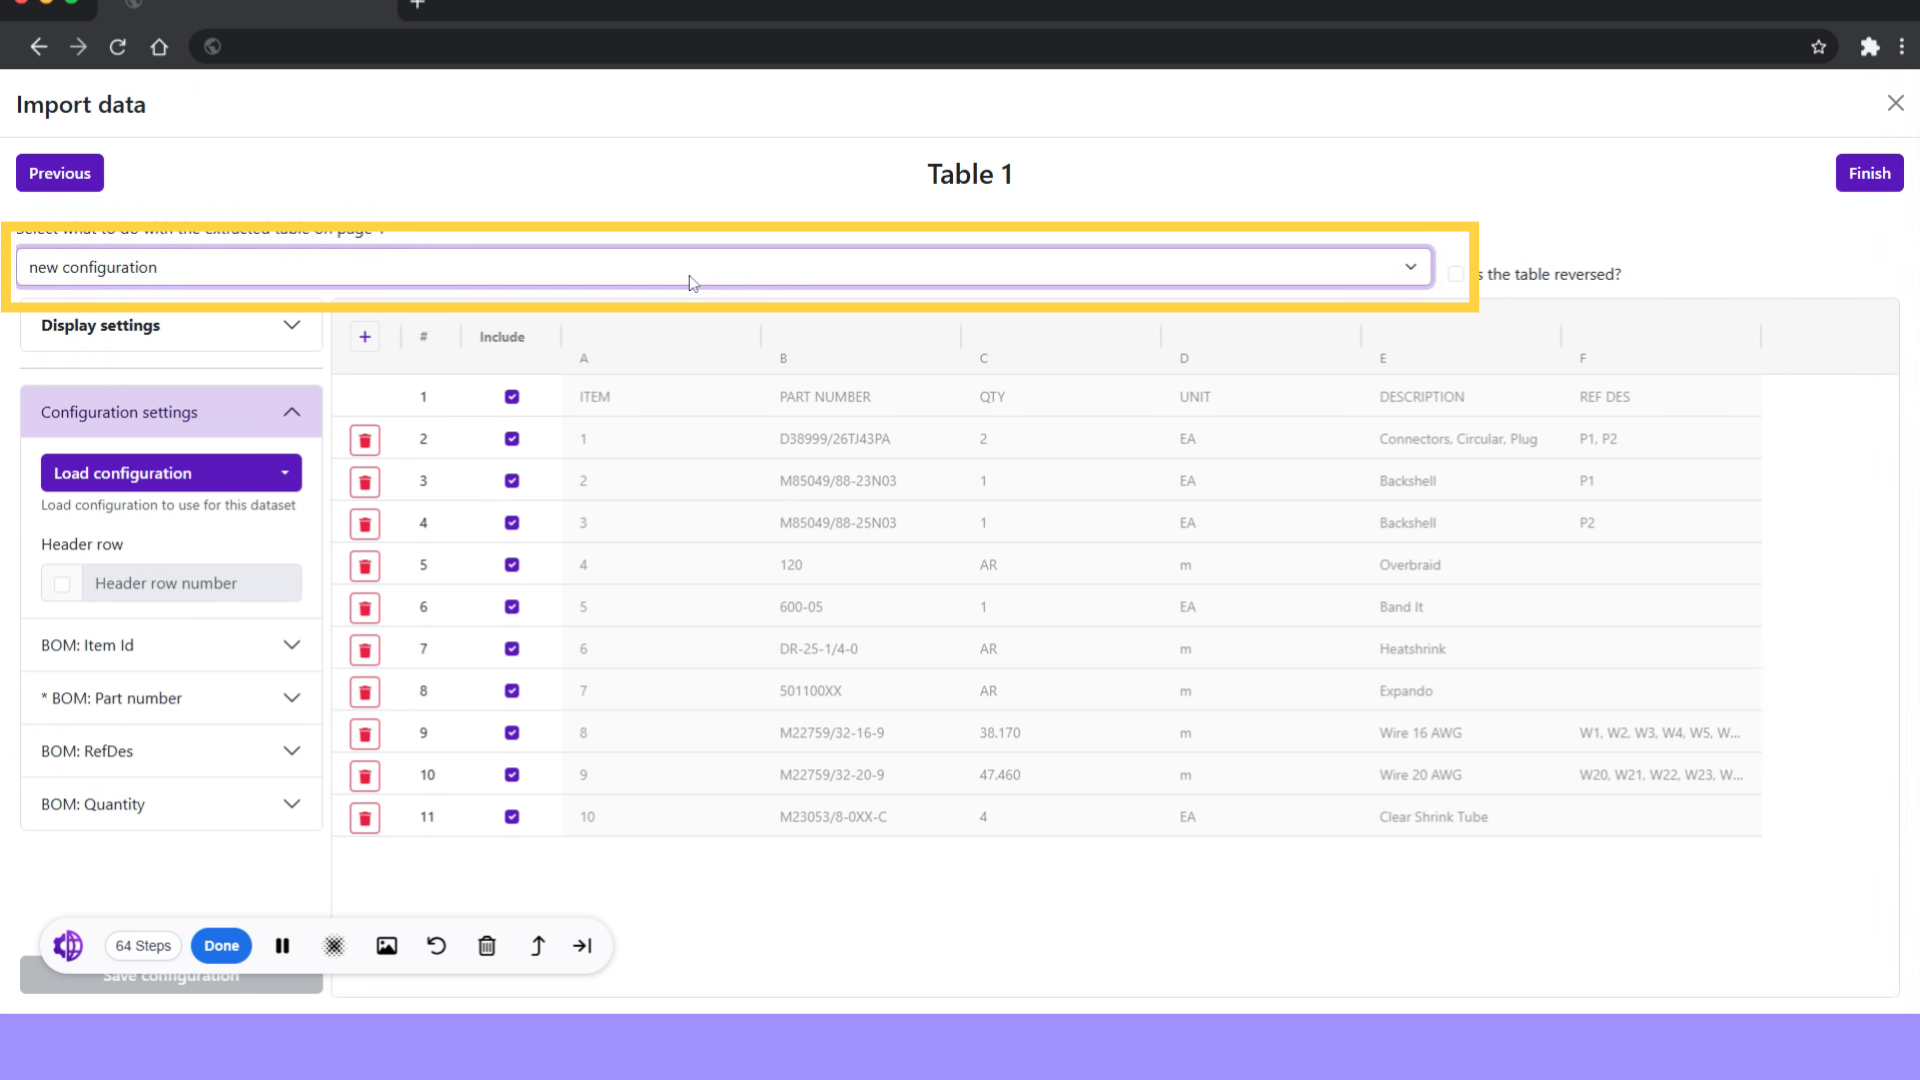
22. Imported BOM configuration
as this imported BOM has headers, so choosing "BOM with headers"
23. Mapping of fields
Now map all the fields mentioned at left with BOM columns.

24. Click BOM Item Id

25. Select BOM item ID column
Choose column with BOM item ID.

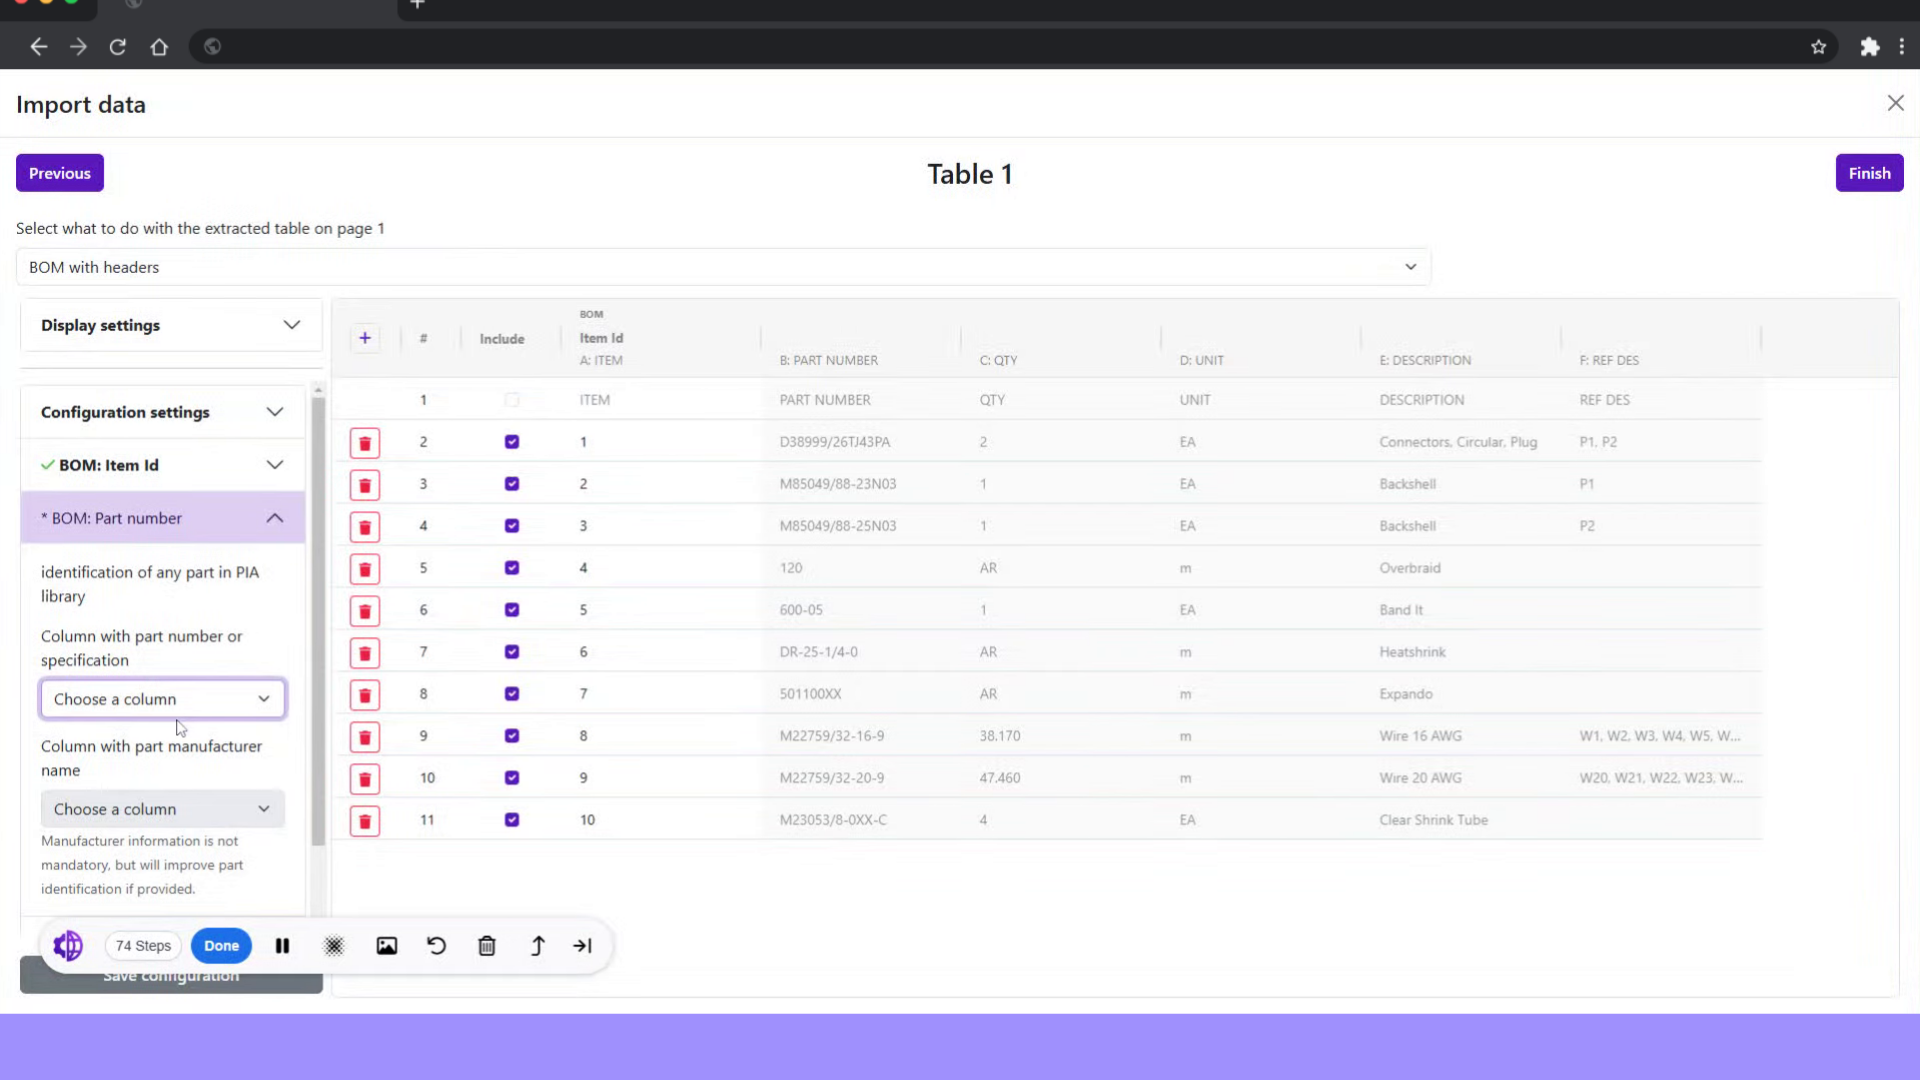
26. Click BOM Part number
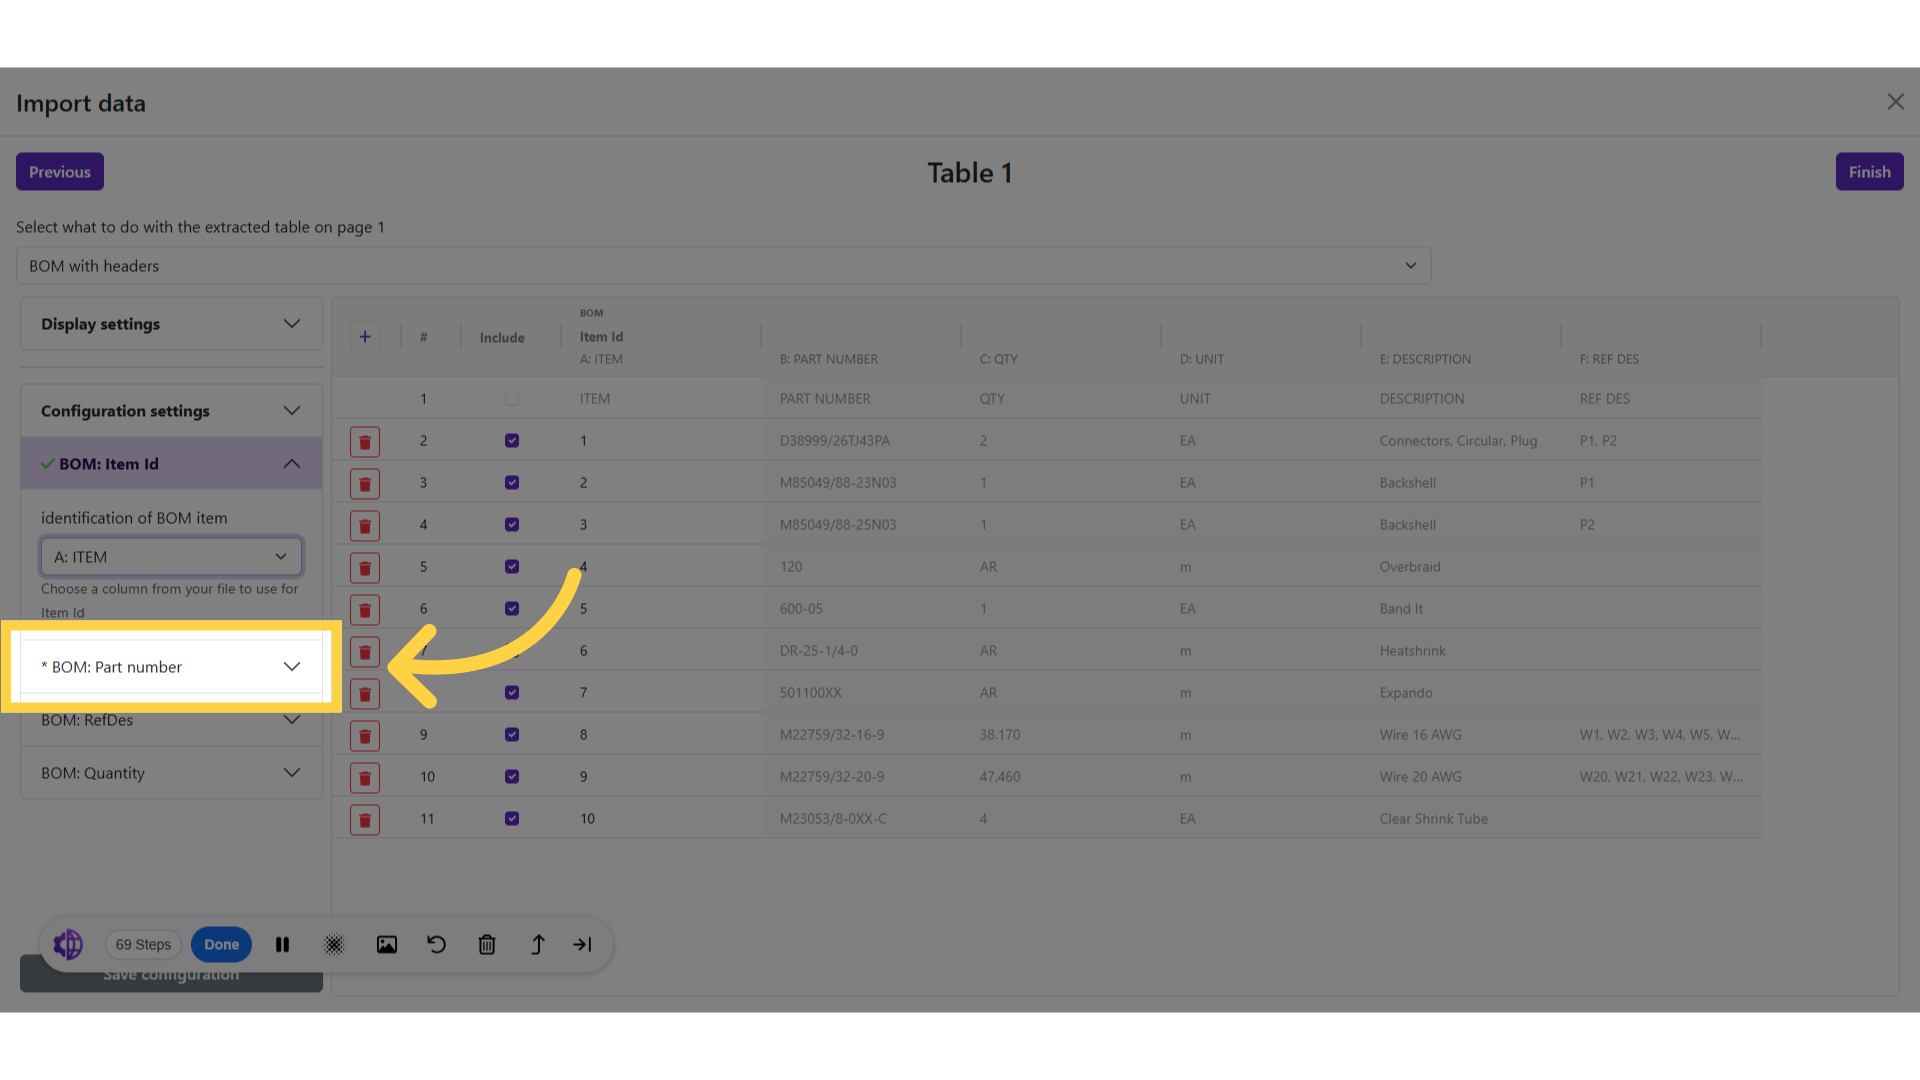
27. Select BOM part number column
Choose column with BOM part numbers.
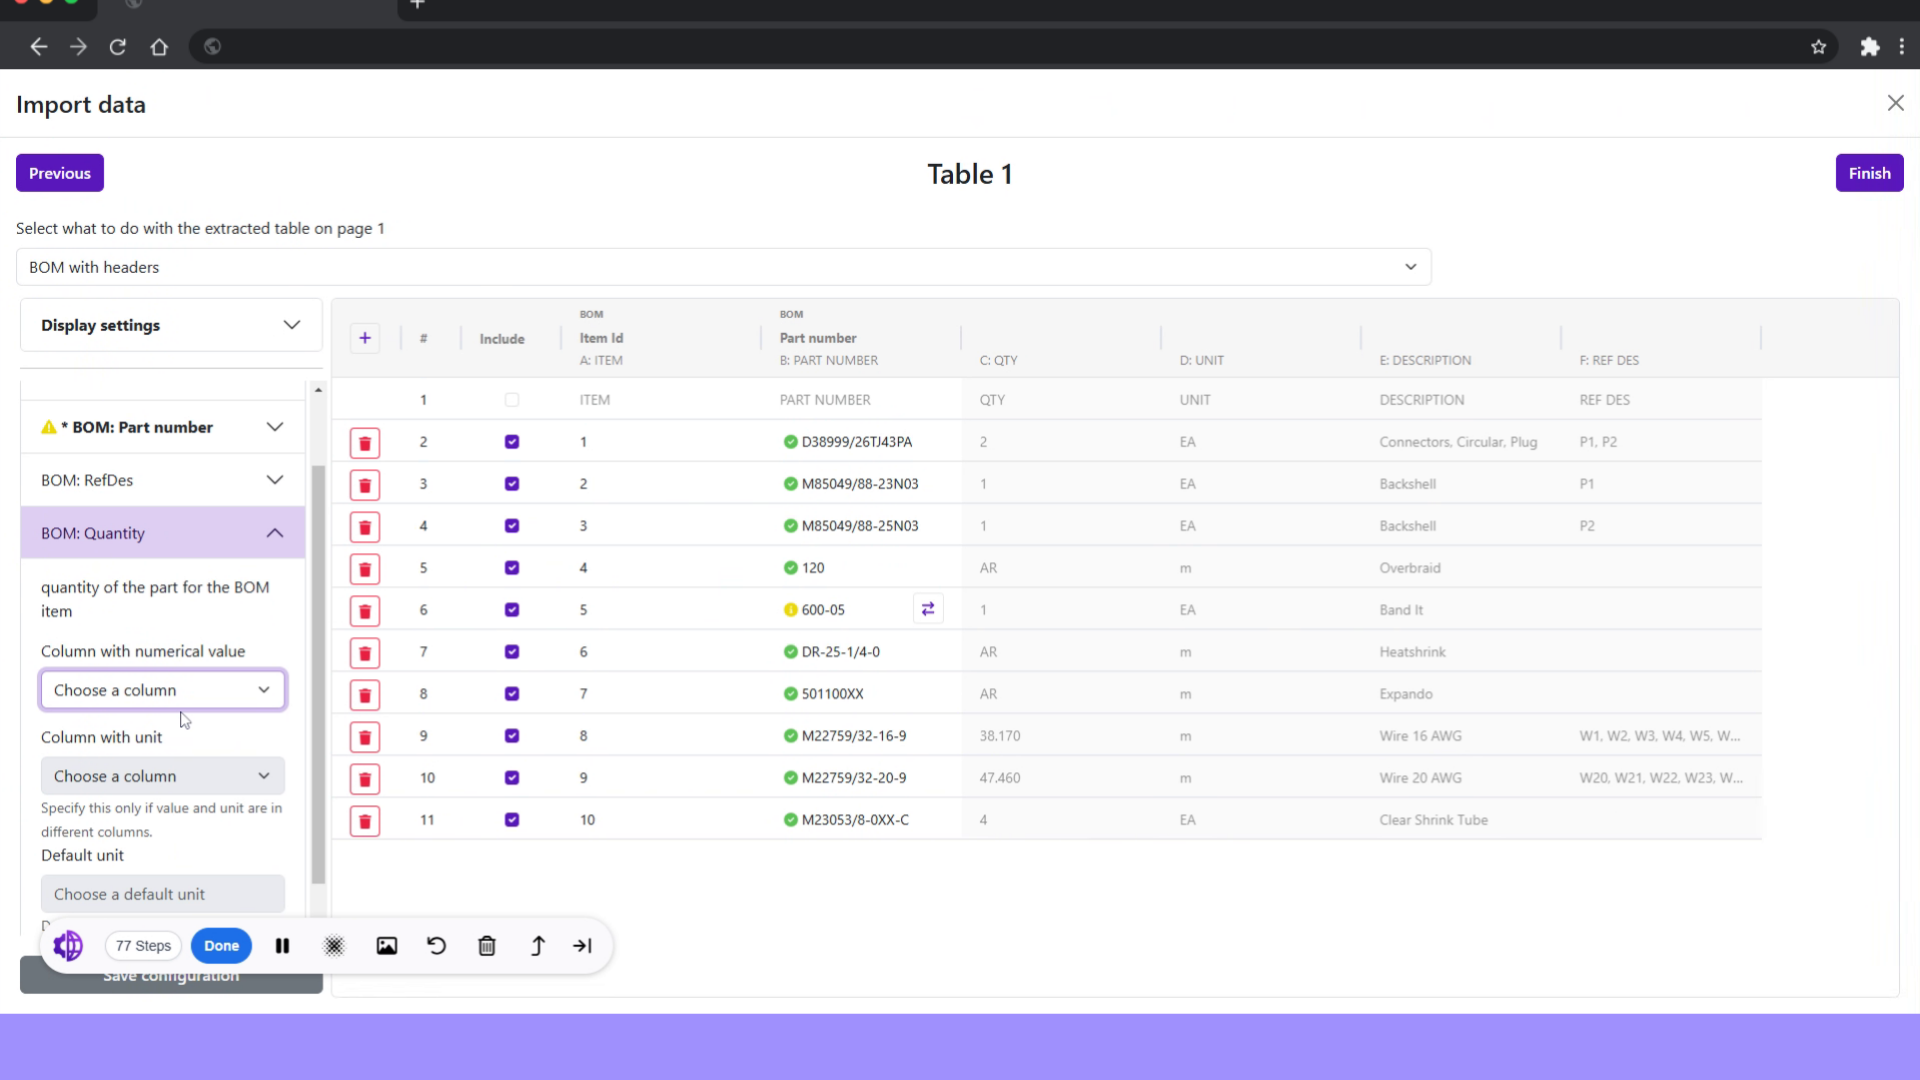
28. Click BOM Quantity
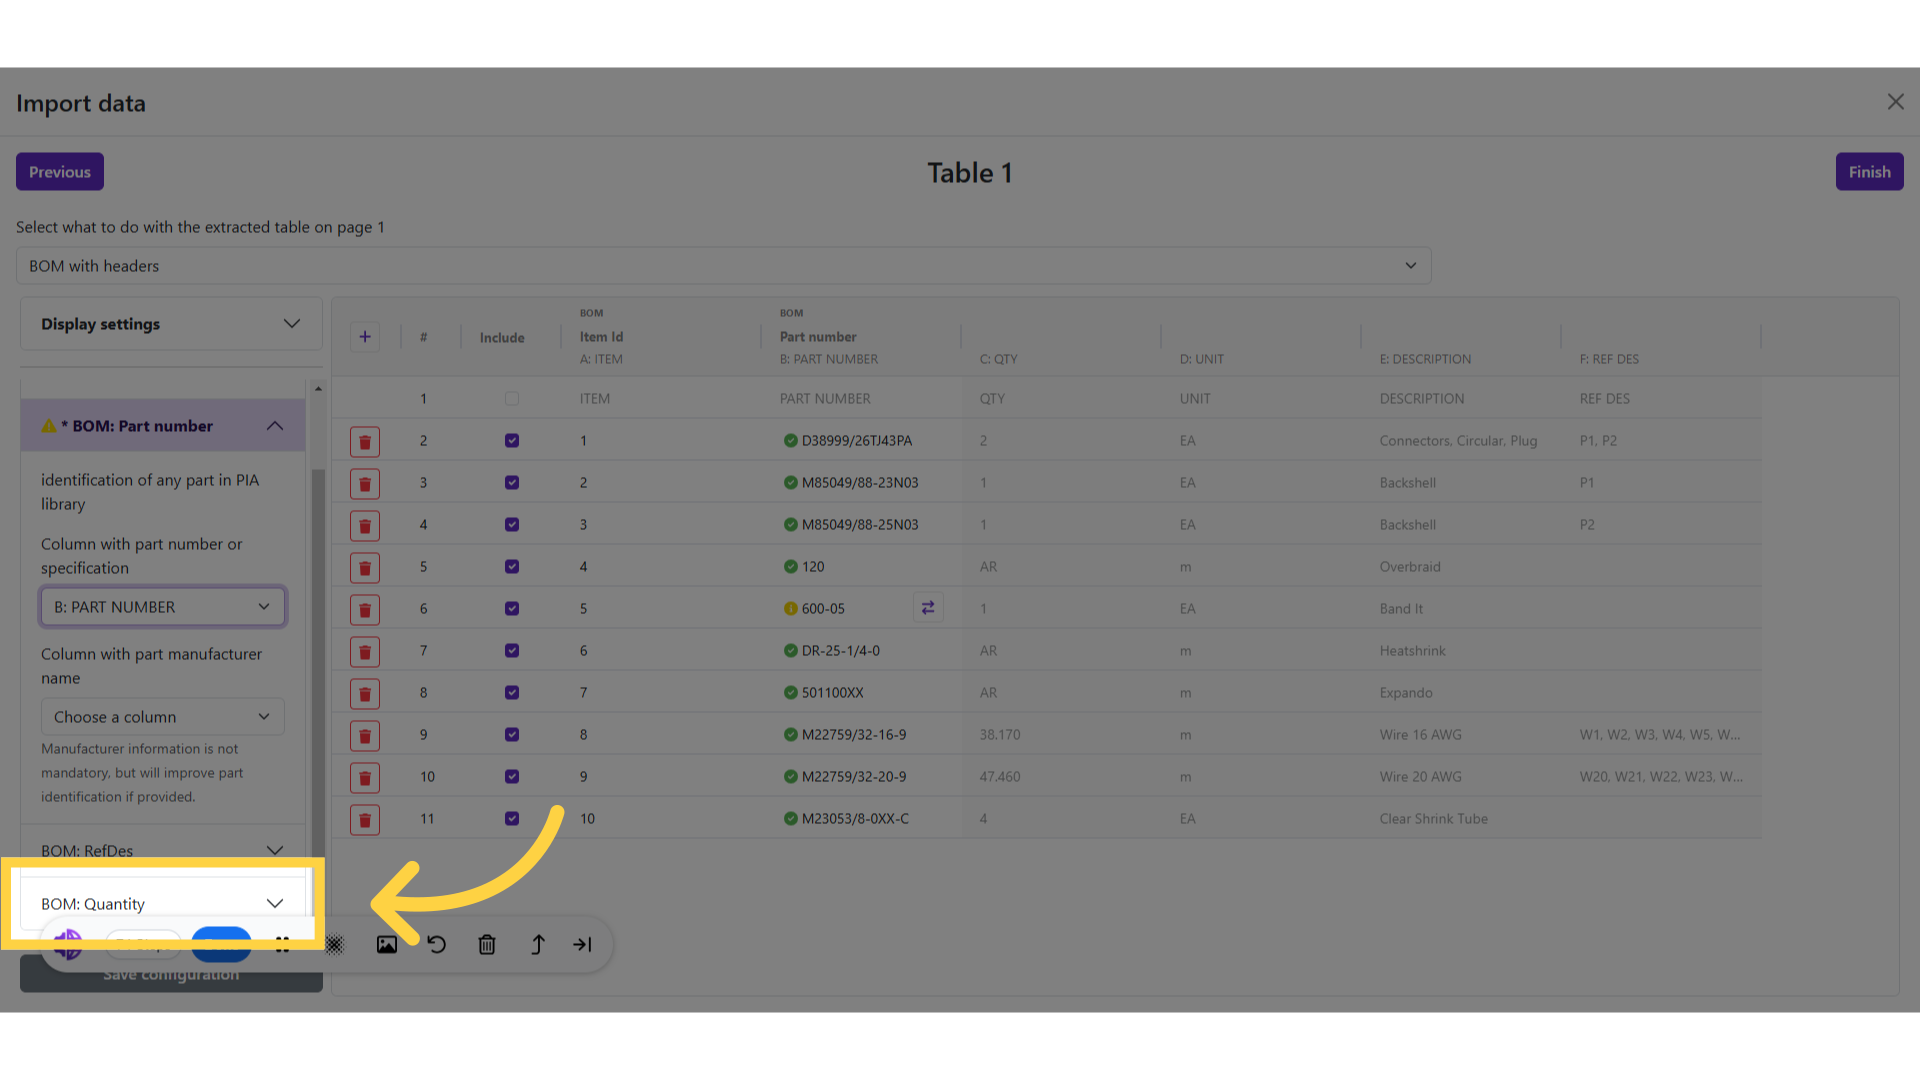
29. Select BOM quantity column
Choose column with BOM quantity.
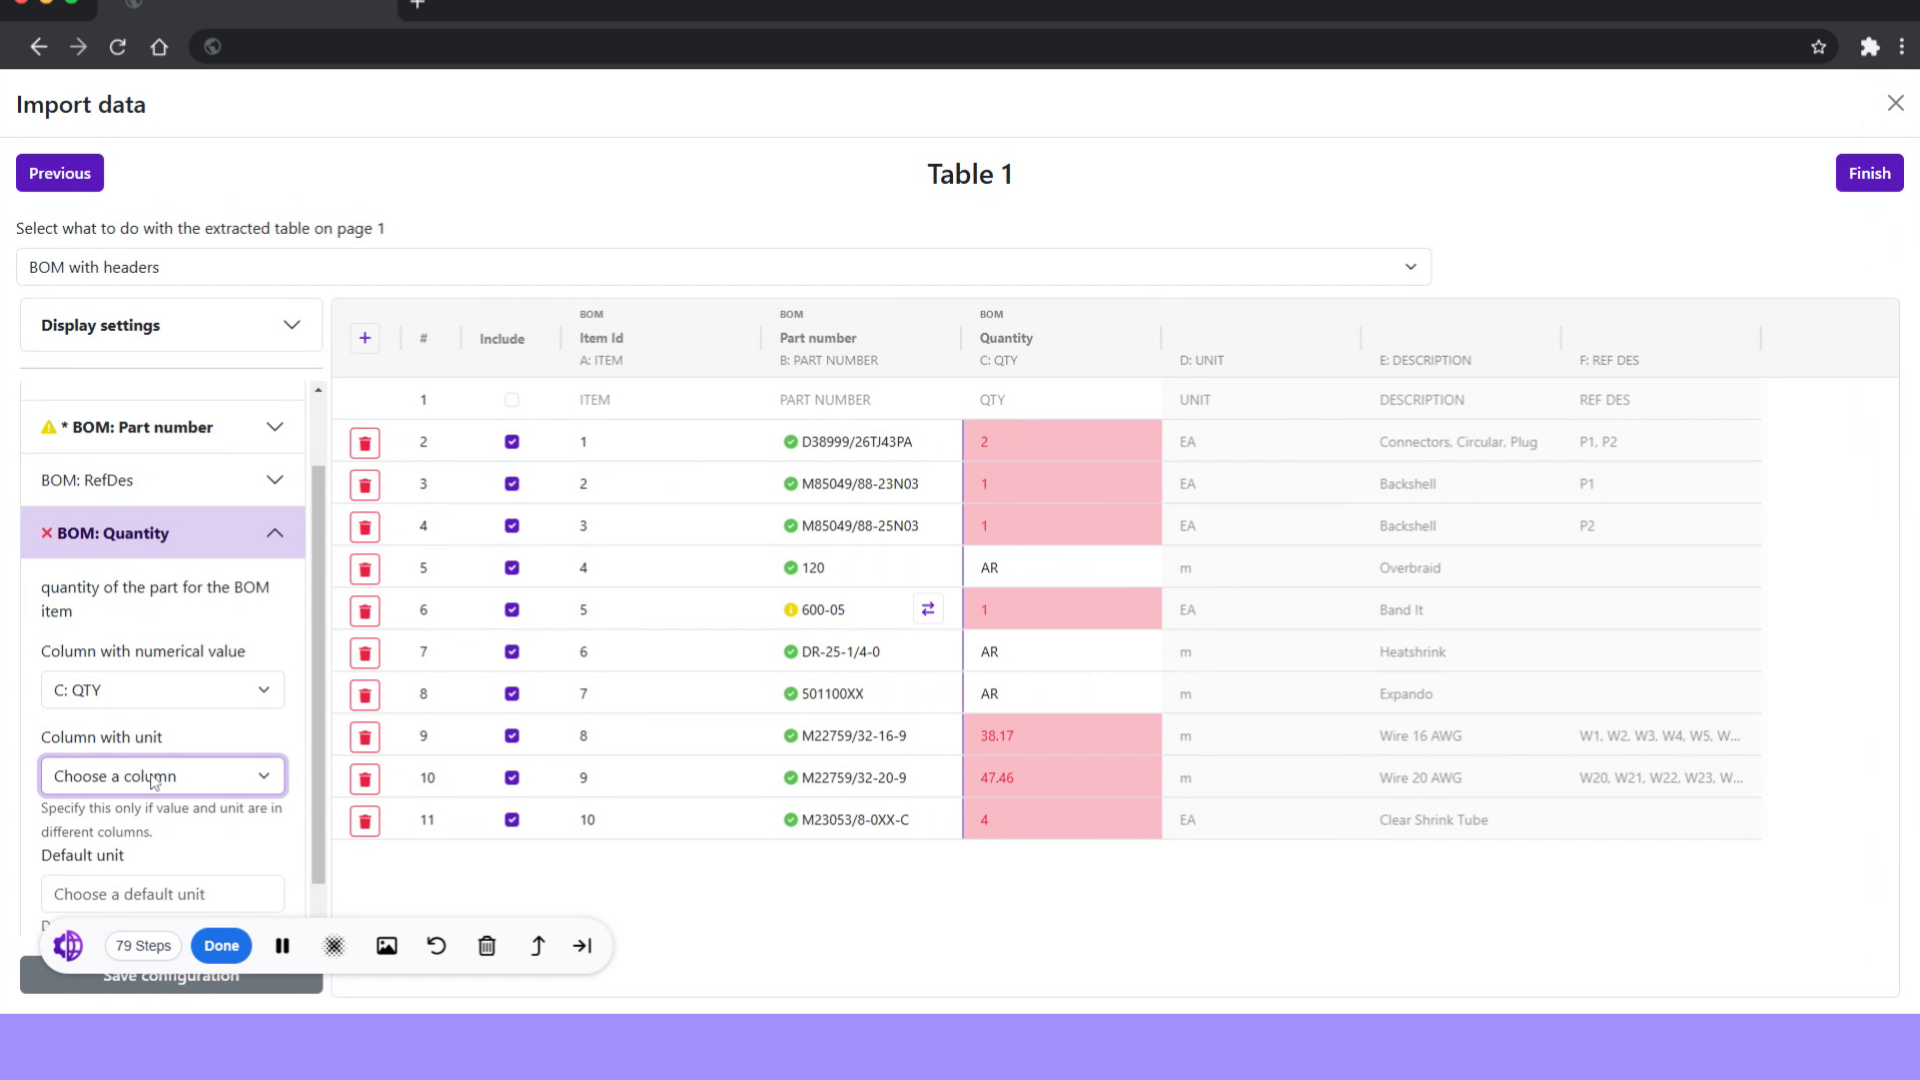
30. Click column with Unit of measure
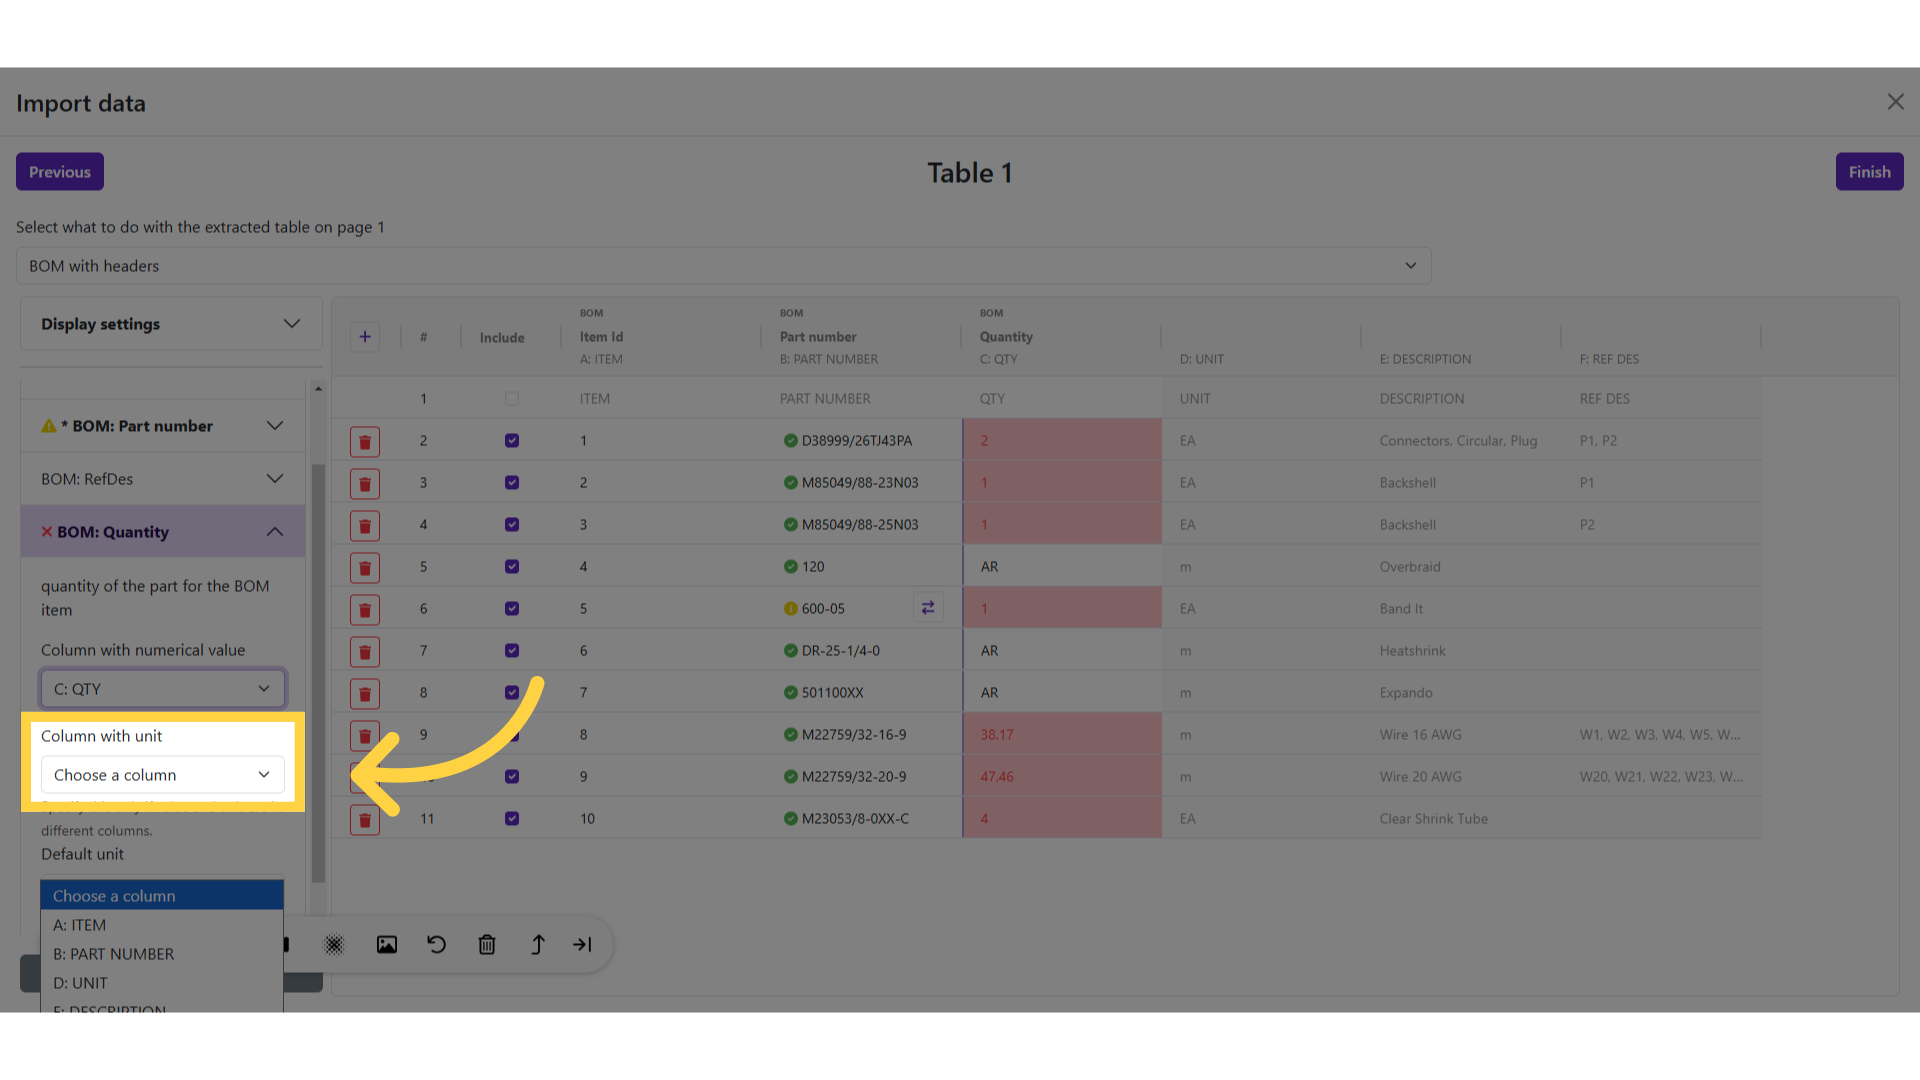
31. Select column with Unit of measure
Choose column with unit of measure.
32. Mapping completion
we have completed the mapping of all the required fields with columns.
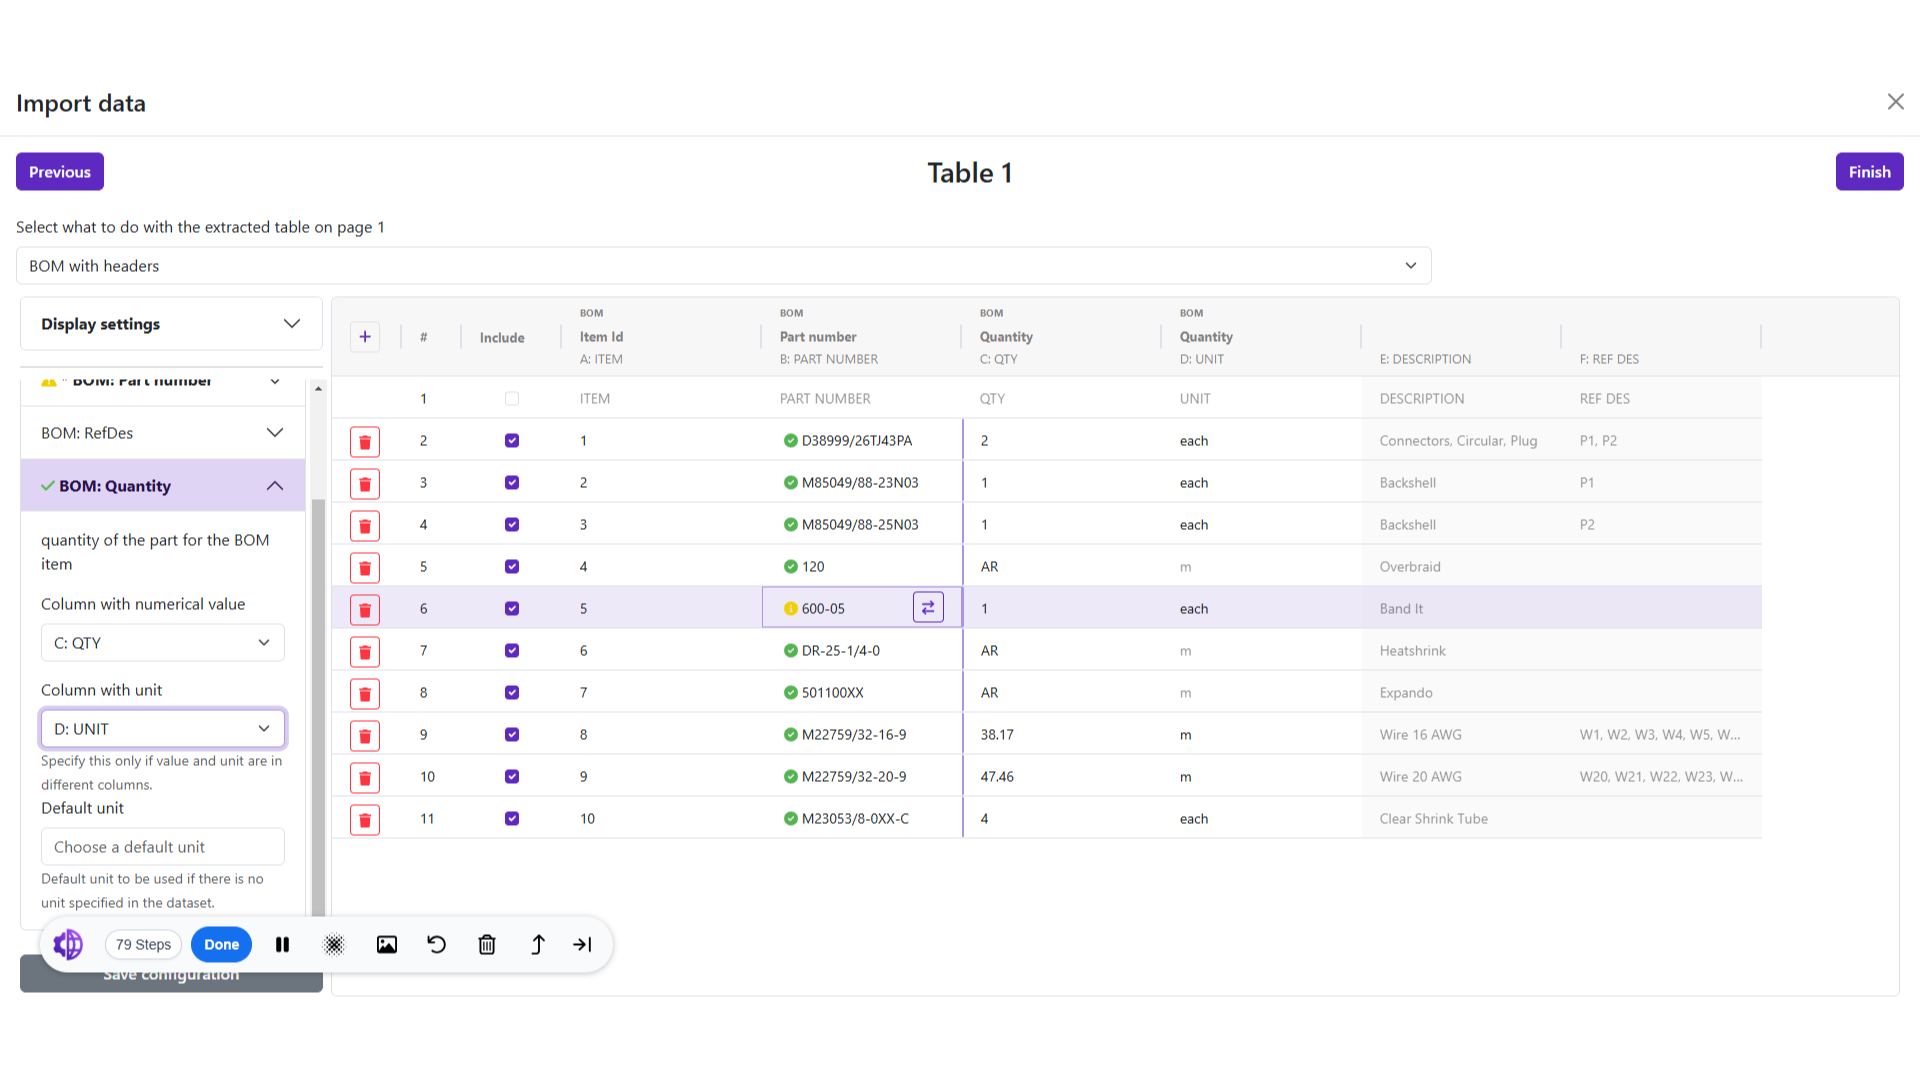
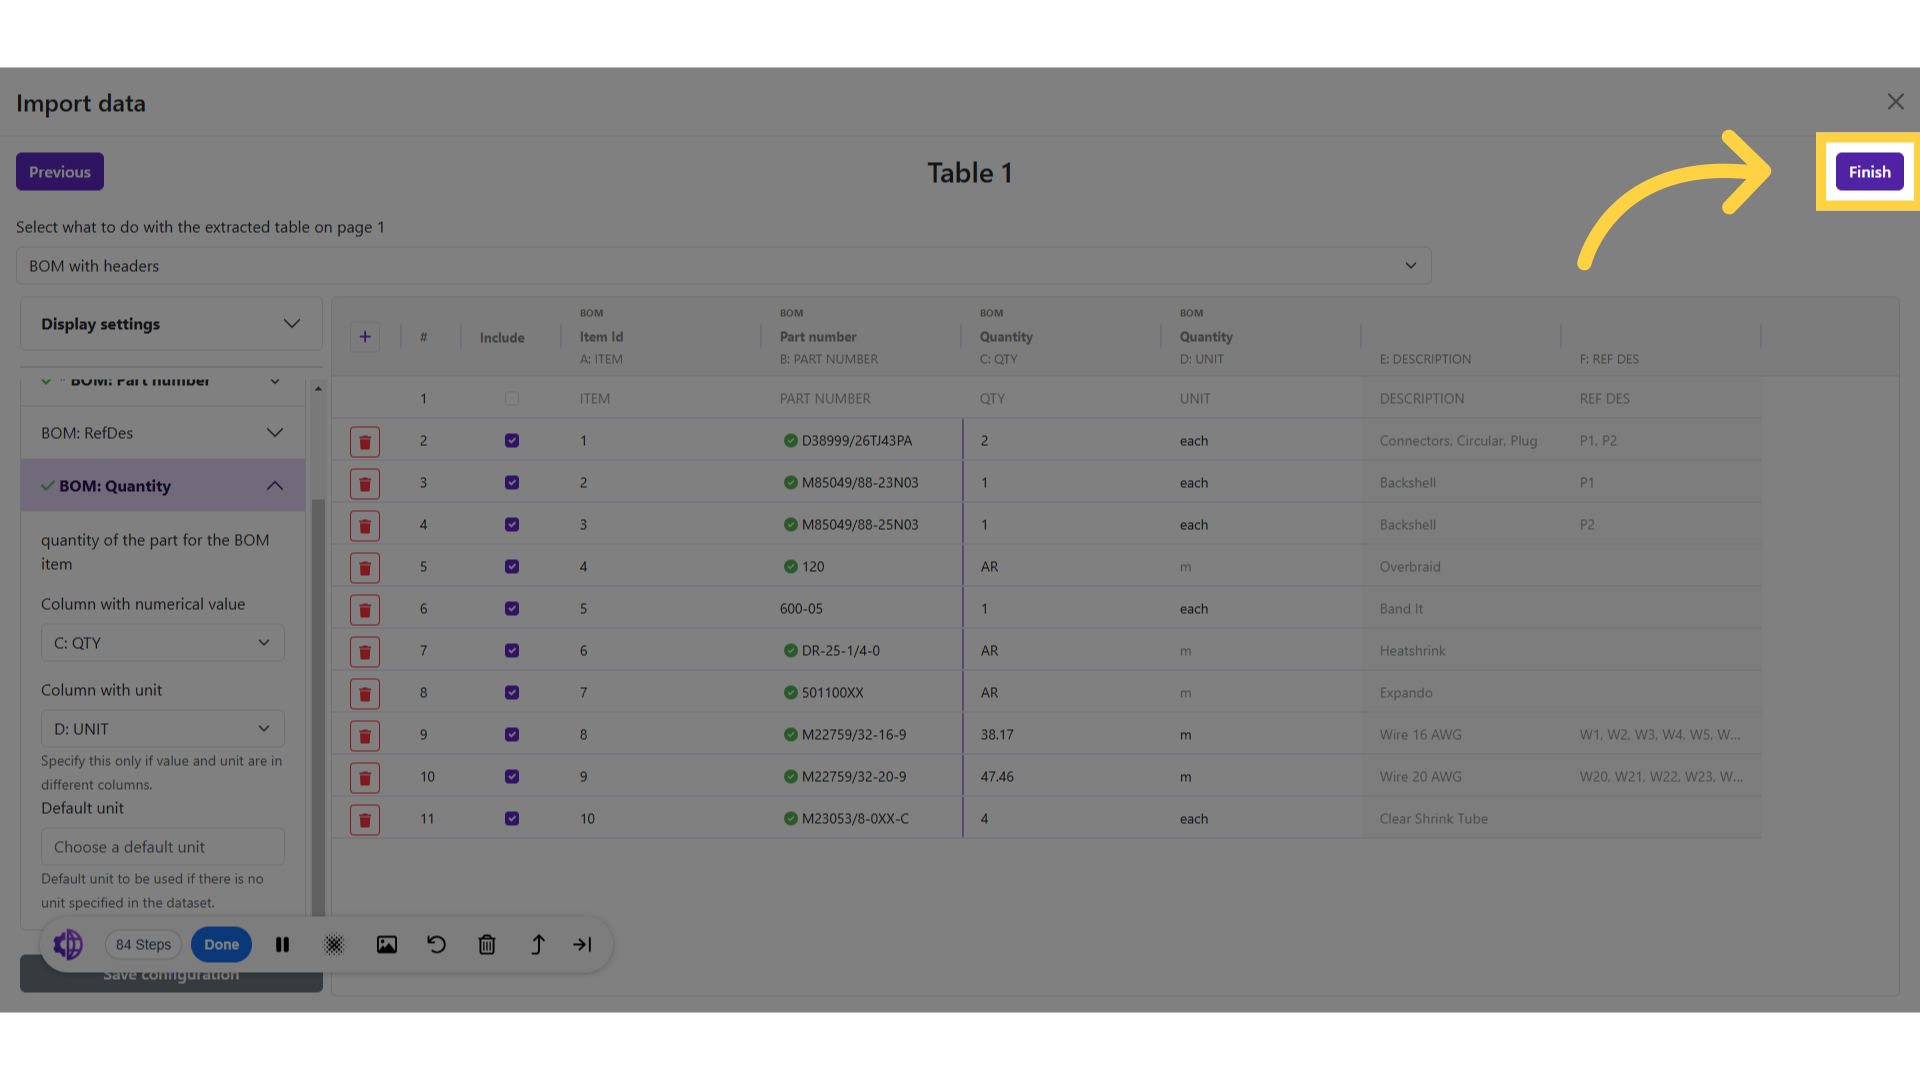
33. Click "Finish"
Finish and complete the process.
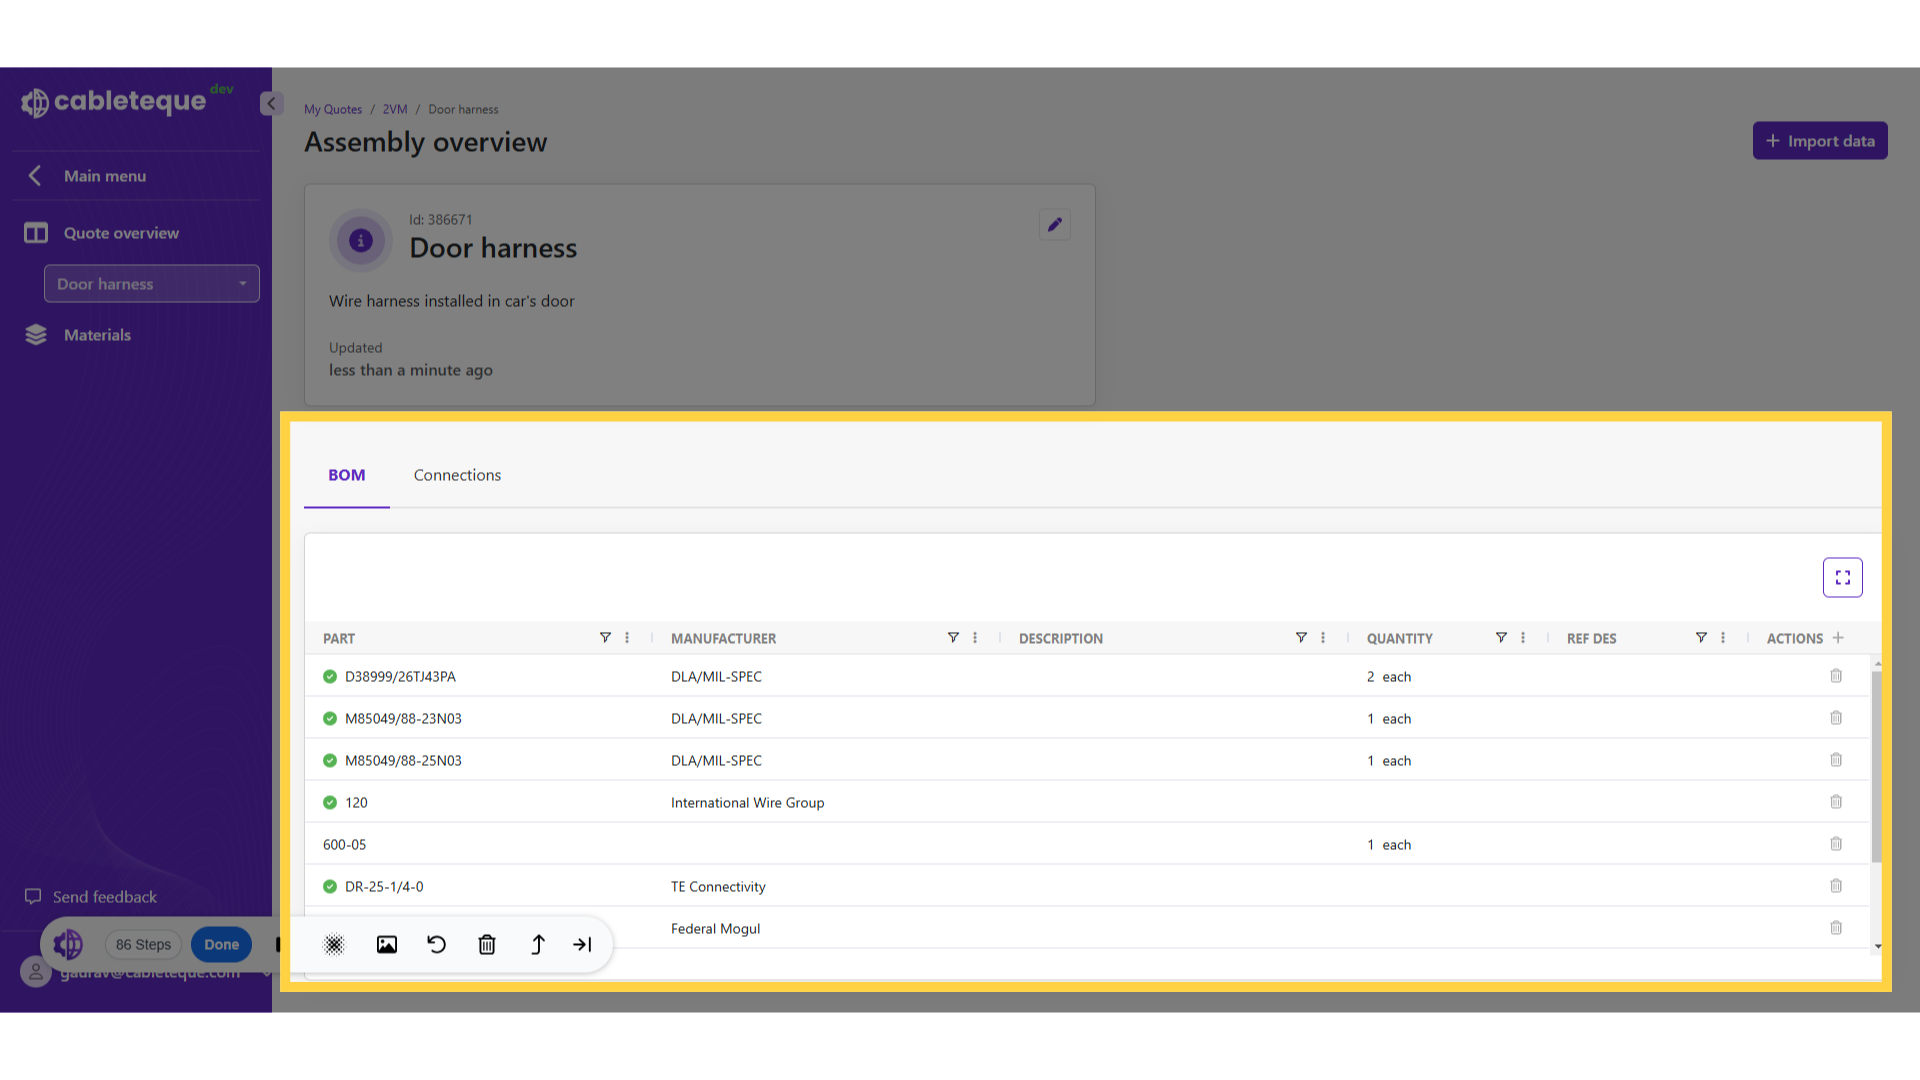
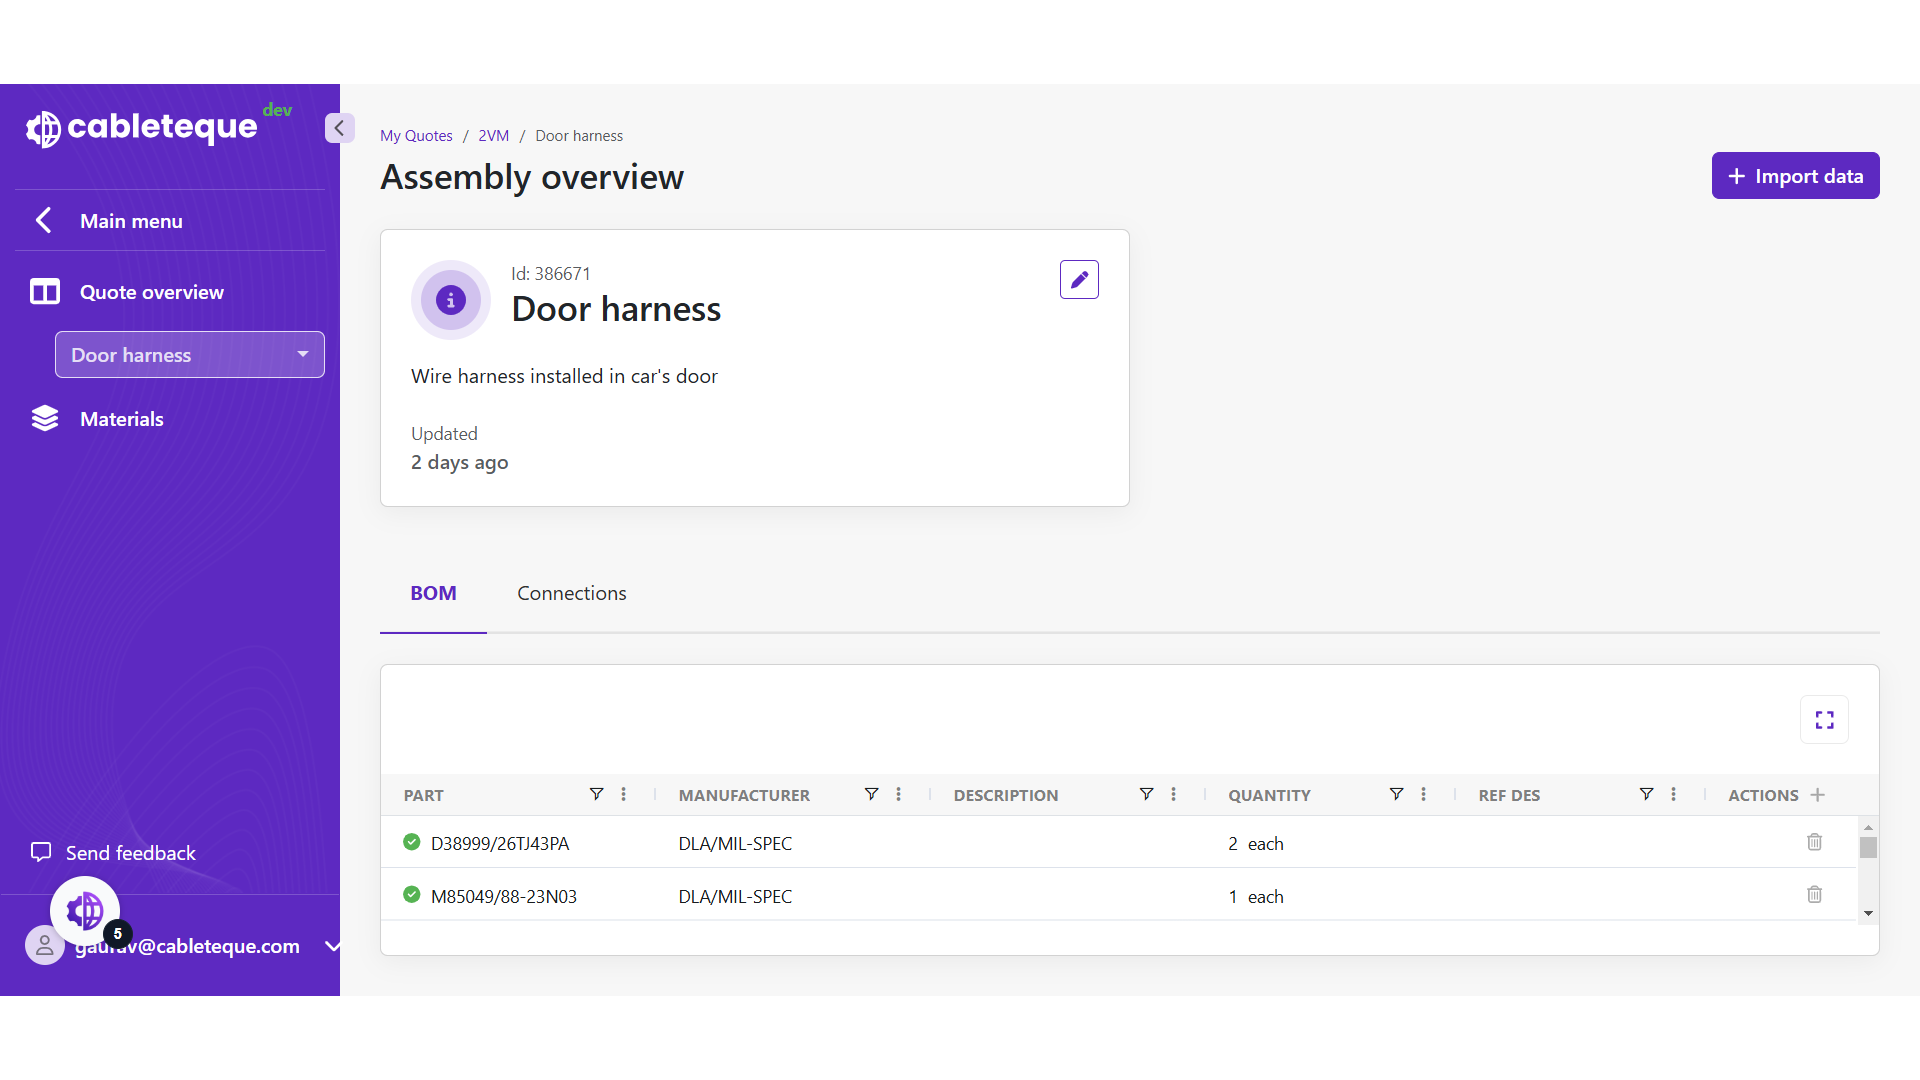
34. Assembly overview
Imported BOM data can be seen under assembly.
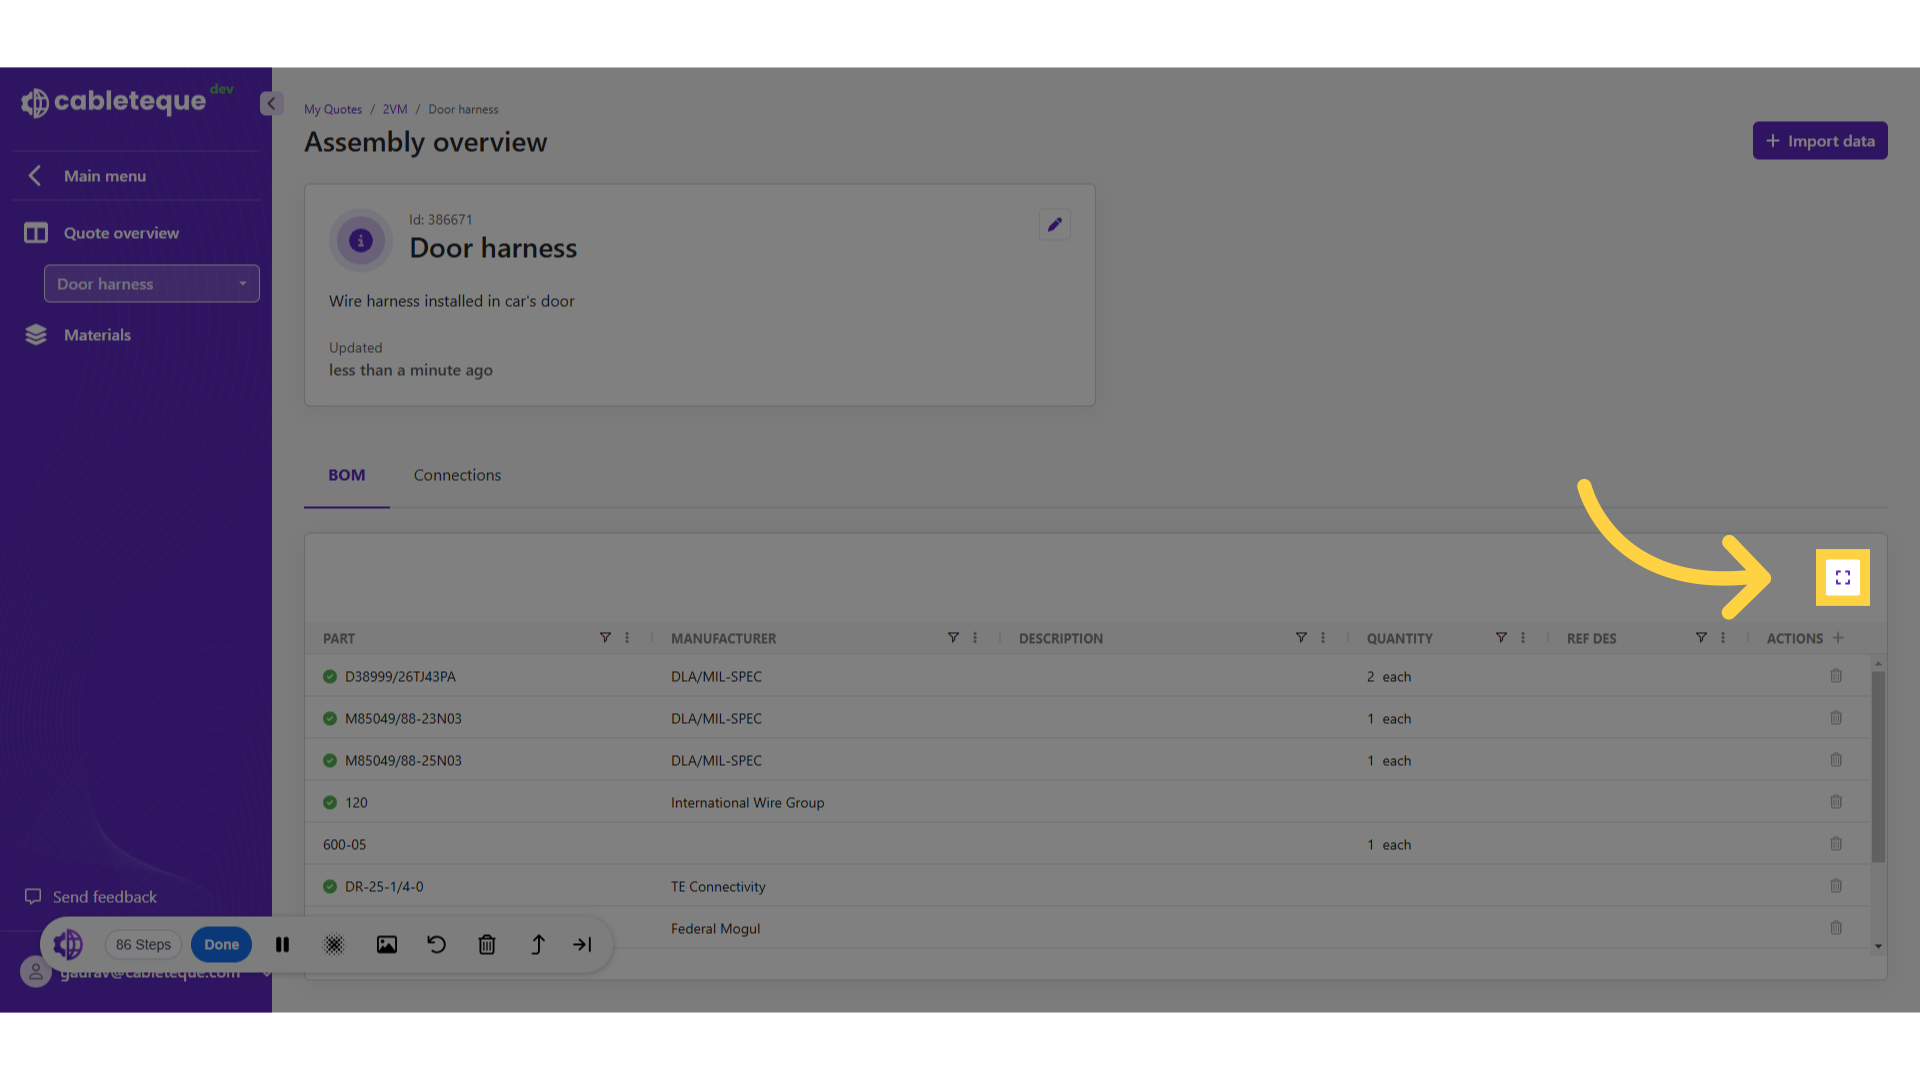
35. Maximize icon
This maximize icon can be used to view BOM in full screen view.
36. Full screen view
Full screen view is opened.
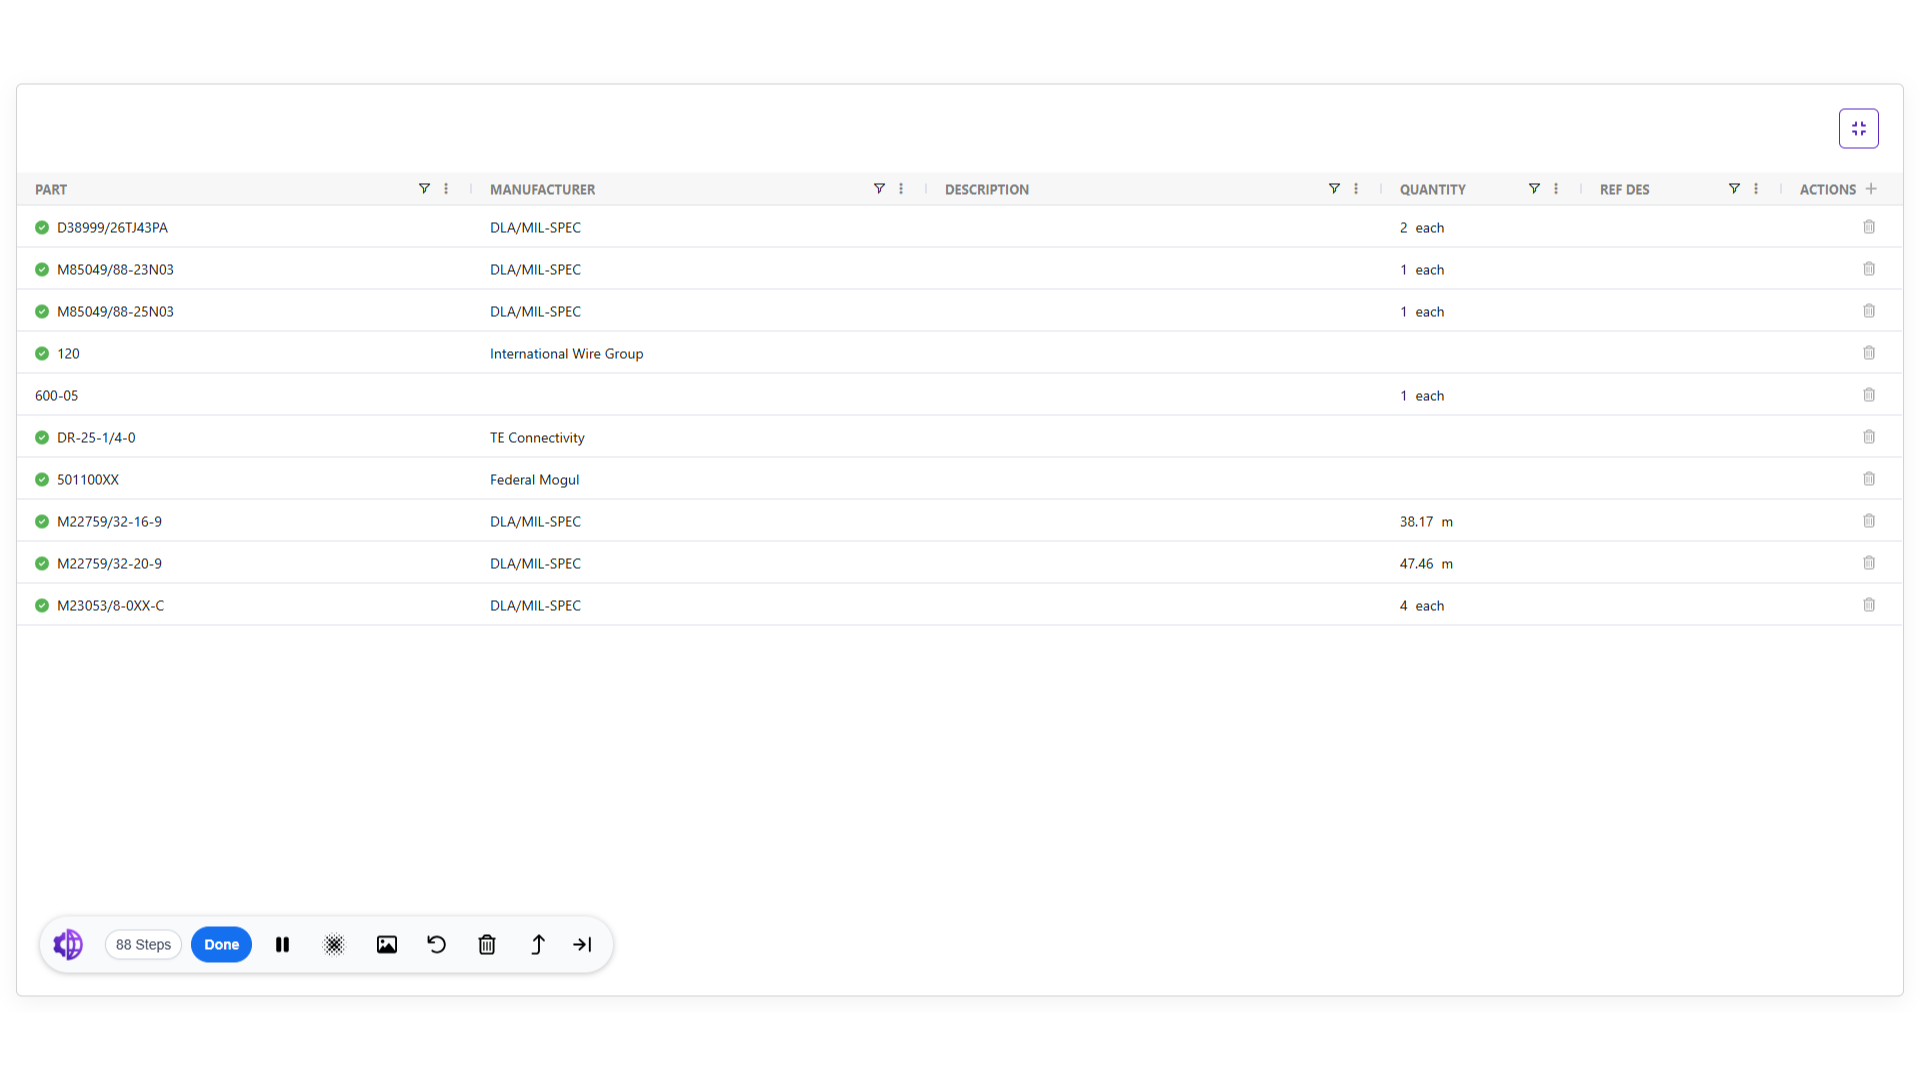
37. Minimize icon
and use this minimize icon to exit full screen view.

38. Editing assembly details
As of now we have seen the process to create new assembly and importing data in it. We might require to make changes in assembly details.
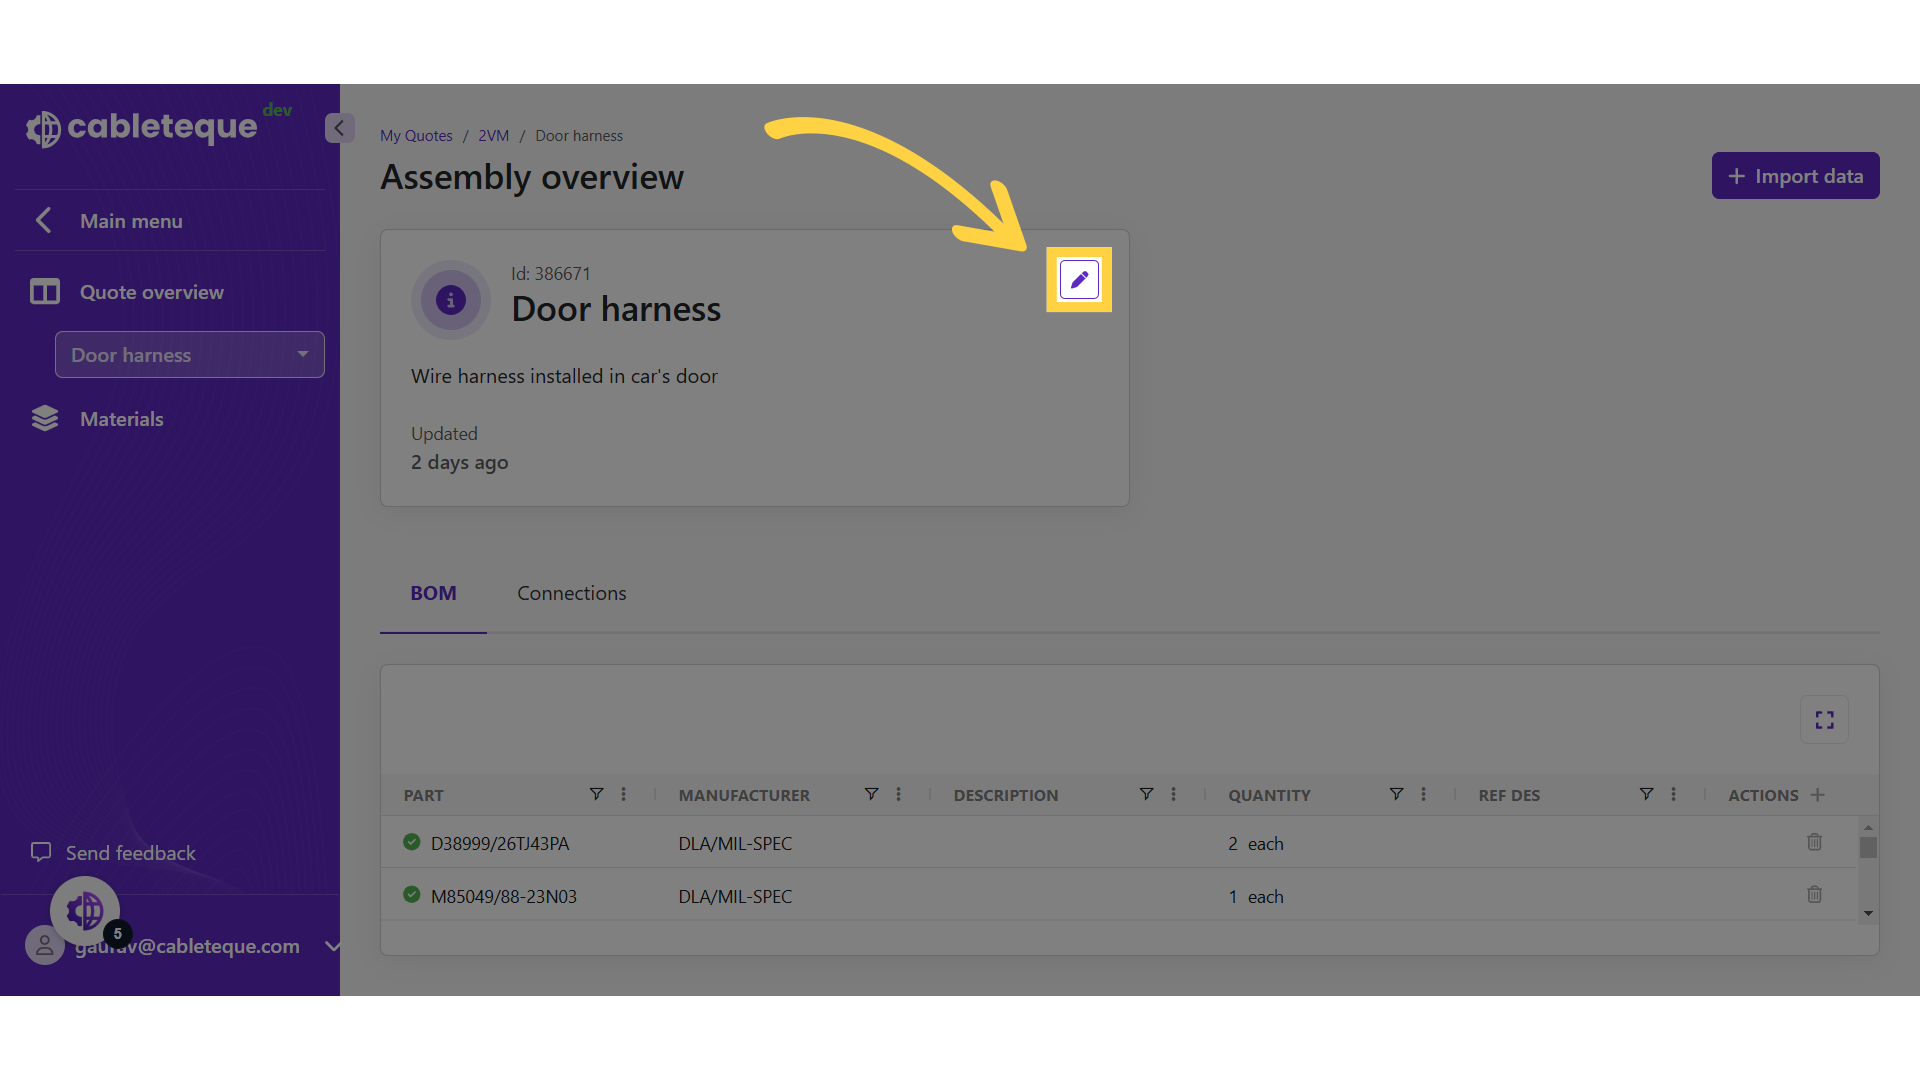
39. Click "Edit icon"
To make any changes in assembly information use edit button.
40. Edit assembly
Make the required changes in the dialogue box.
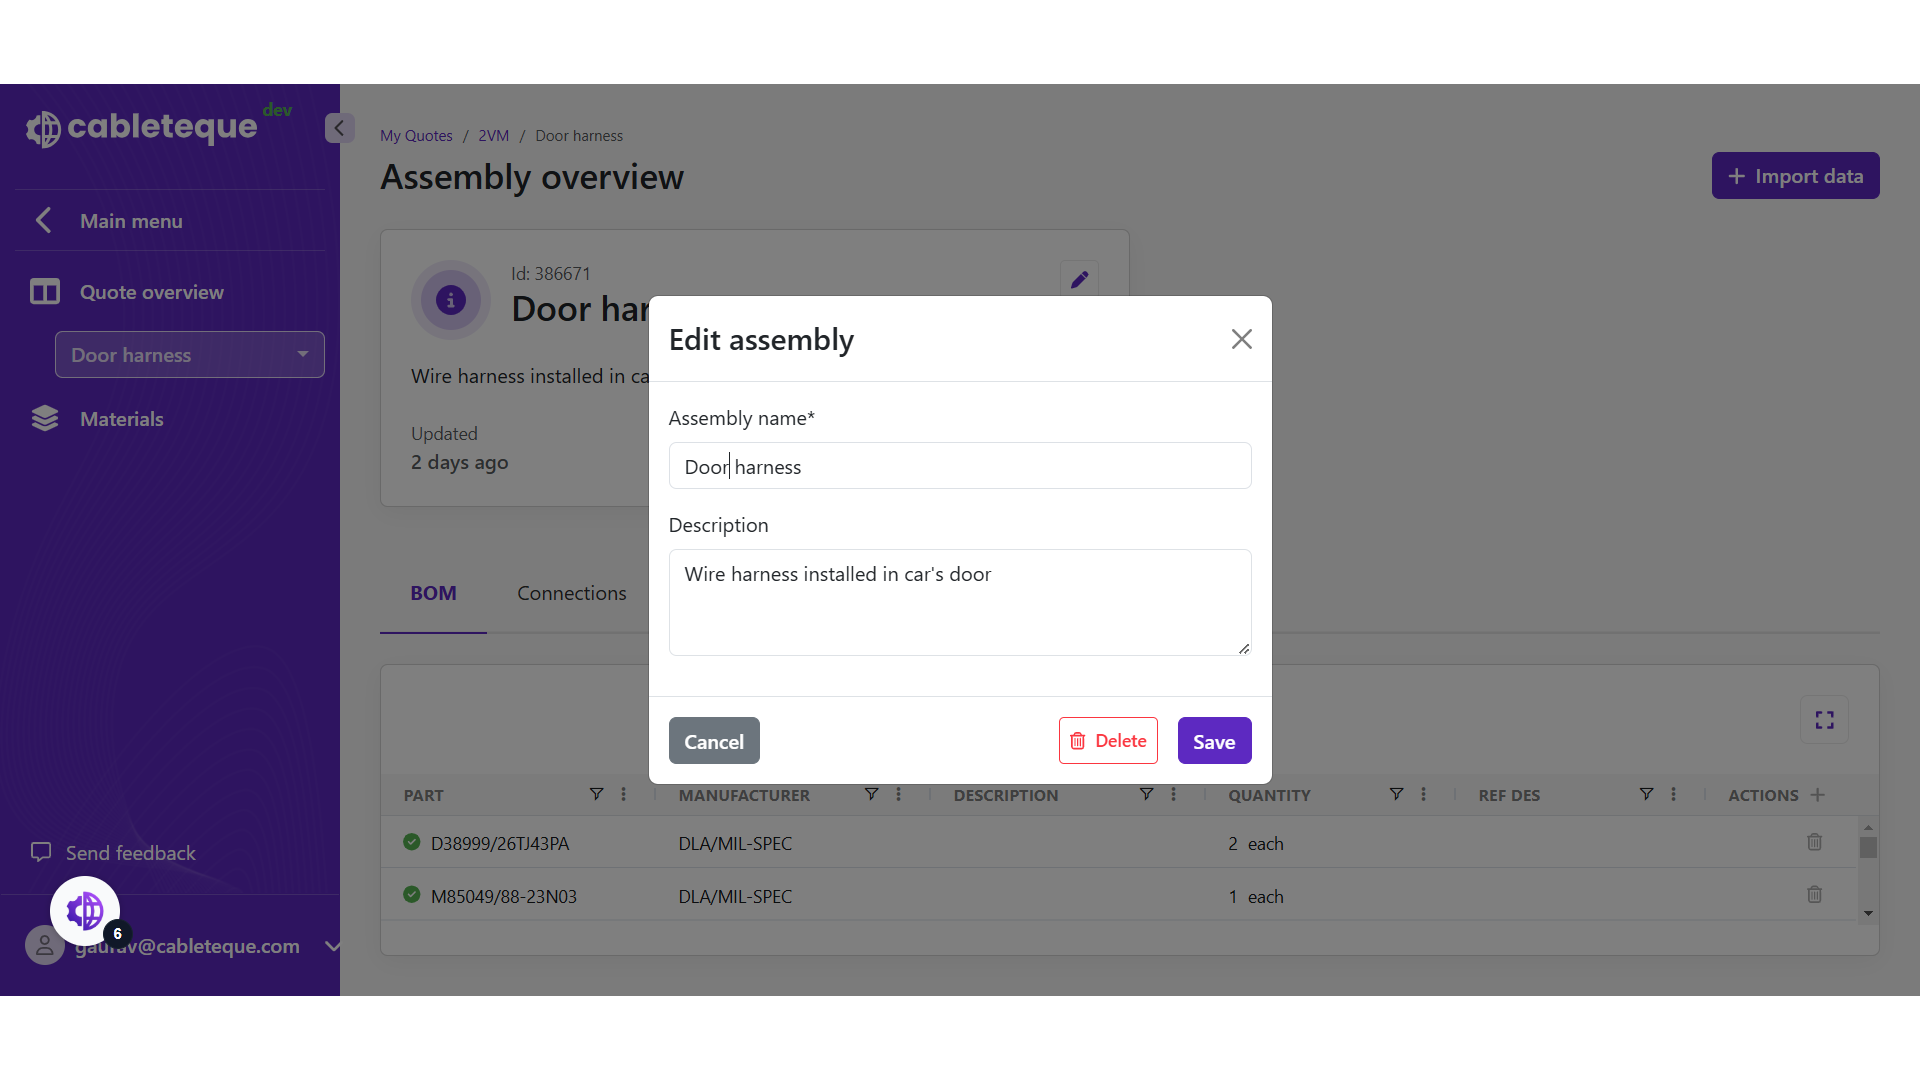
41. Click Assembly name box
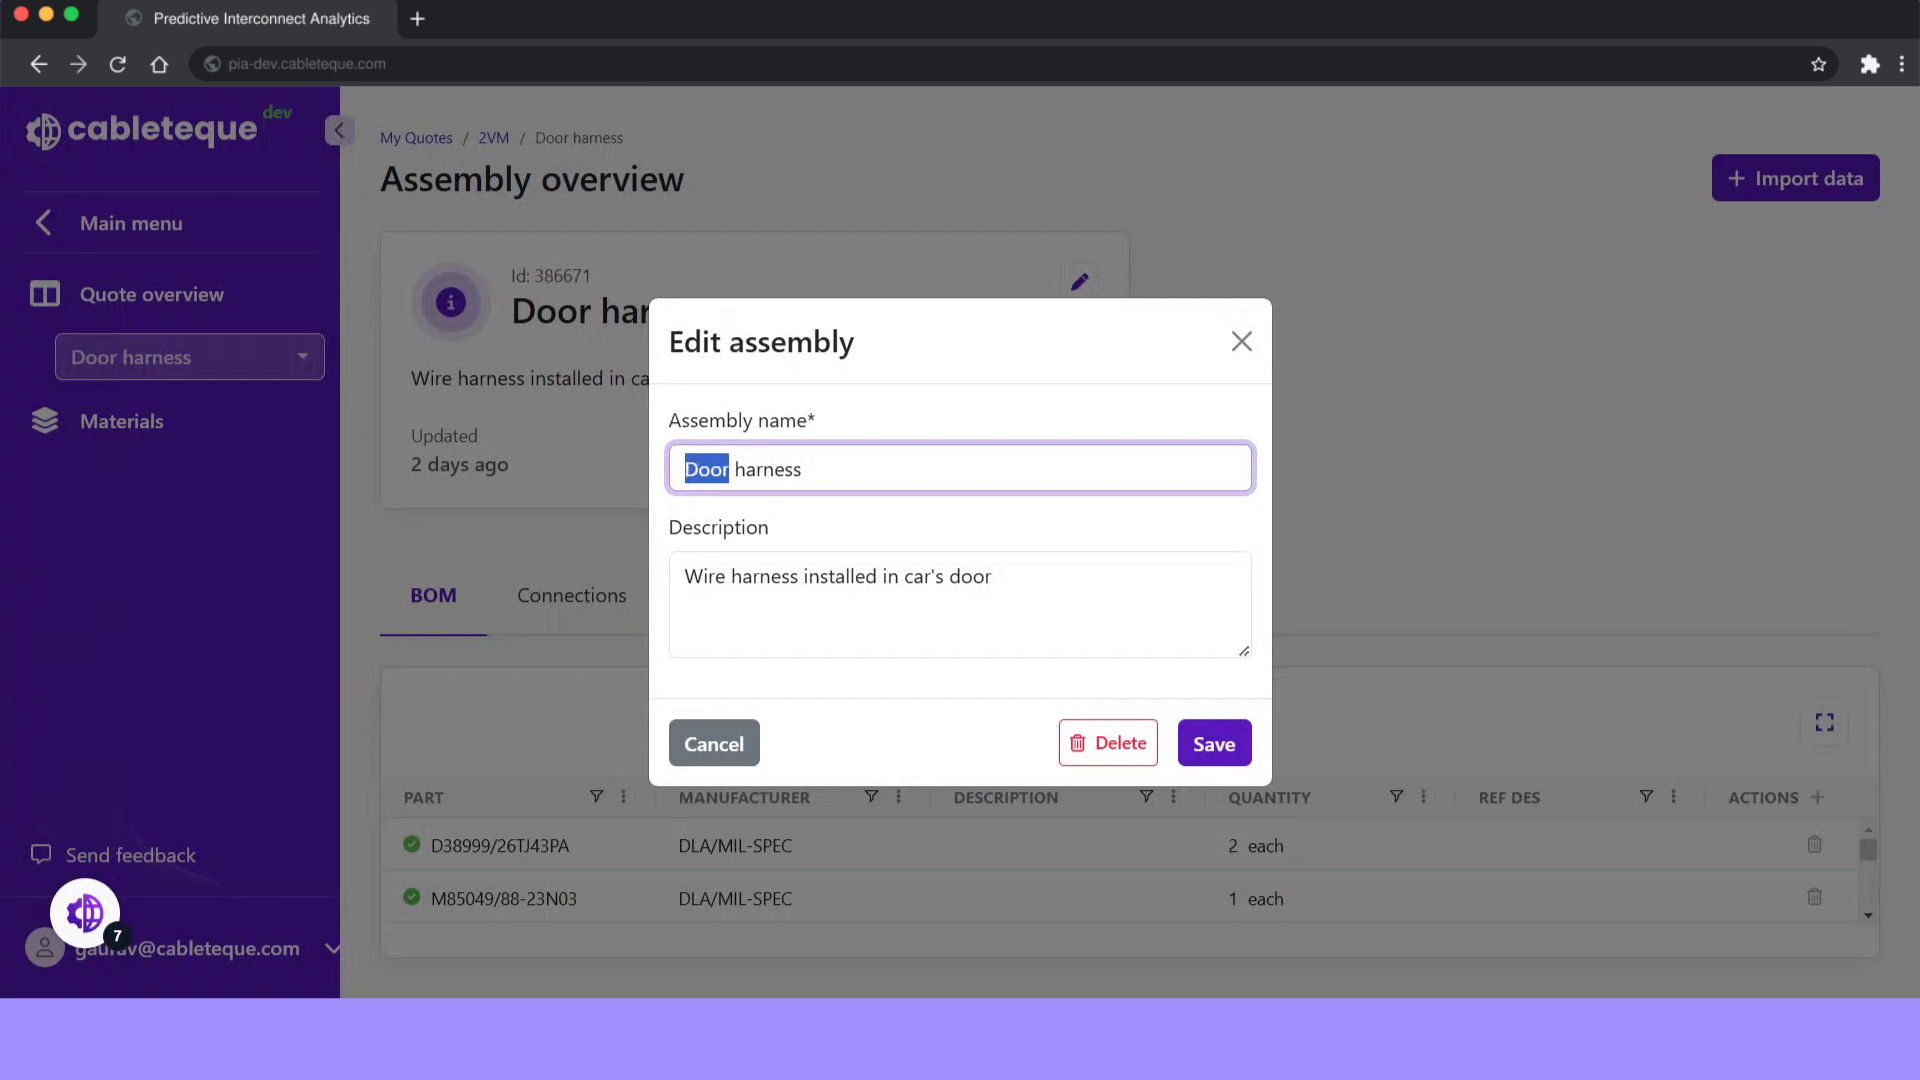
42. Change assembly name
Fill in new assembly name

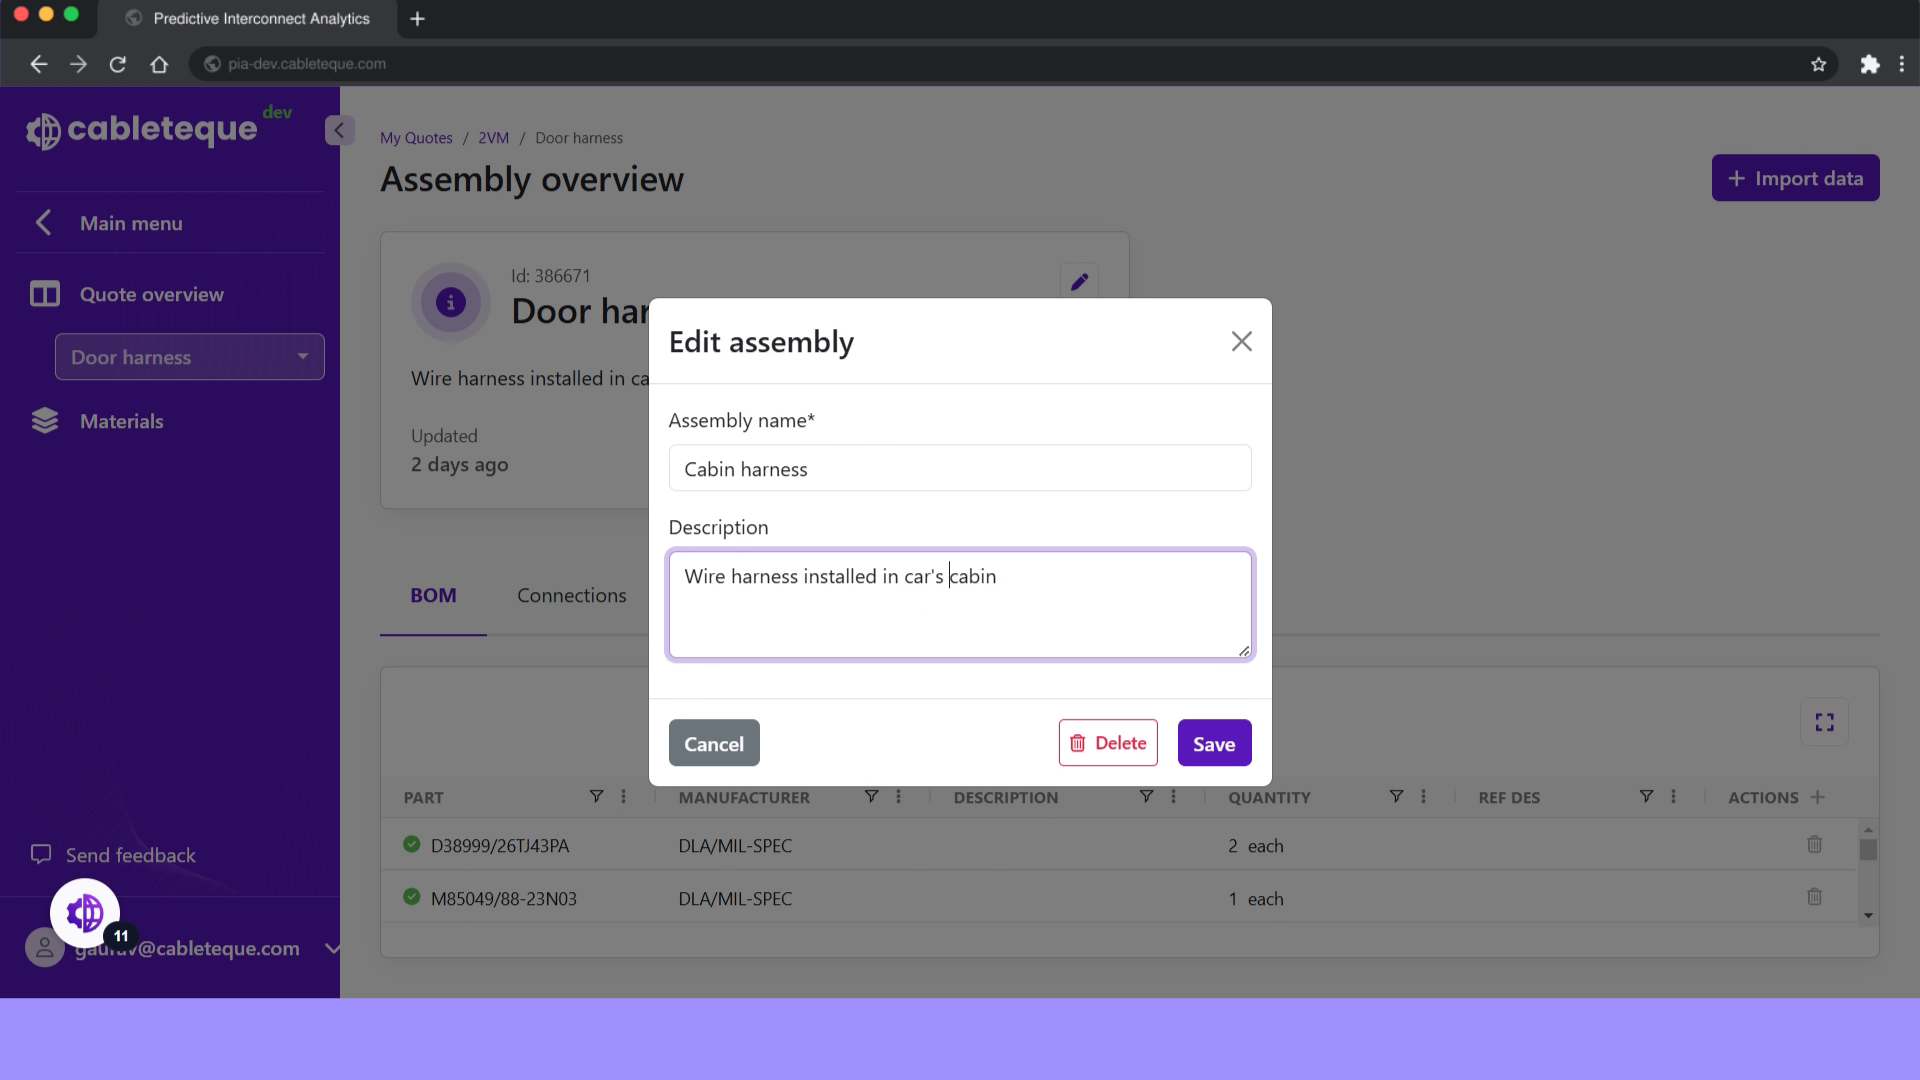
43. Click description box

44. Change description
Fill in new description
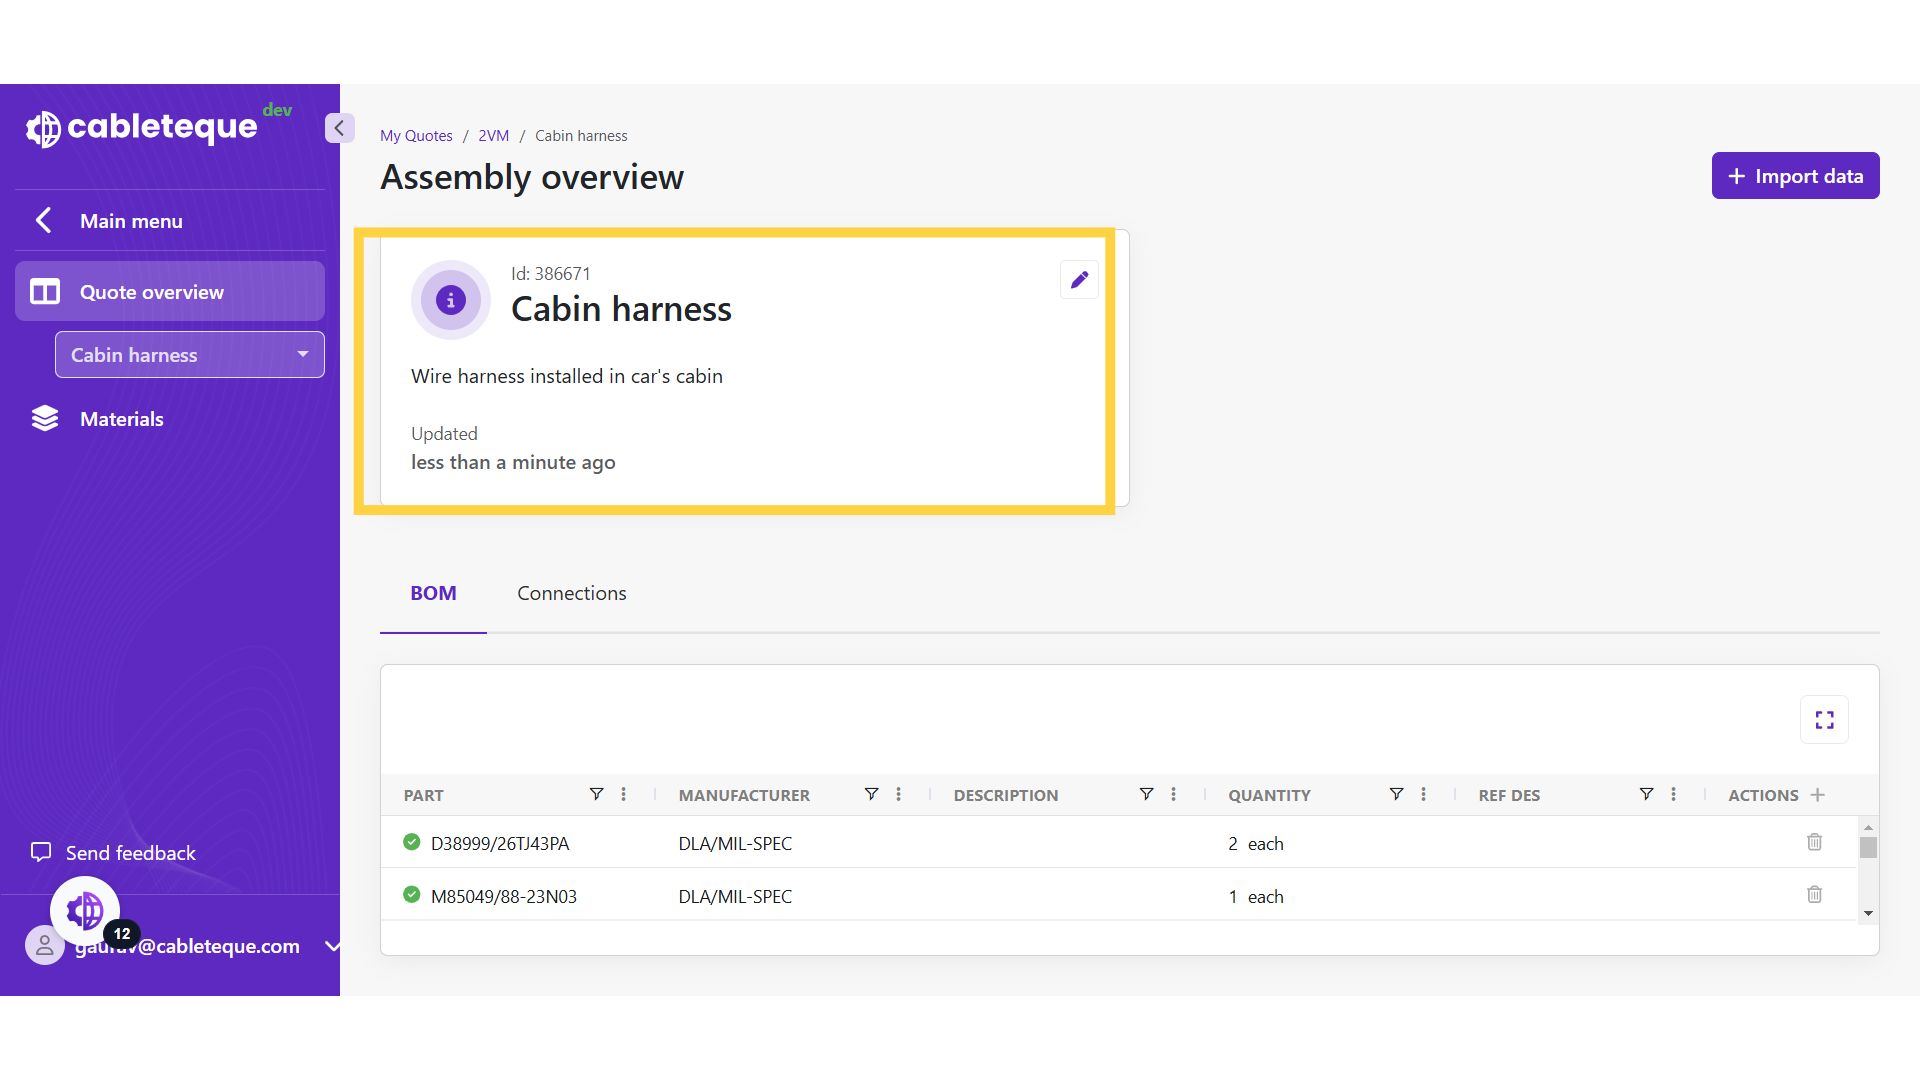
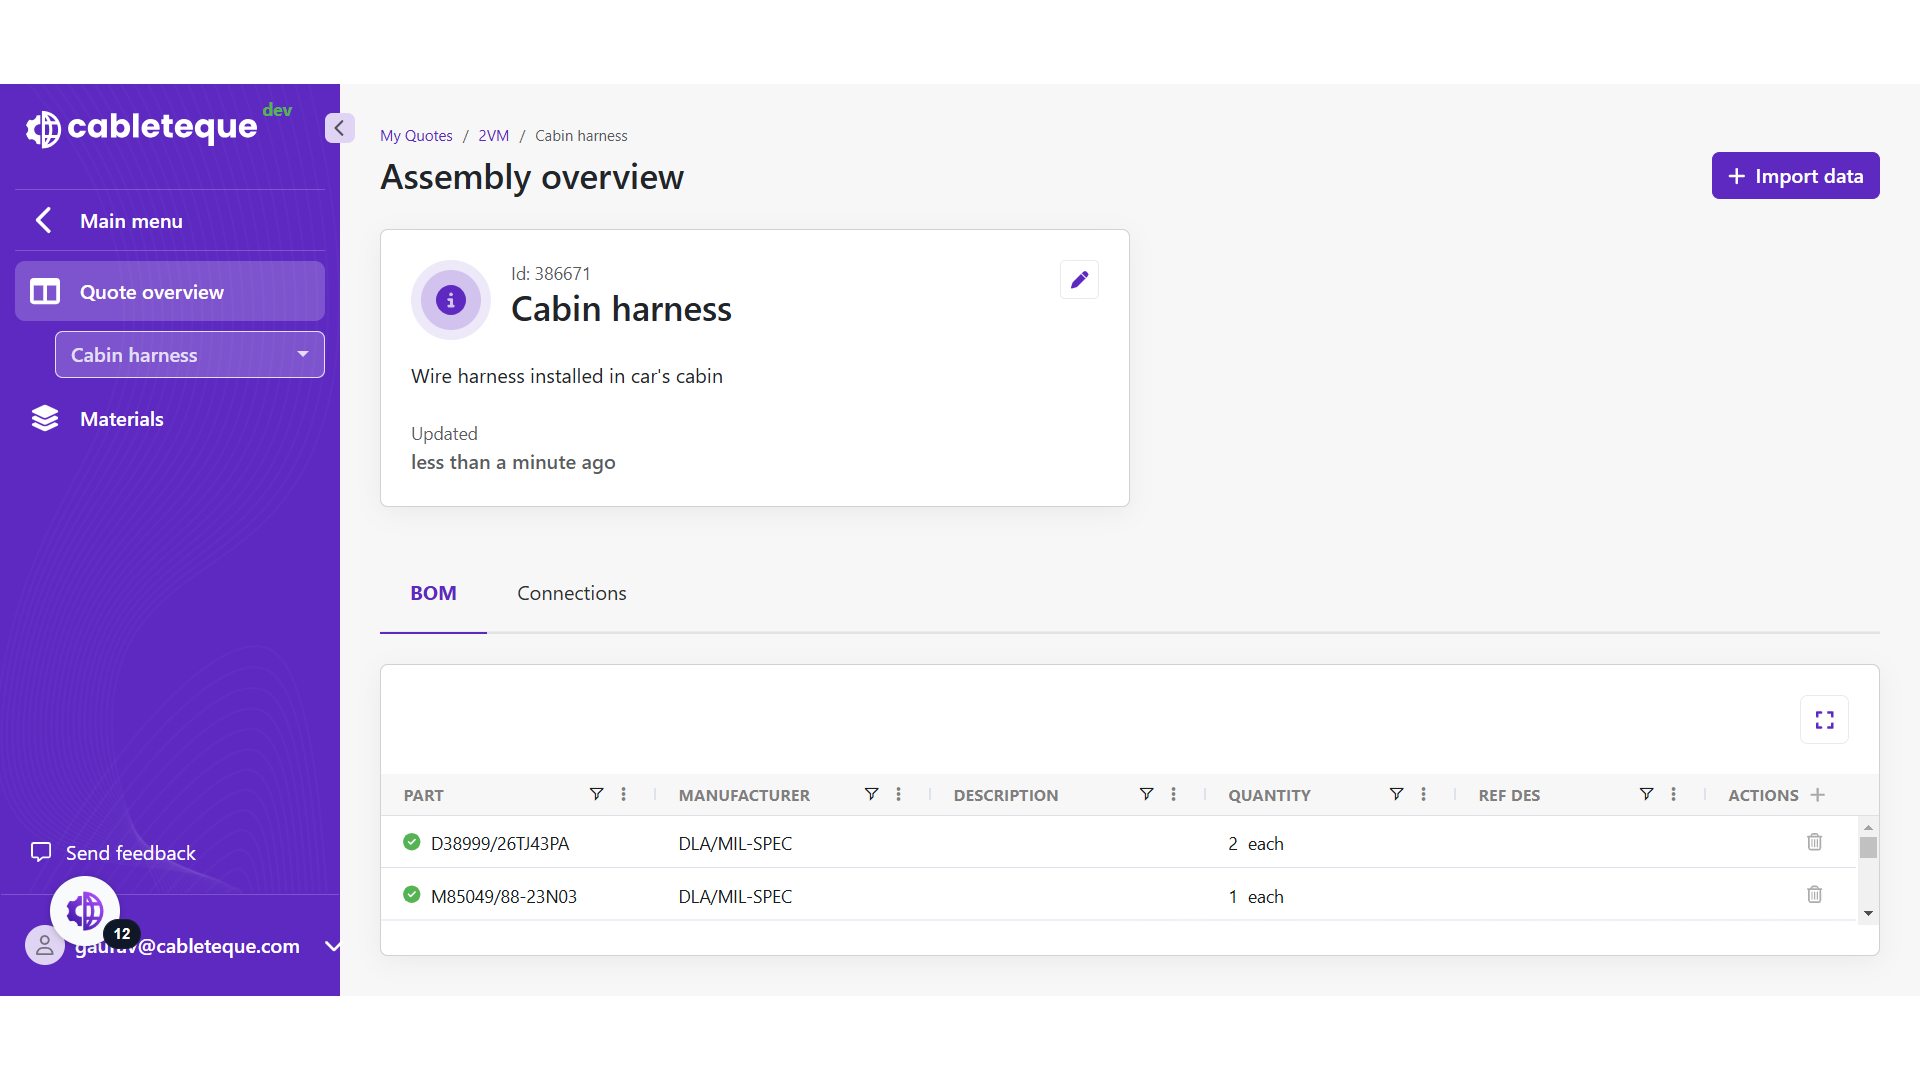
45. Changes are done
Any of the updates made can be seen in assembly overview.
46. Deletion of assembly
We have now seen to edit assembly information. Occasionally it may be necessary to delete an assembly.
47. Click "Quote overview"
Access the "Quote Overview" section to view list of assemblies.
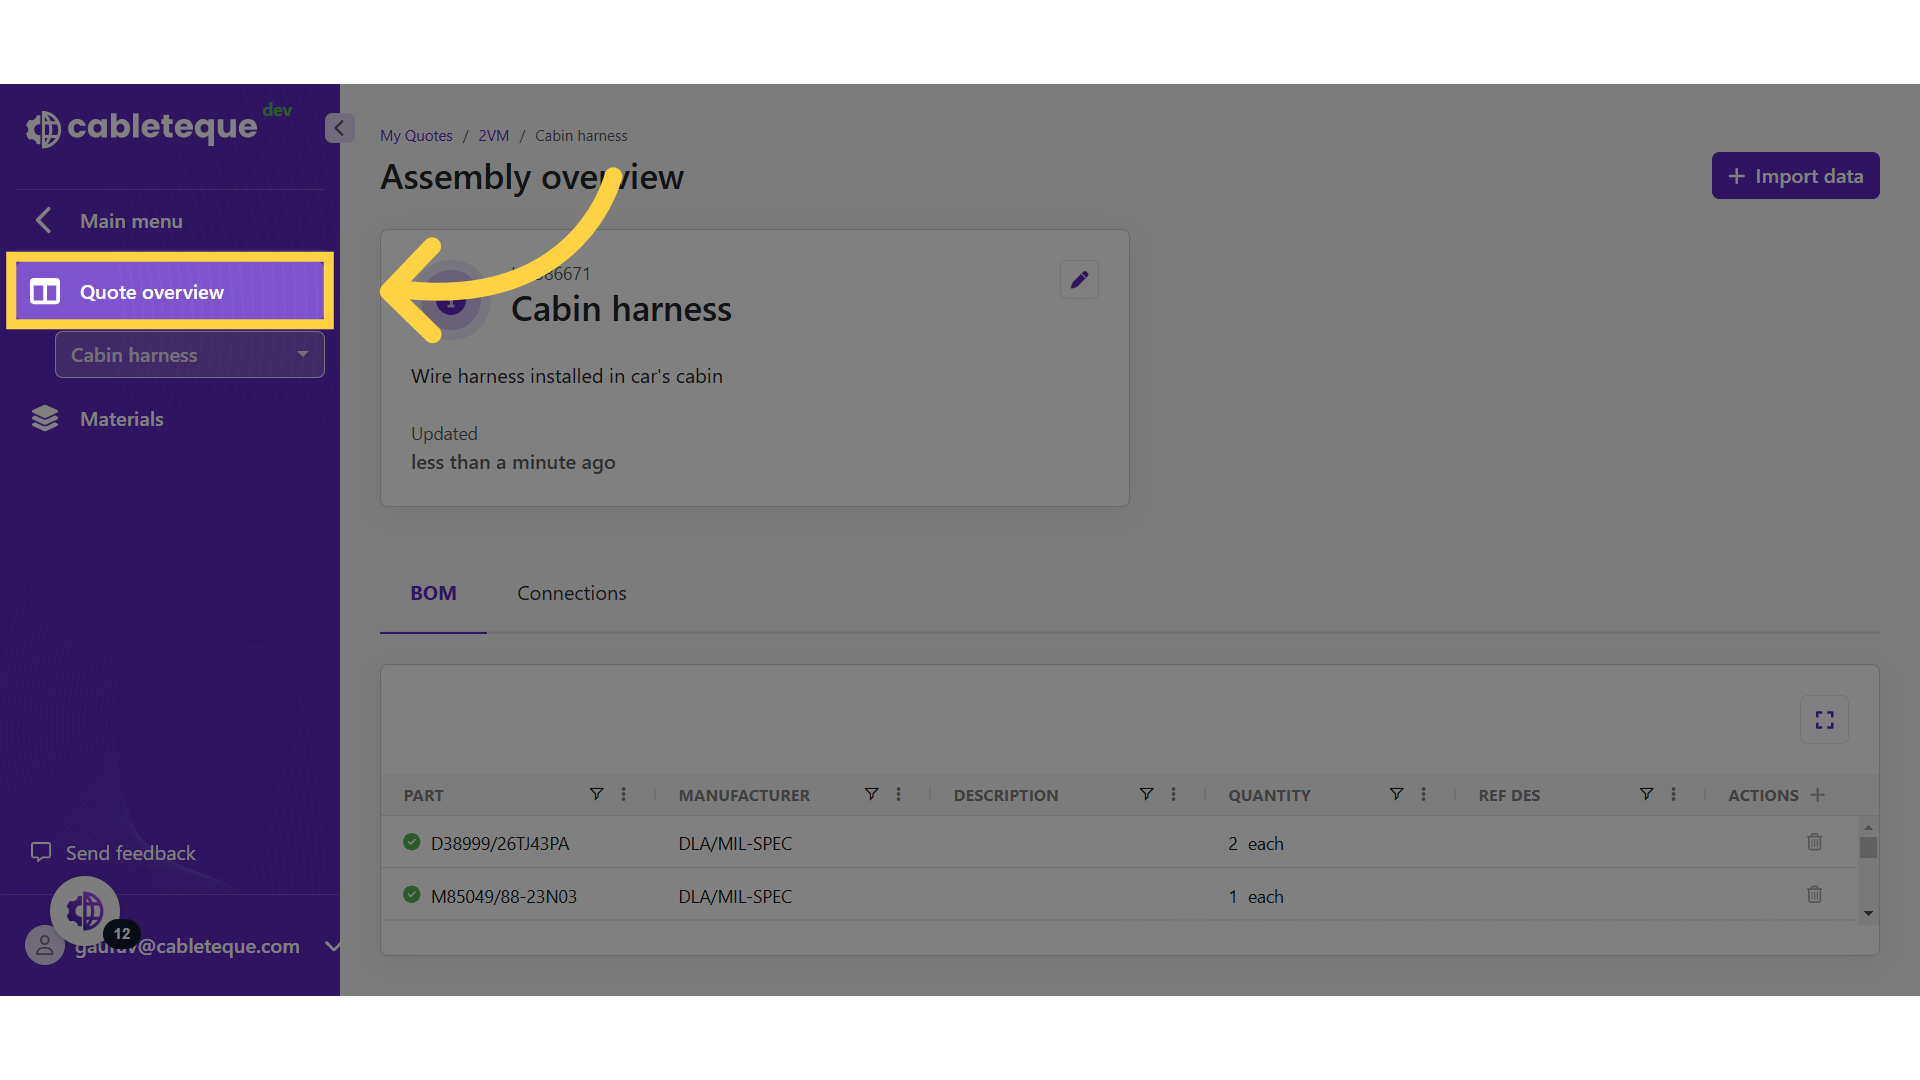
48. Quote overview
Here we can see the created assemblies.

49. Delete icon
Desired Assembly can be deleted using delete icon.
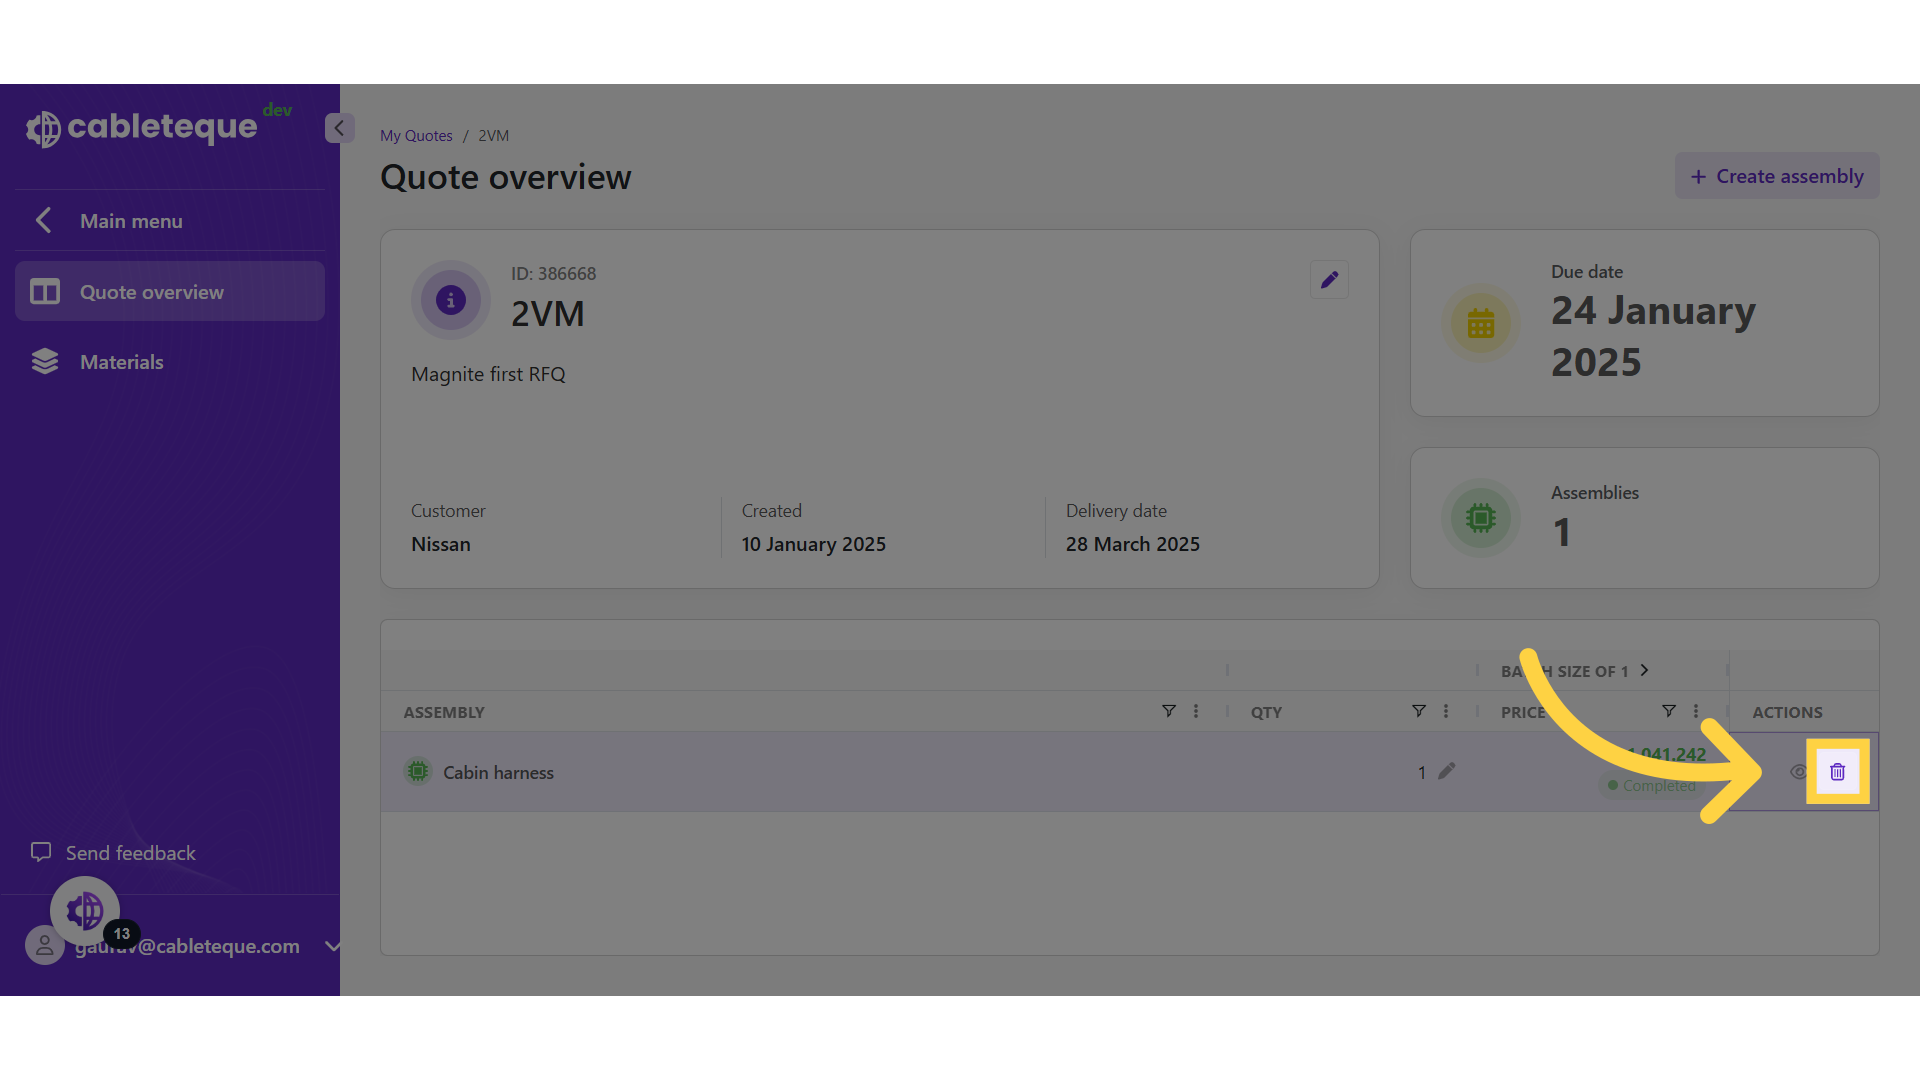
50. Click "Yes"
Select "Yes" to confirm.

51. Assembly deleted
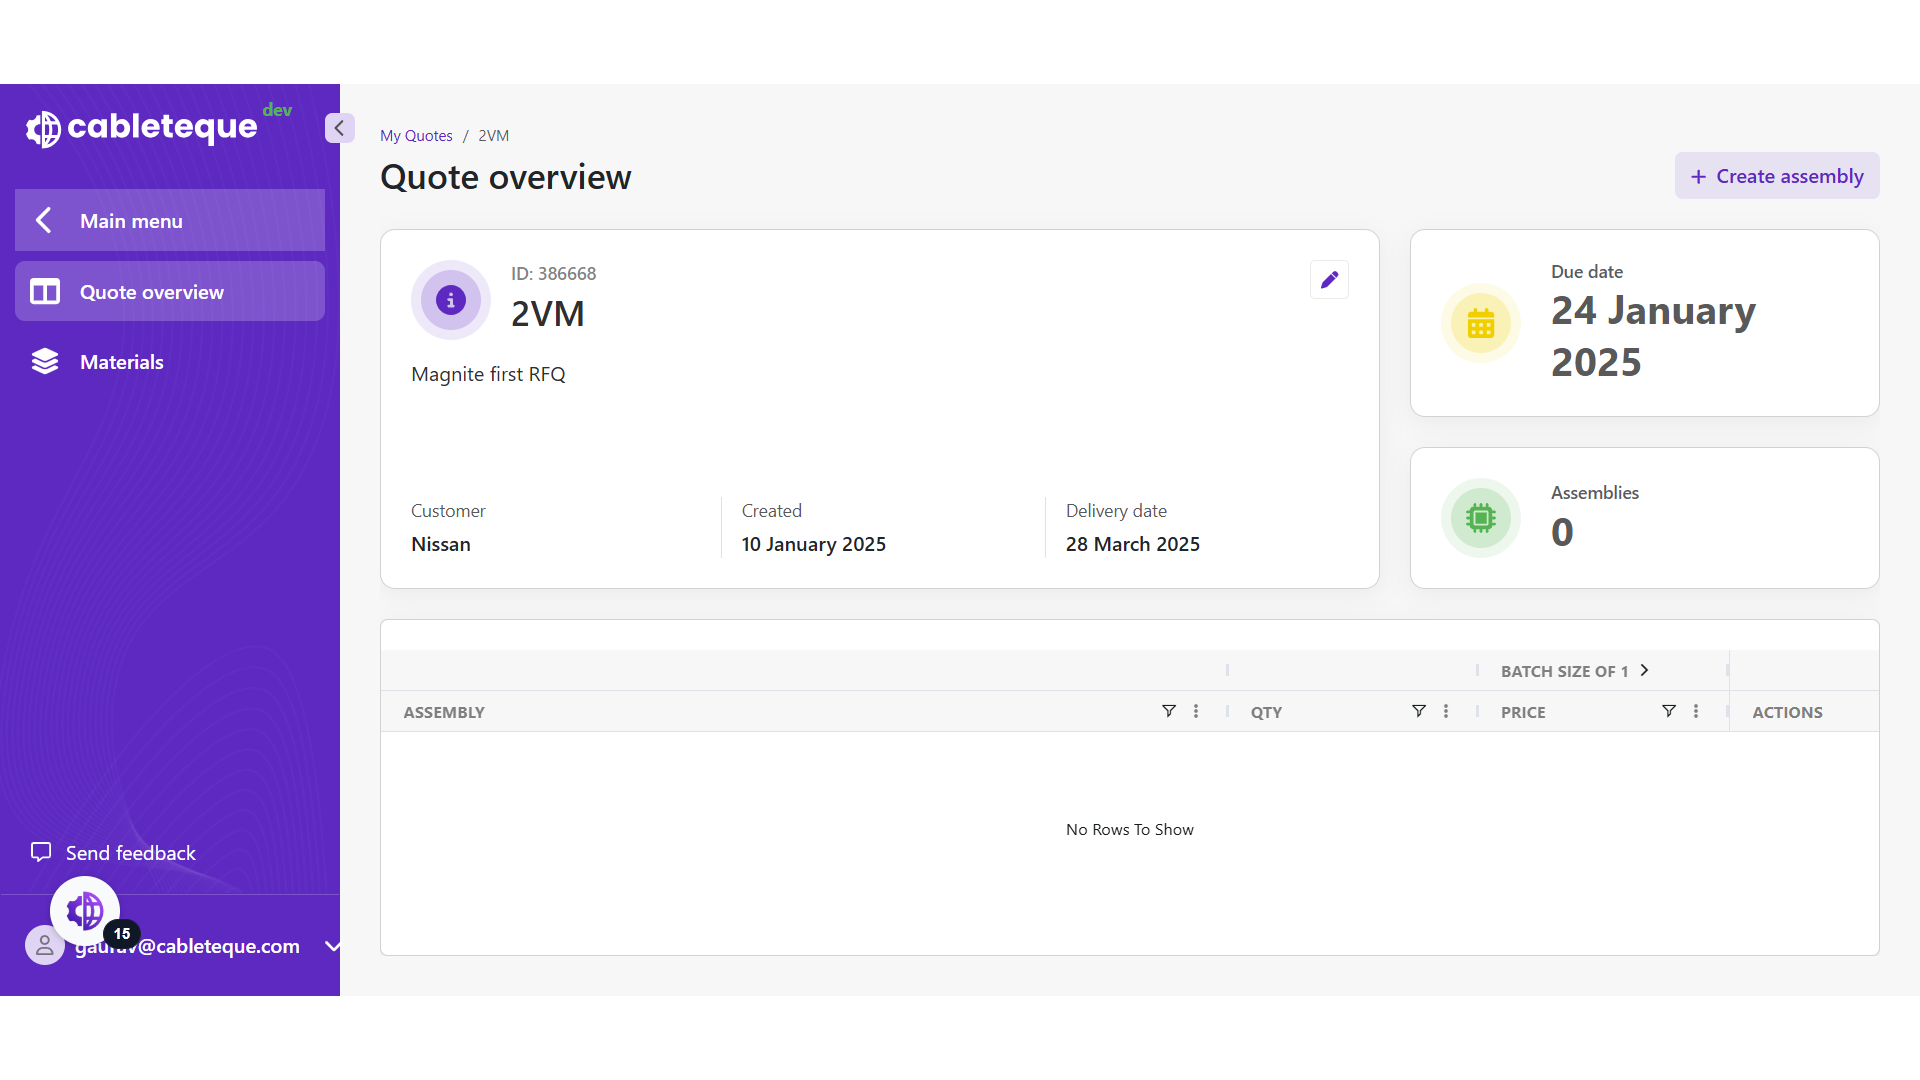
52. Thank You
This guide covered the process to efficiently manage assemblies and importing data in it. Thankyou