How to manage customers & customer part numbers
this guide covers the process to efficiently create, edit, delete customers and importing customer part numbers from a spreadsheet
Go to app.cableteque.com
1. Introduction
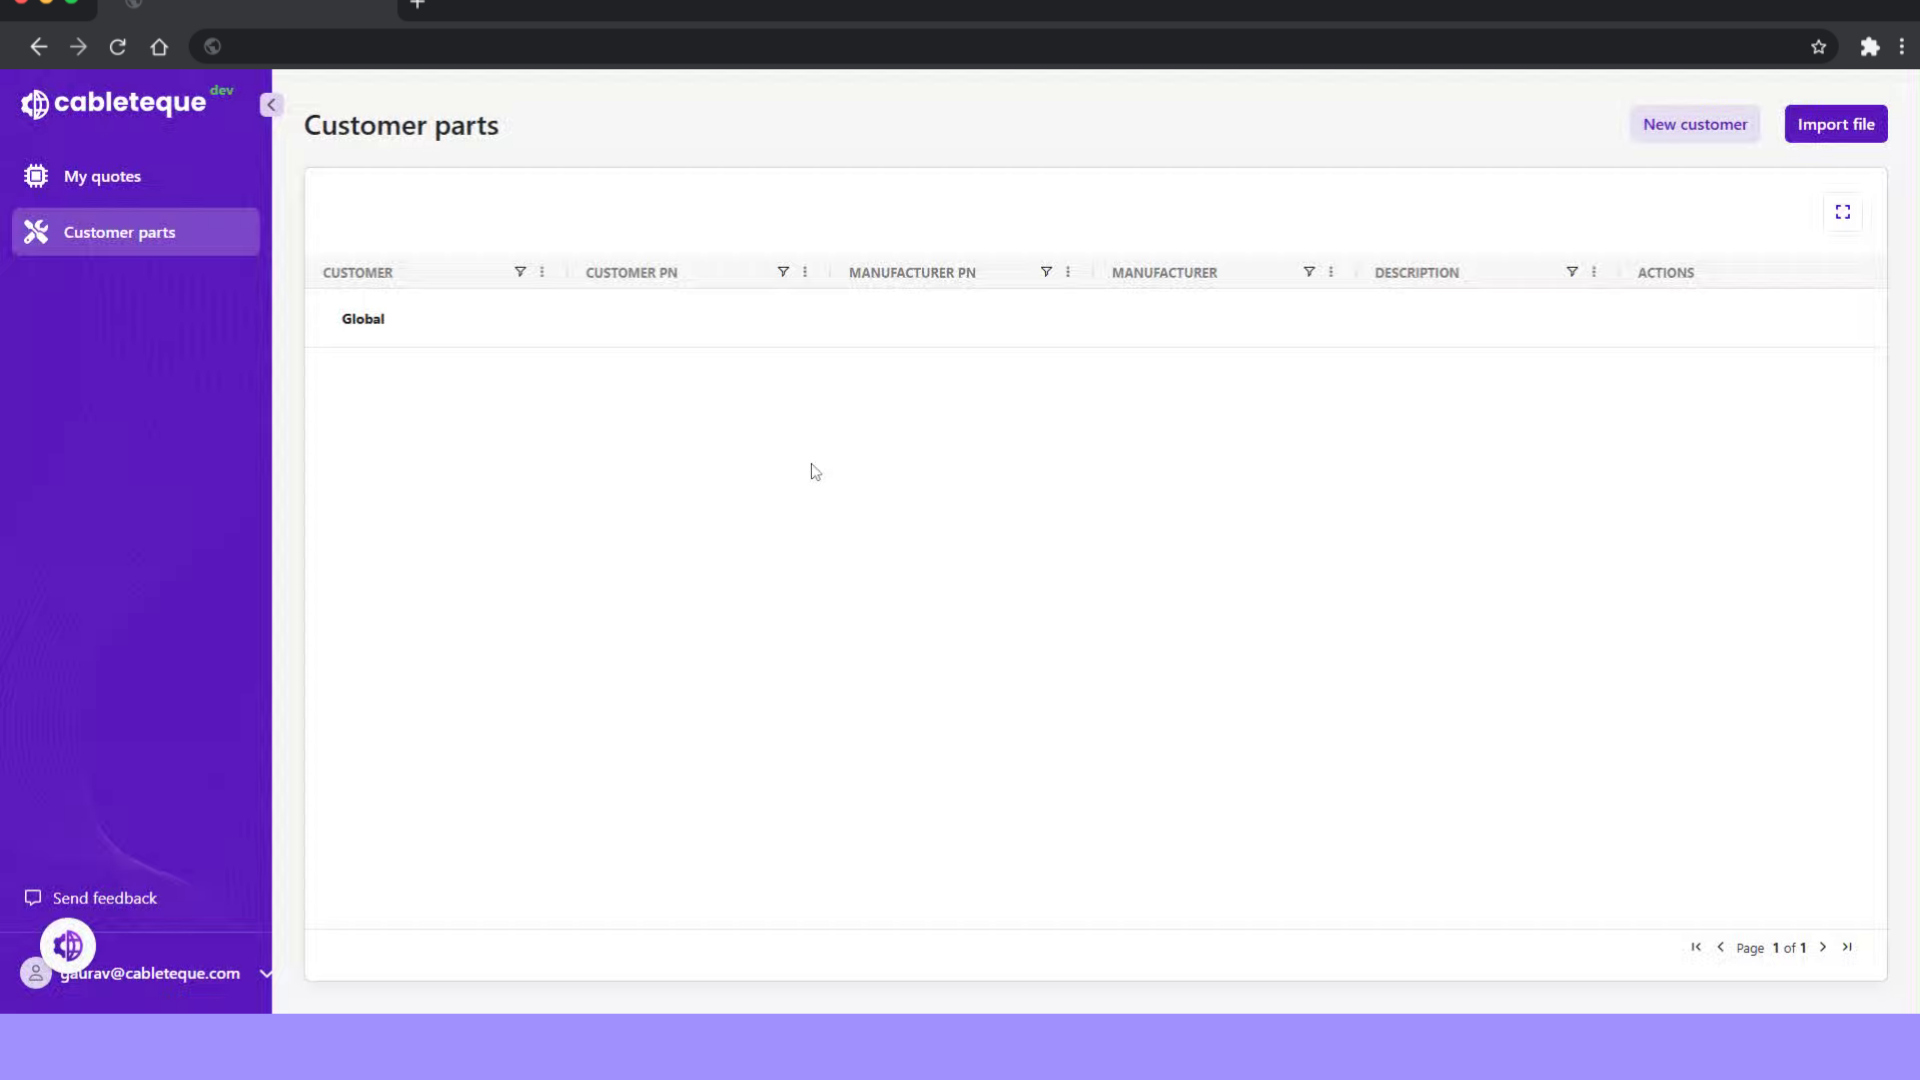
2. Click "Customer parts"
the "Customer parts" section is where this is setup and managed.
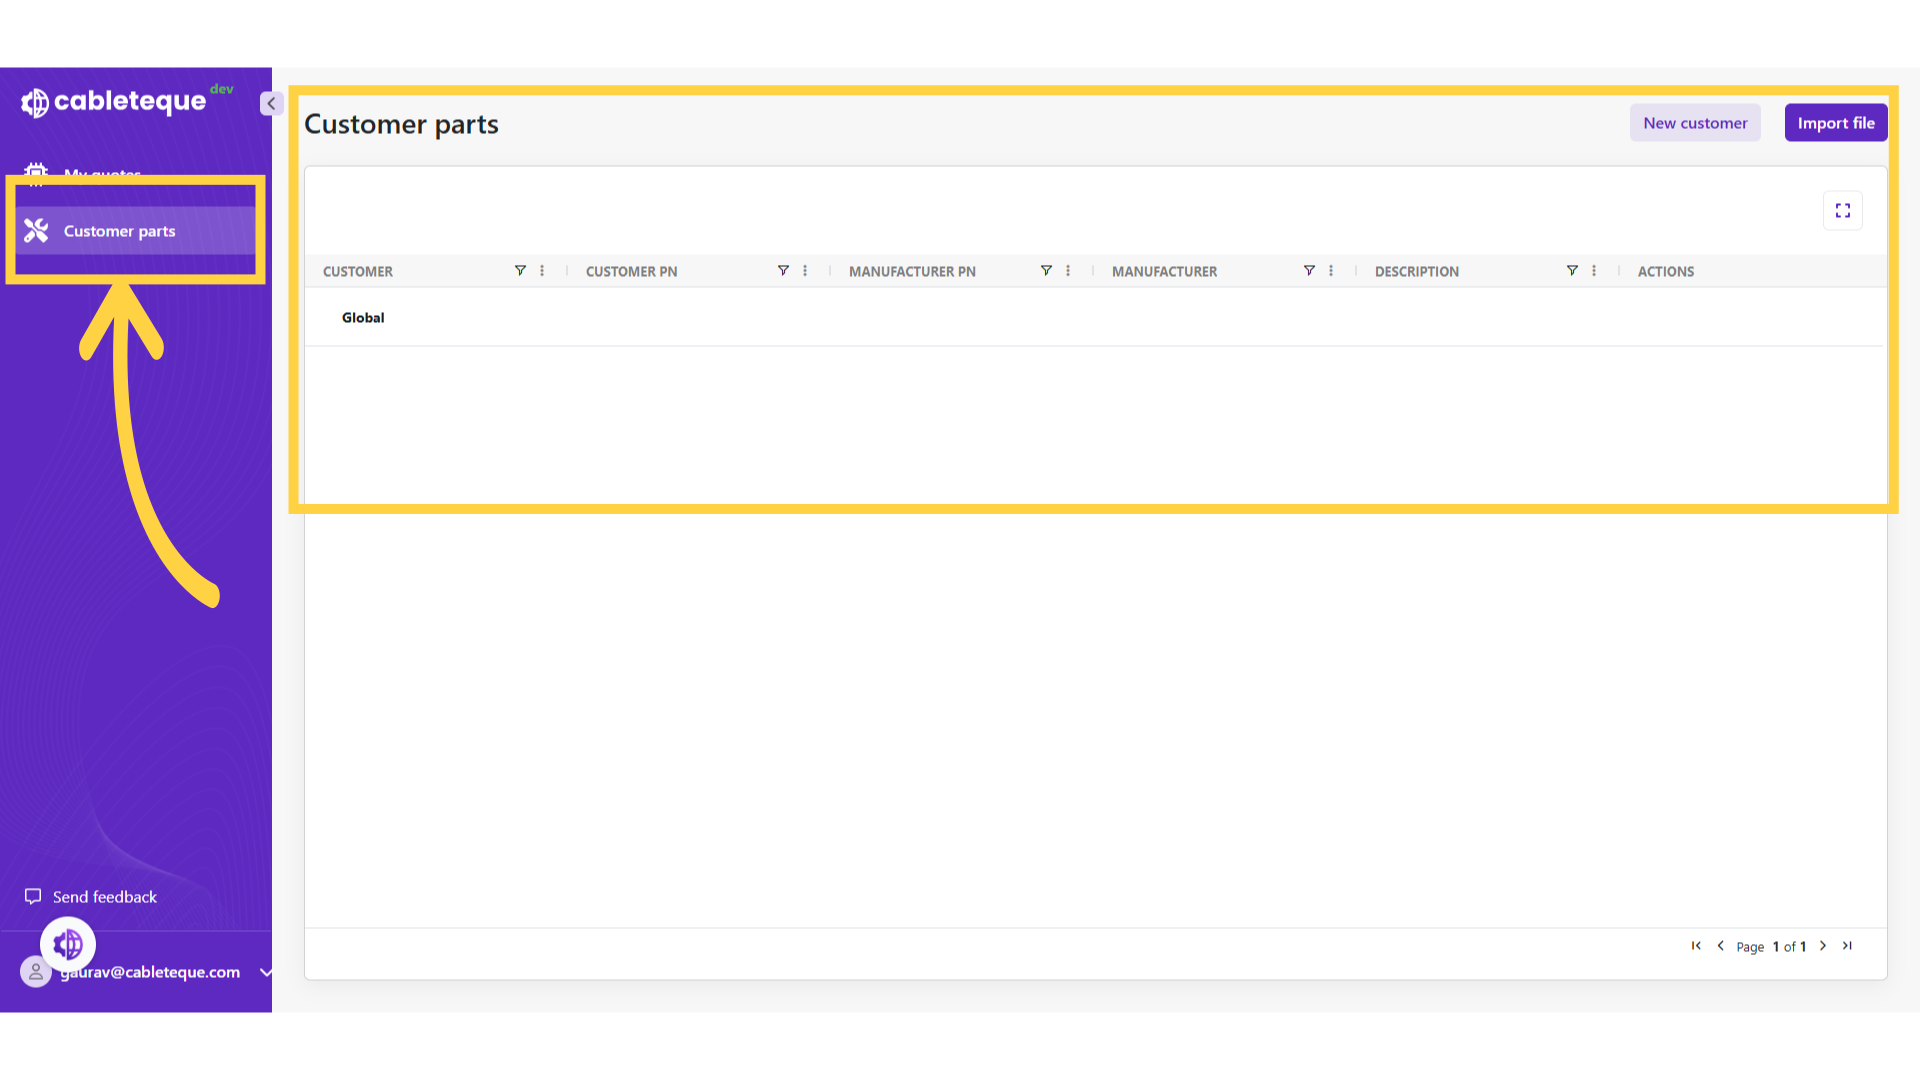
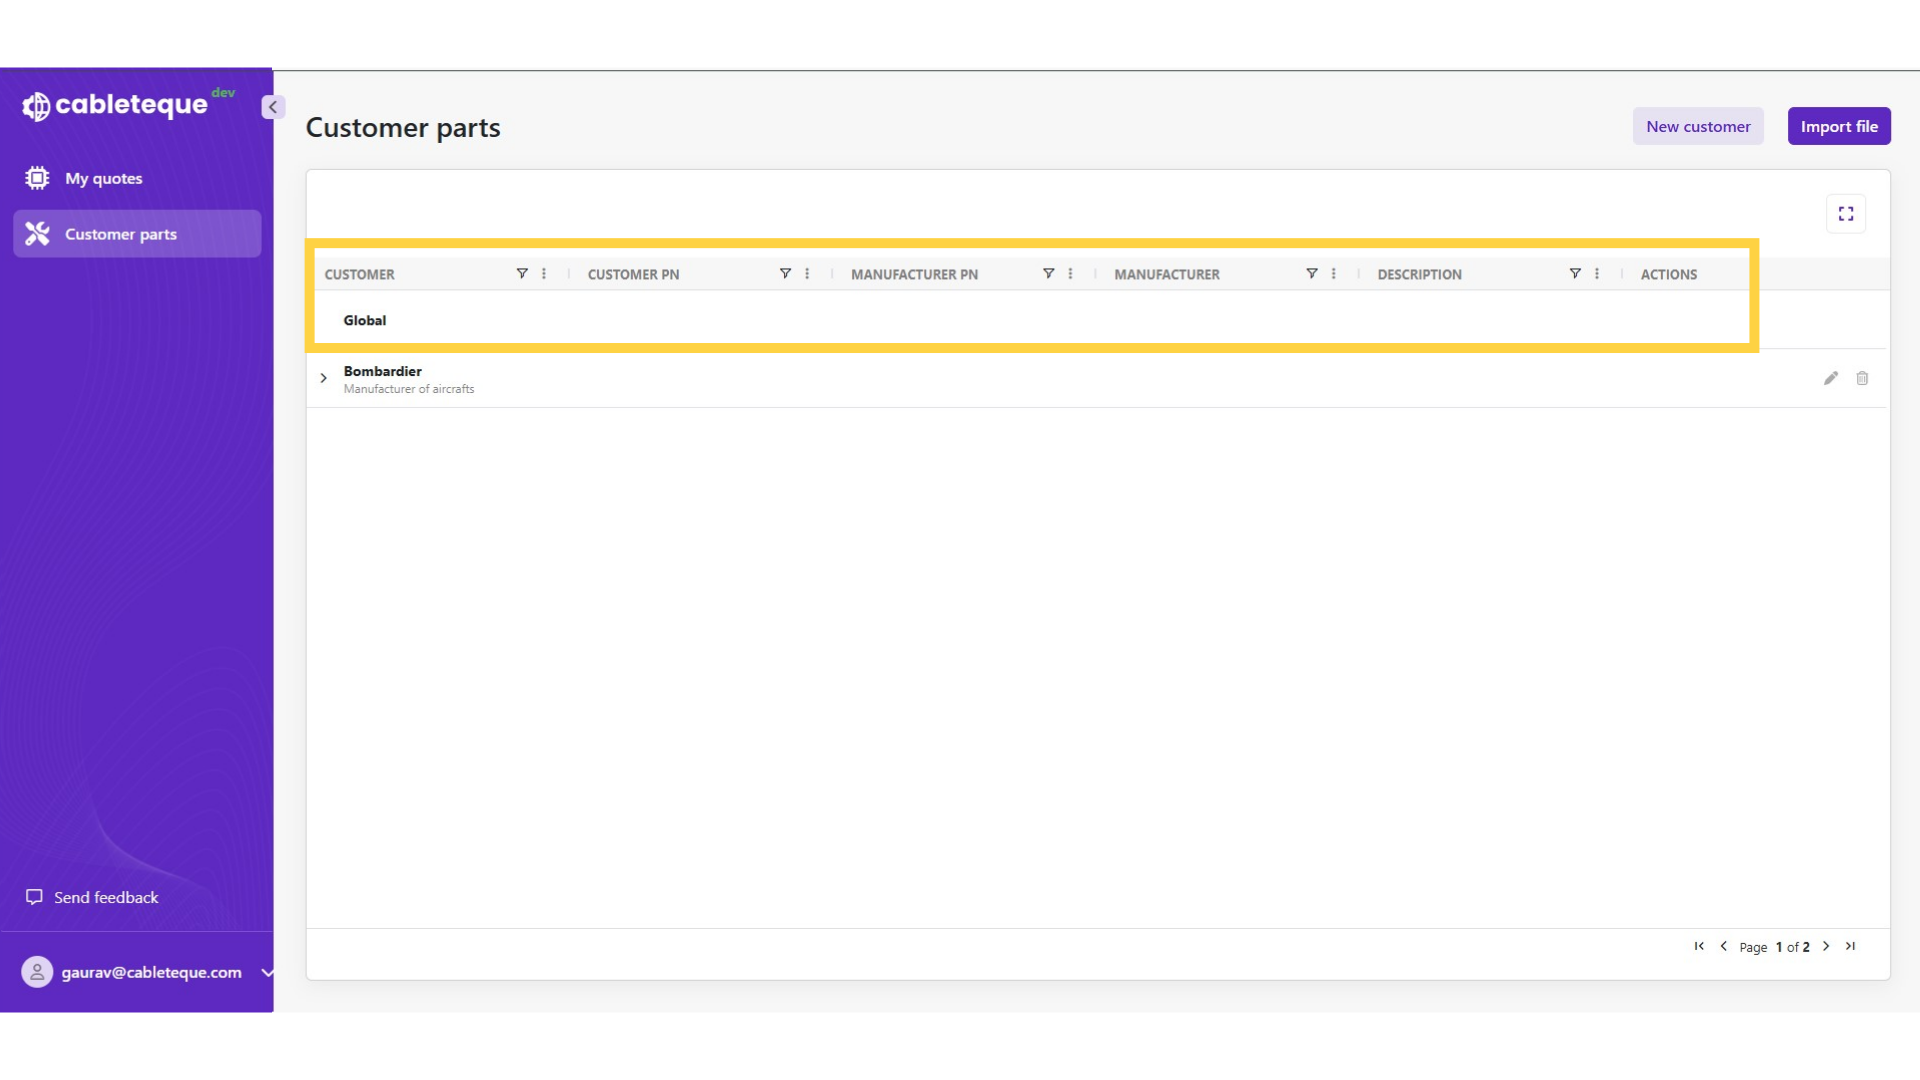
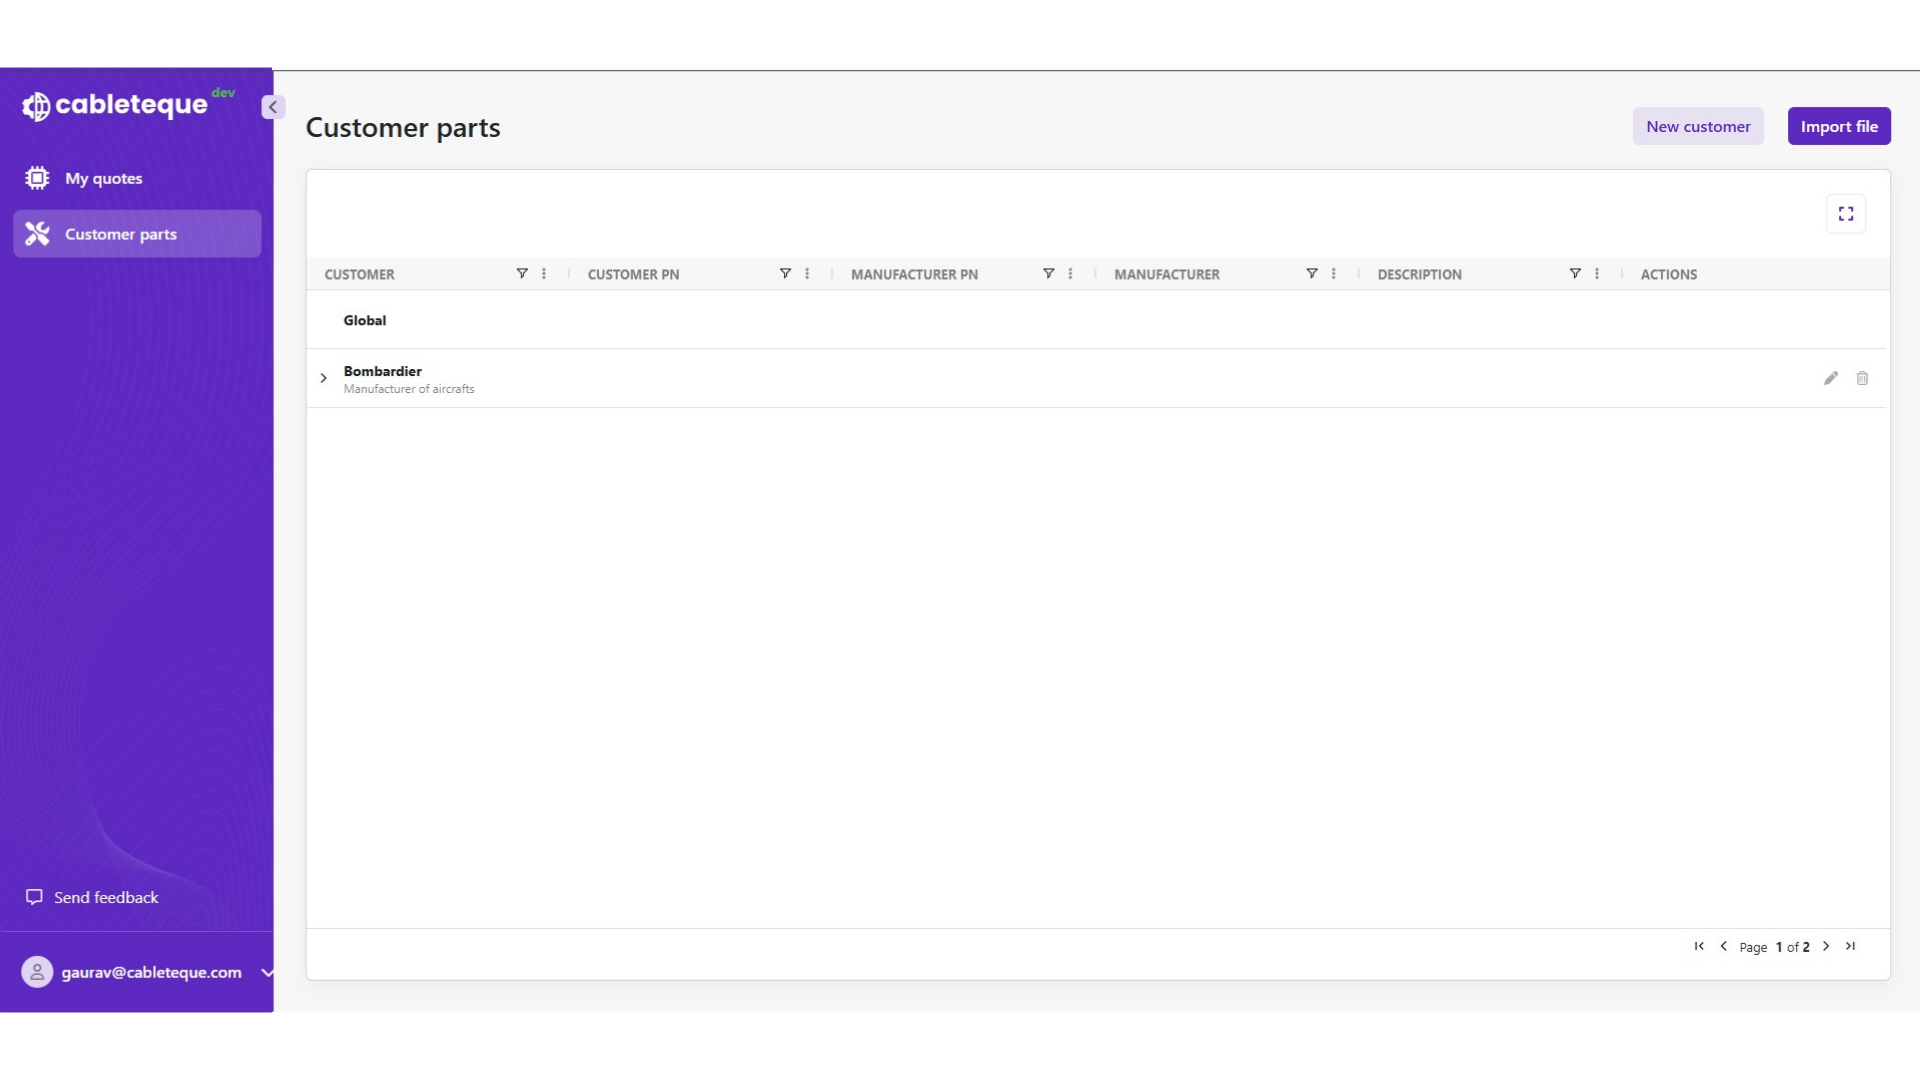
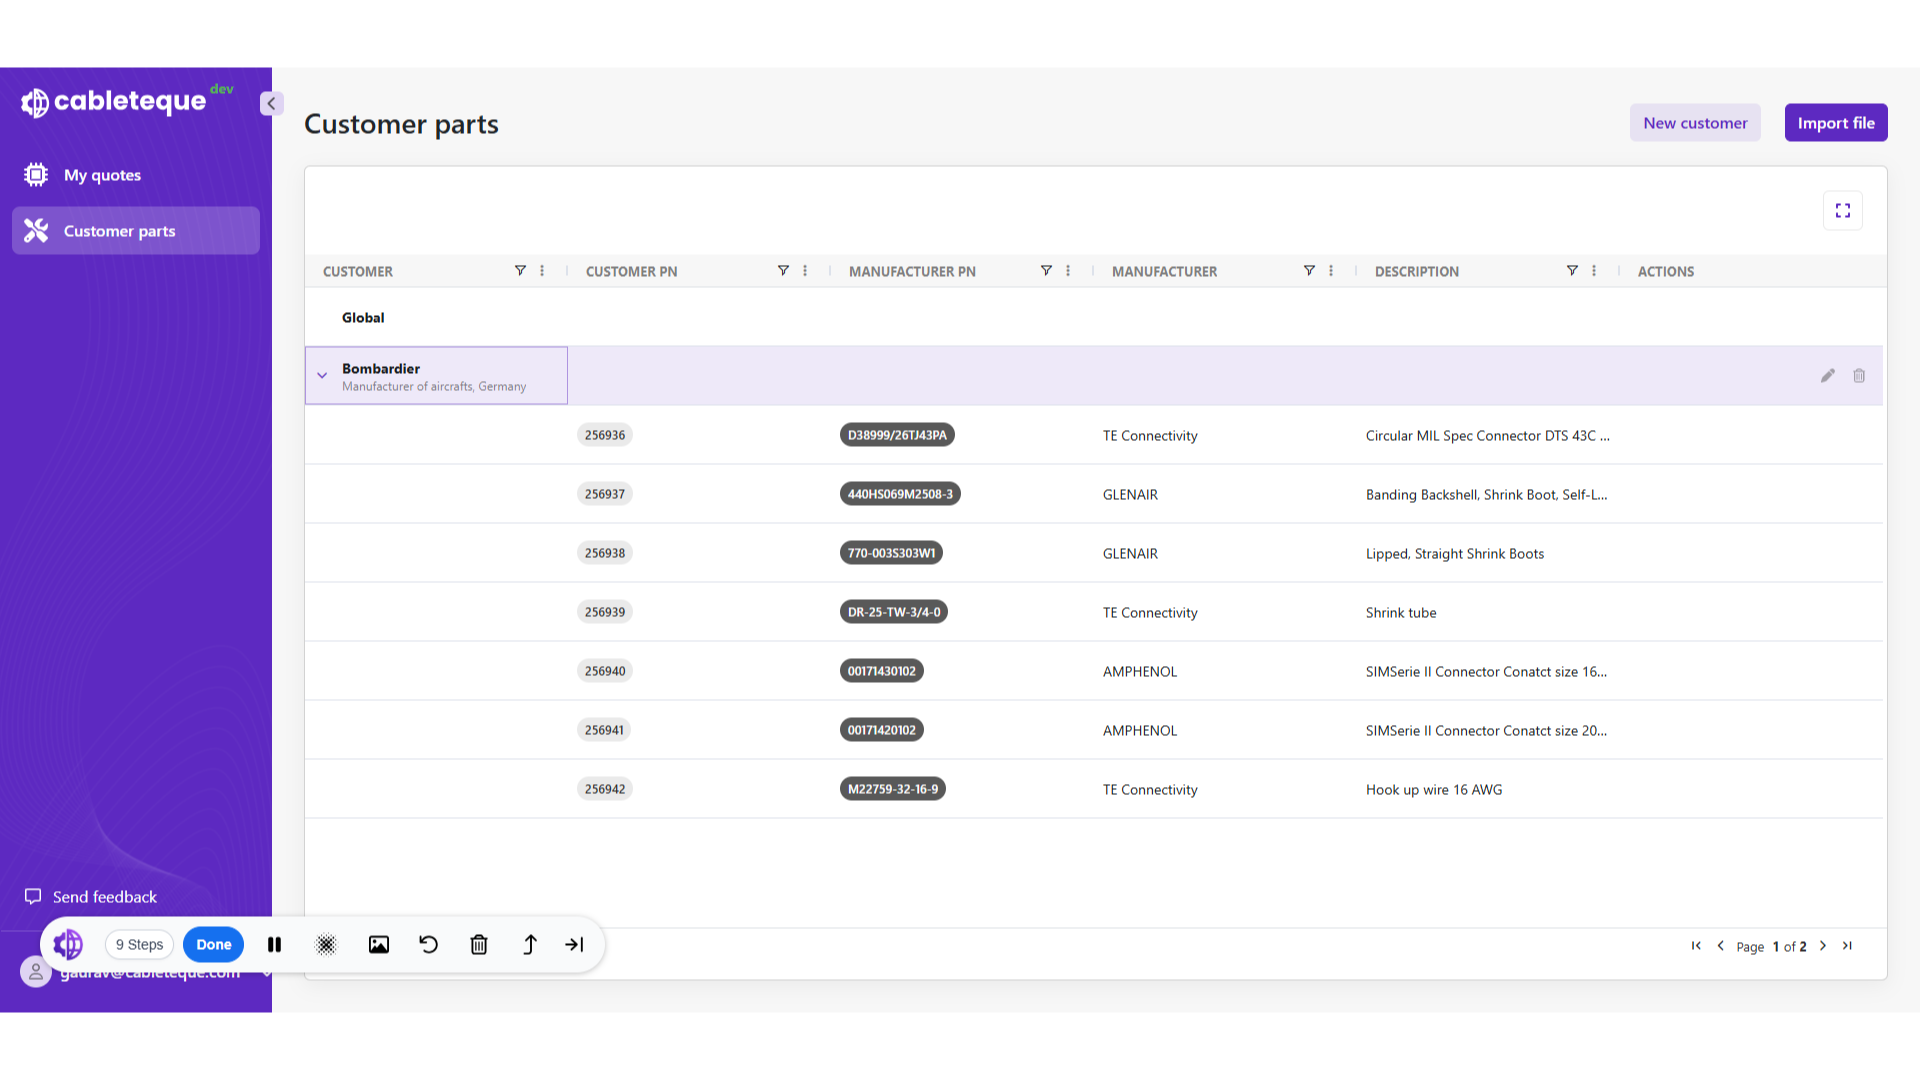
3. Customer parts
Customer part numbers are used when importing Boms that contain customer rather than commercial part numbers.

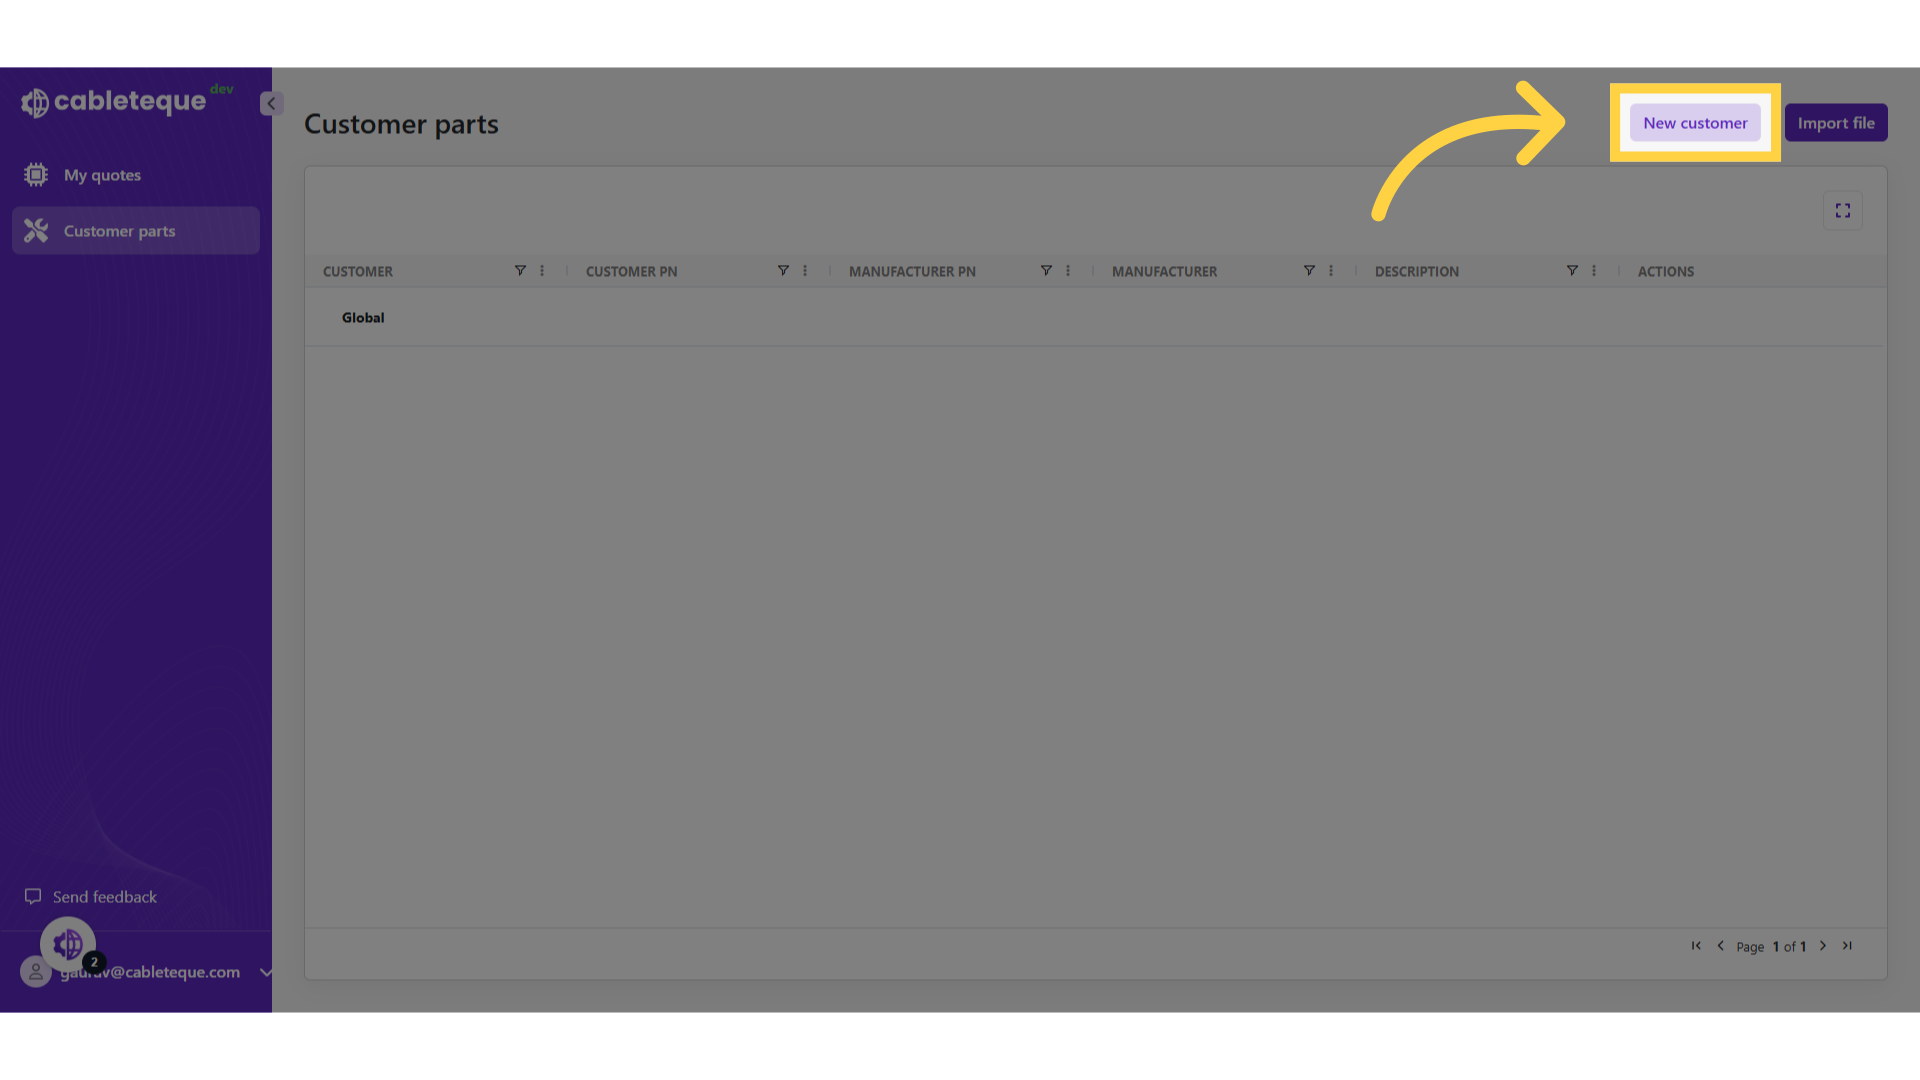
4. Click "New customer"
The first thing we need to do is create a new customer.
5. Add new customer
Here we can add their name and a description if required.

6. Select customer name
Choose a customer.
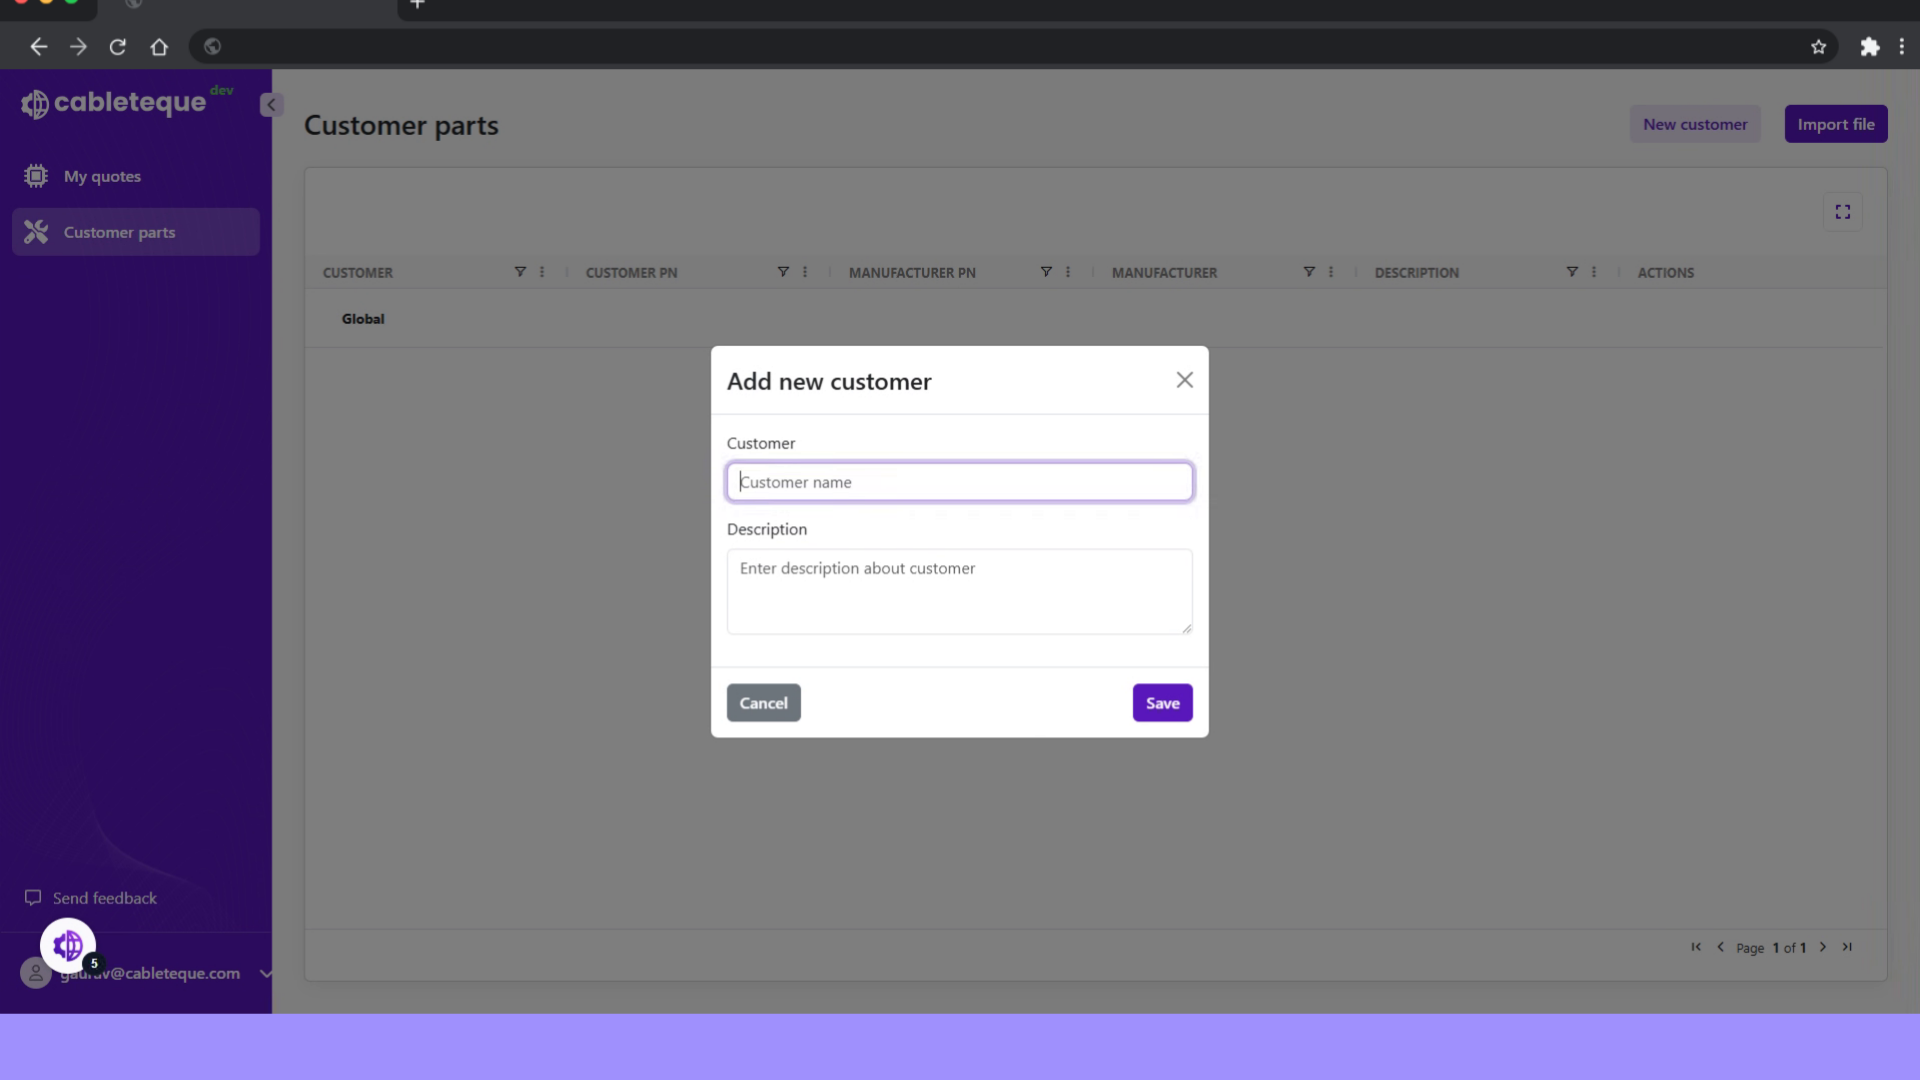
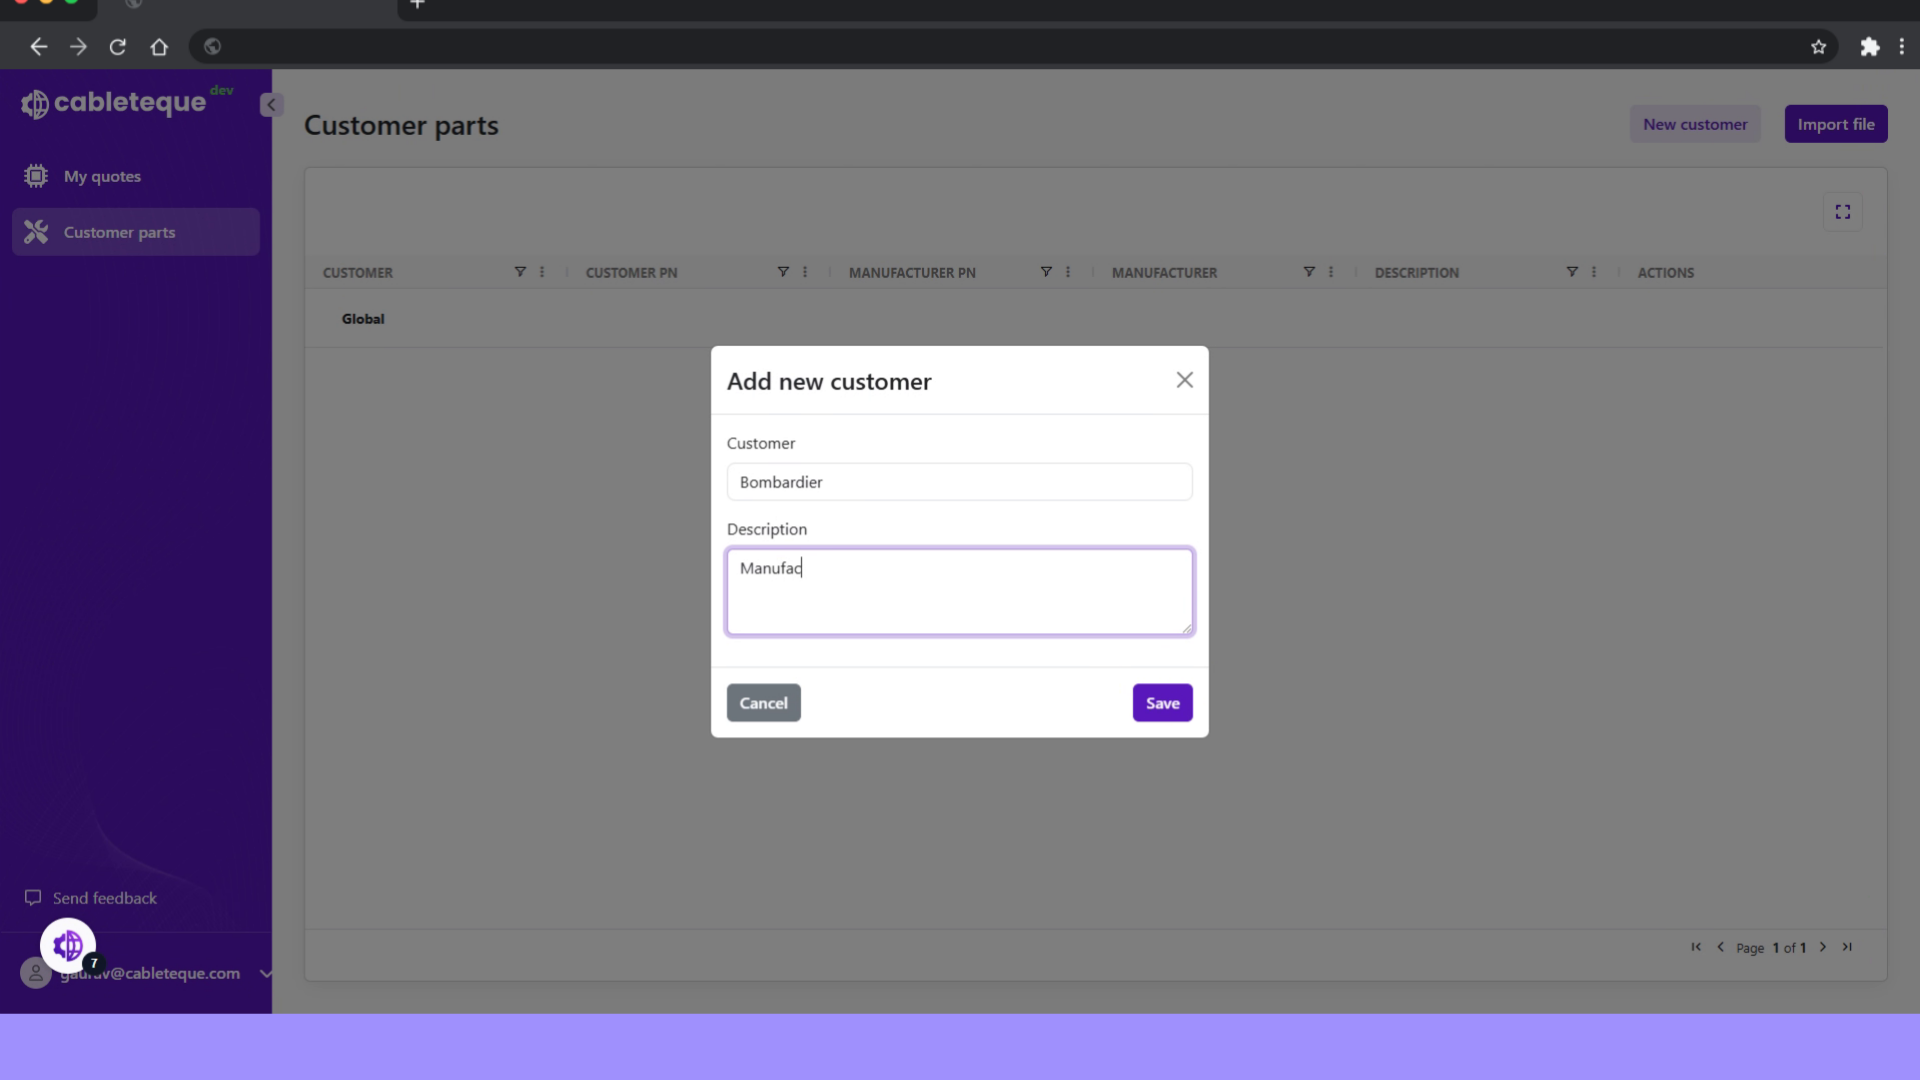
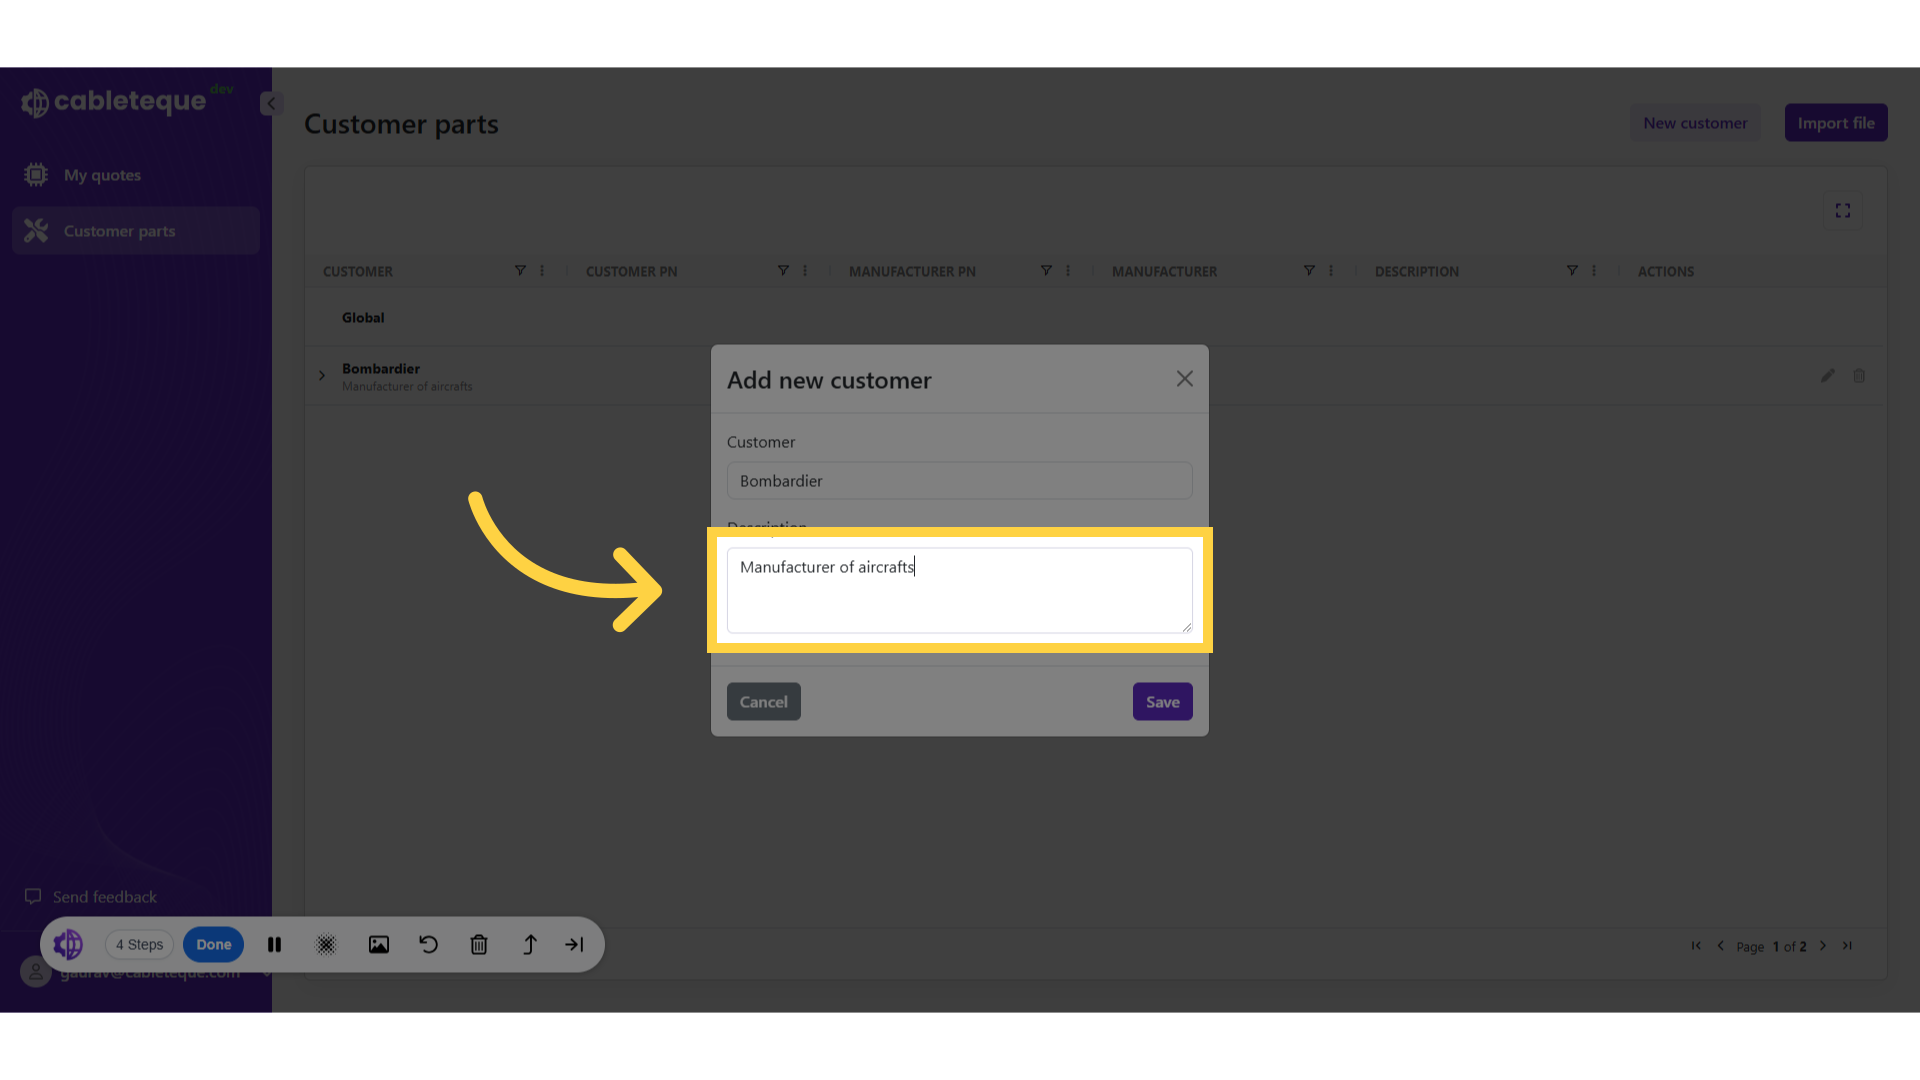
7. Click "Enter description about customer"
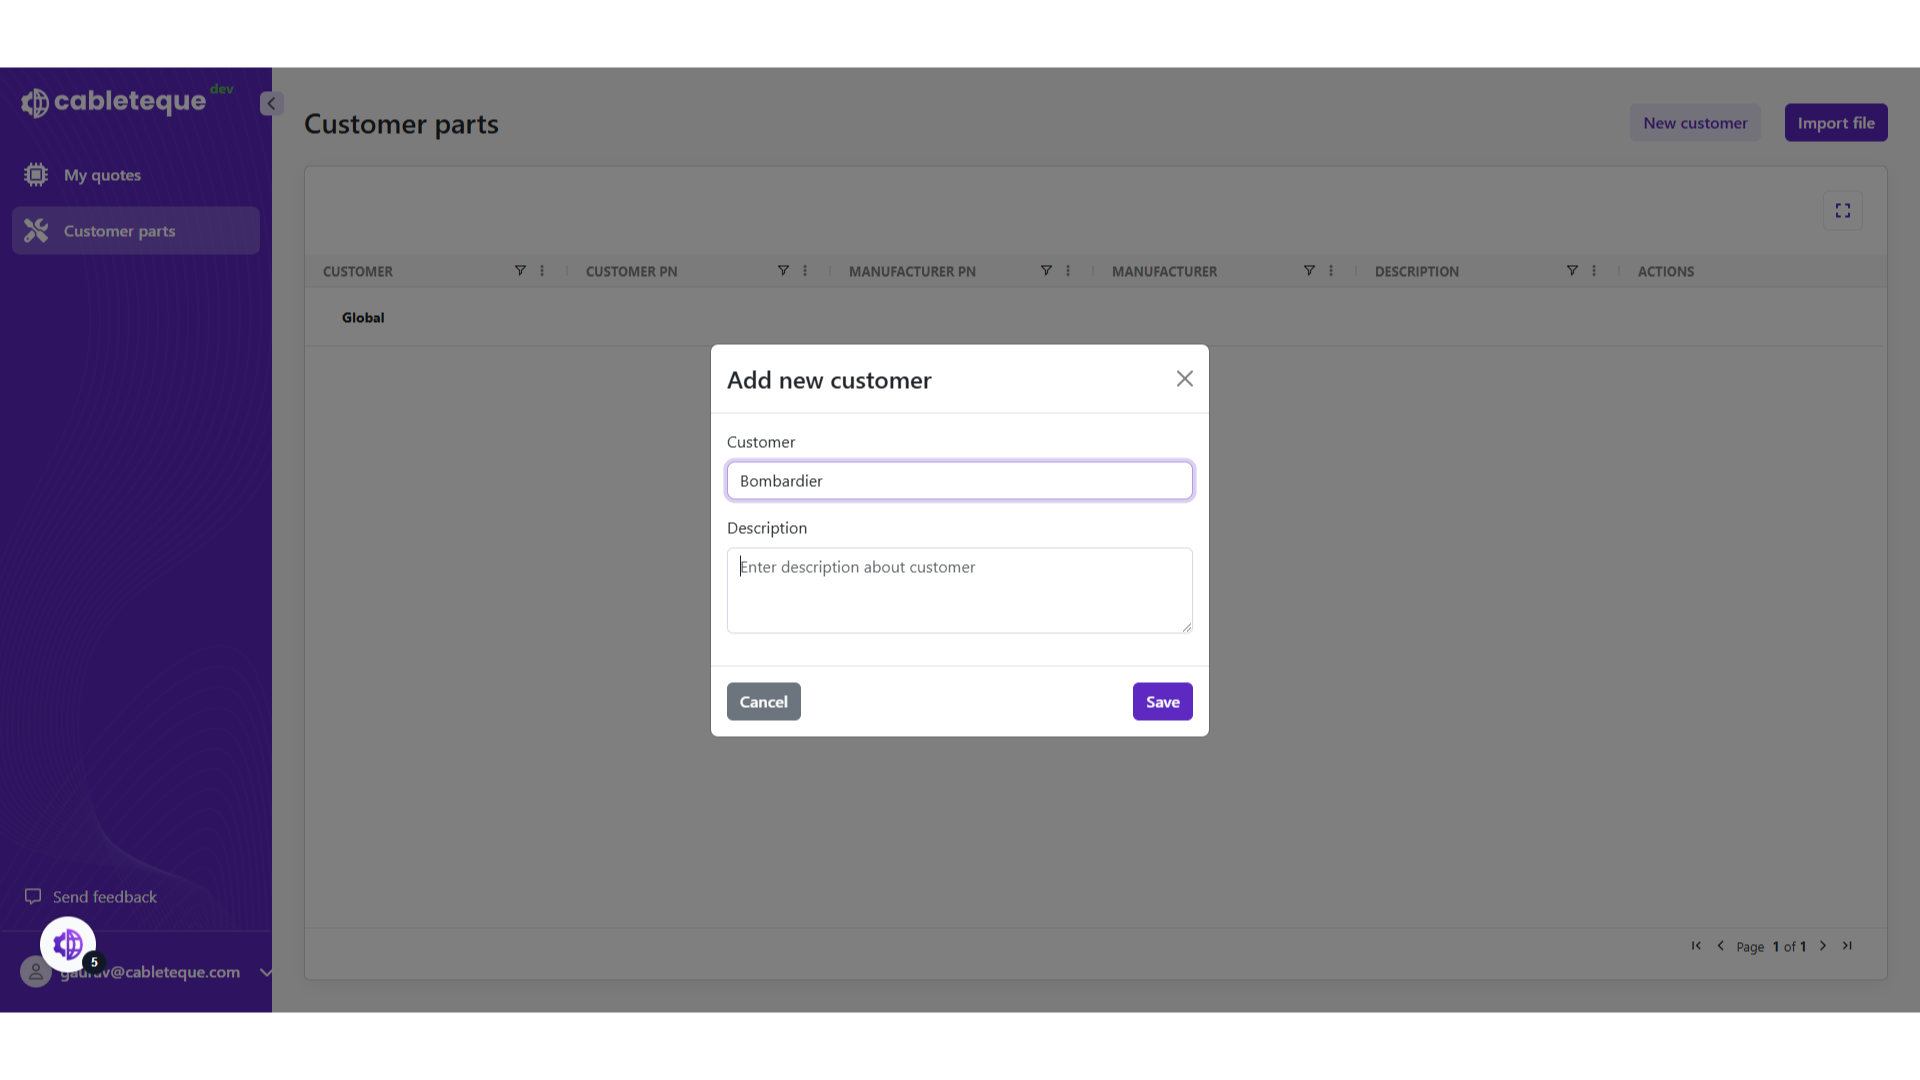
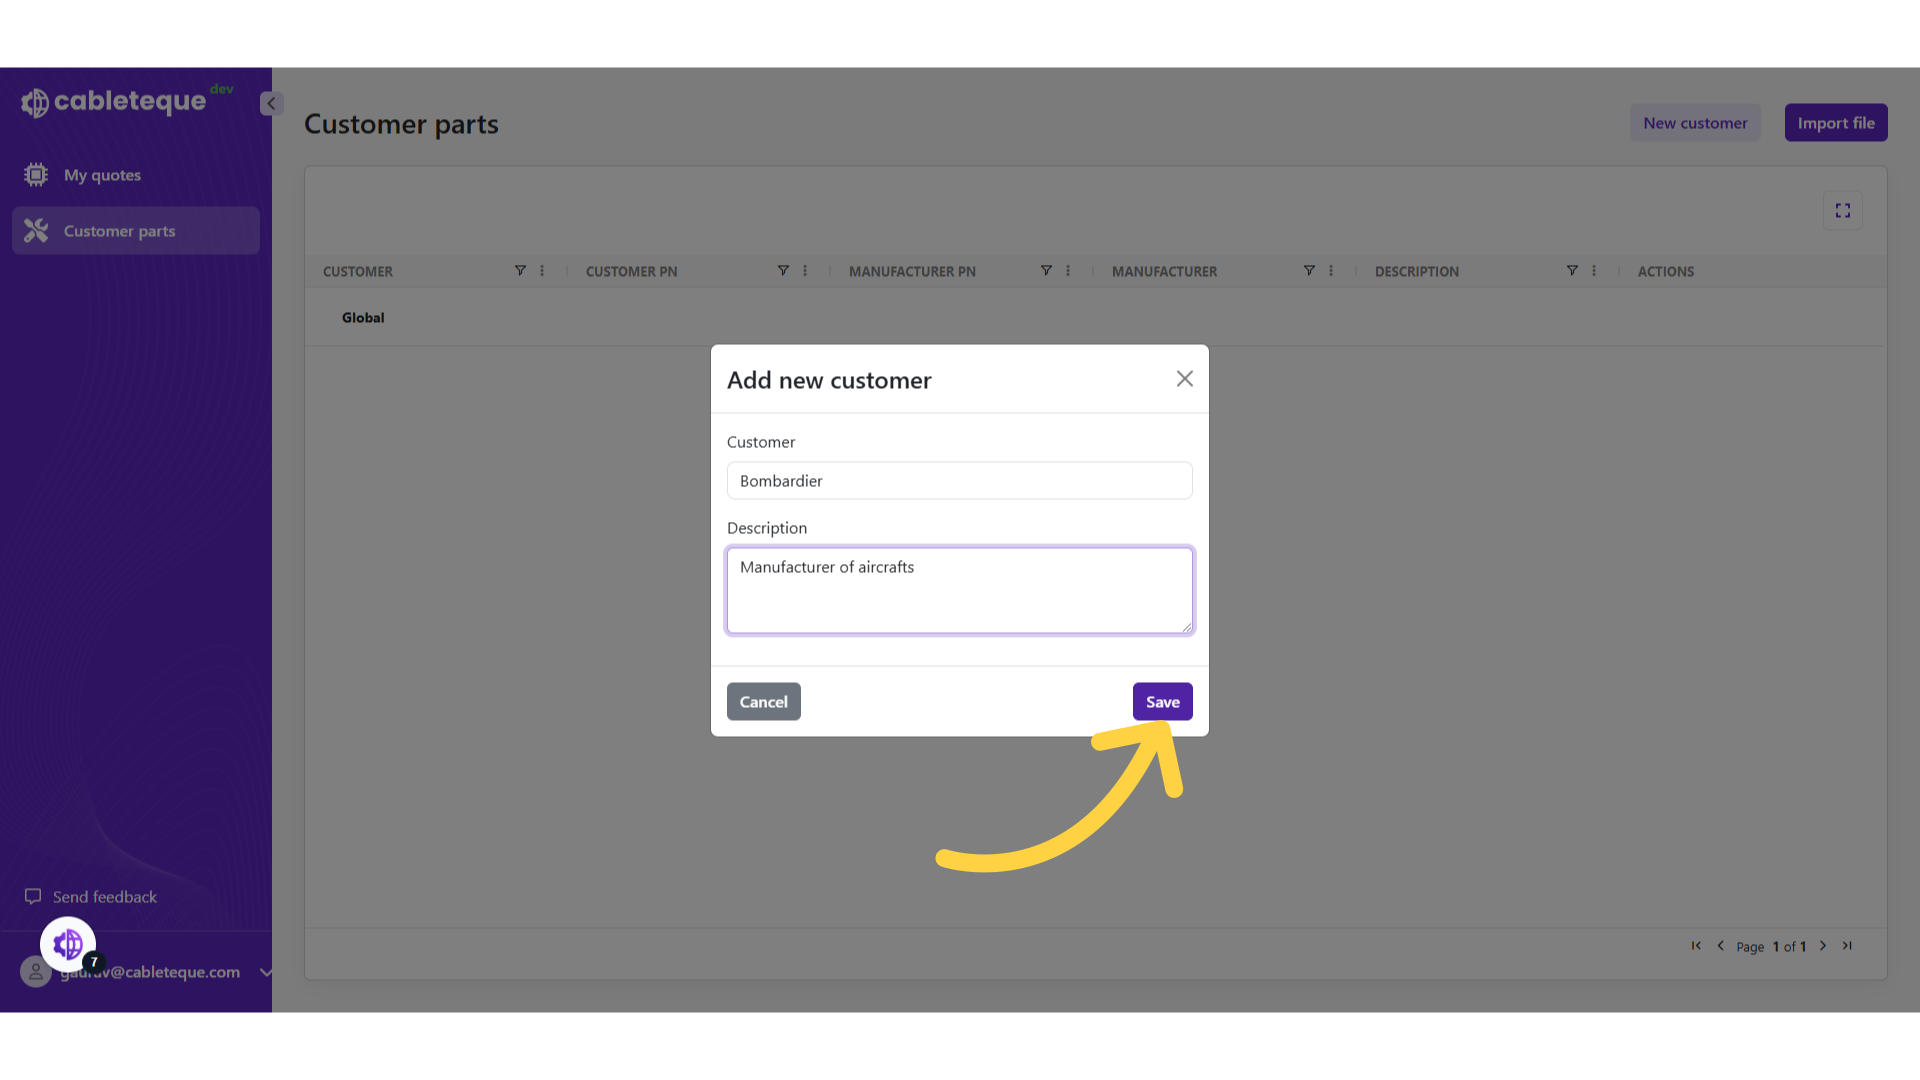
8. Fill description about customer
Provide relevant description about the customer.
9. Click "Save"
Confirm the new customer details.
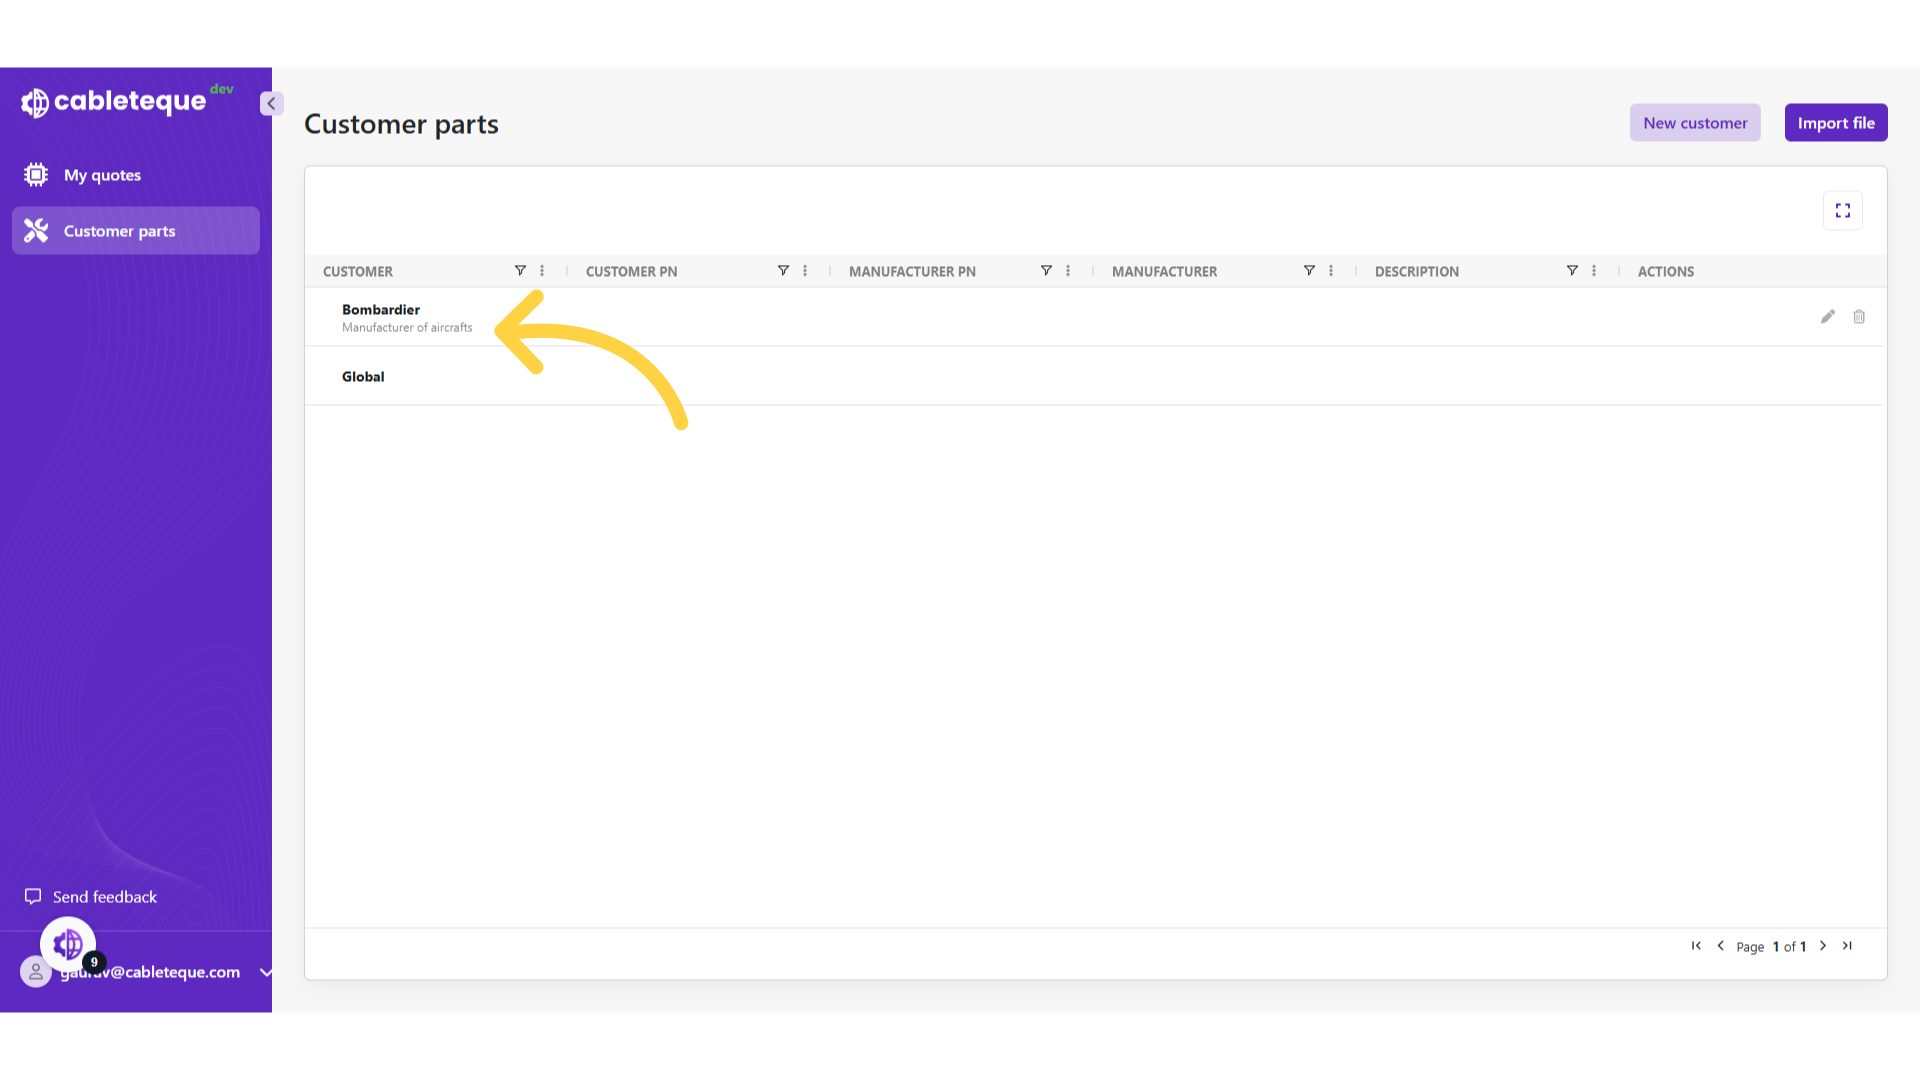
10. Added new customer
New customer is added.
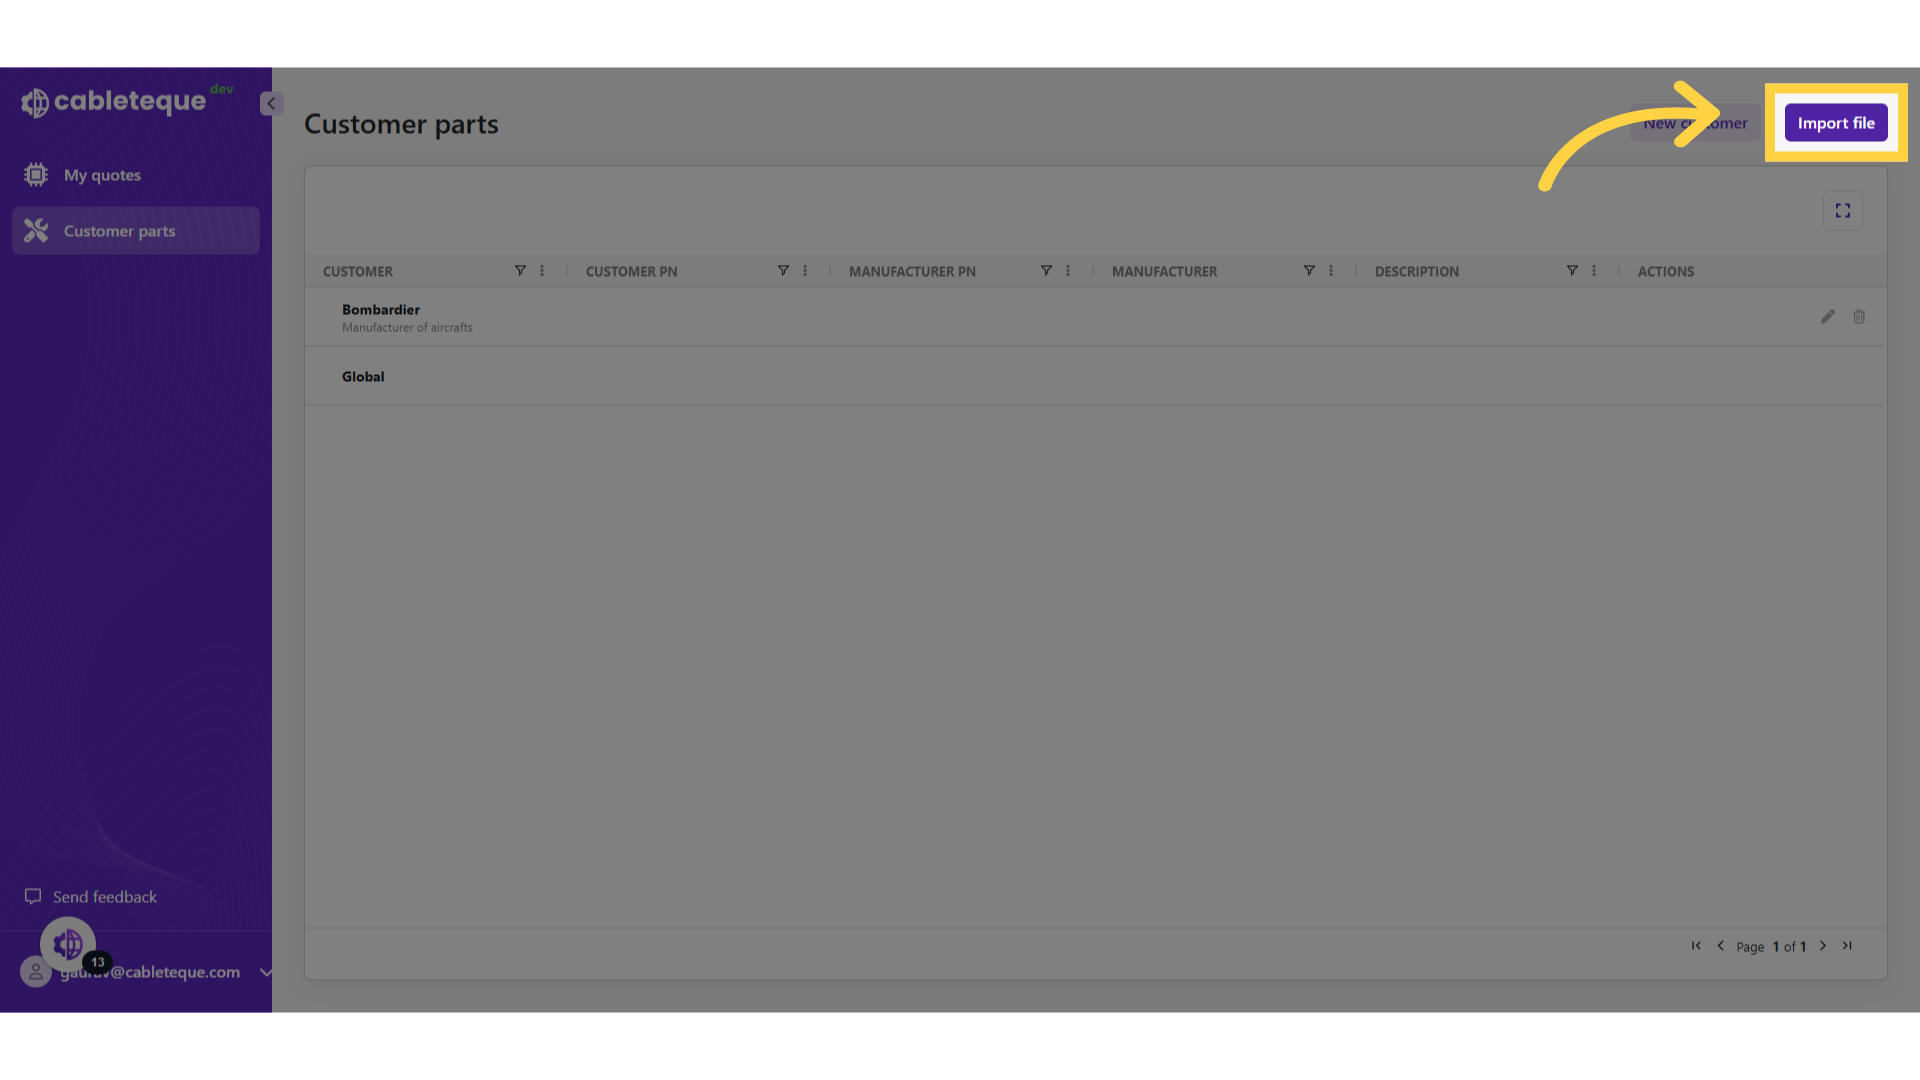
11. Click "Import file"
Now that we have created a new customer we are able to import their part numbers.
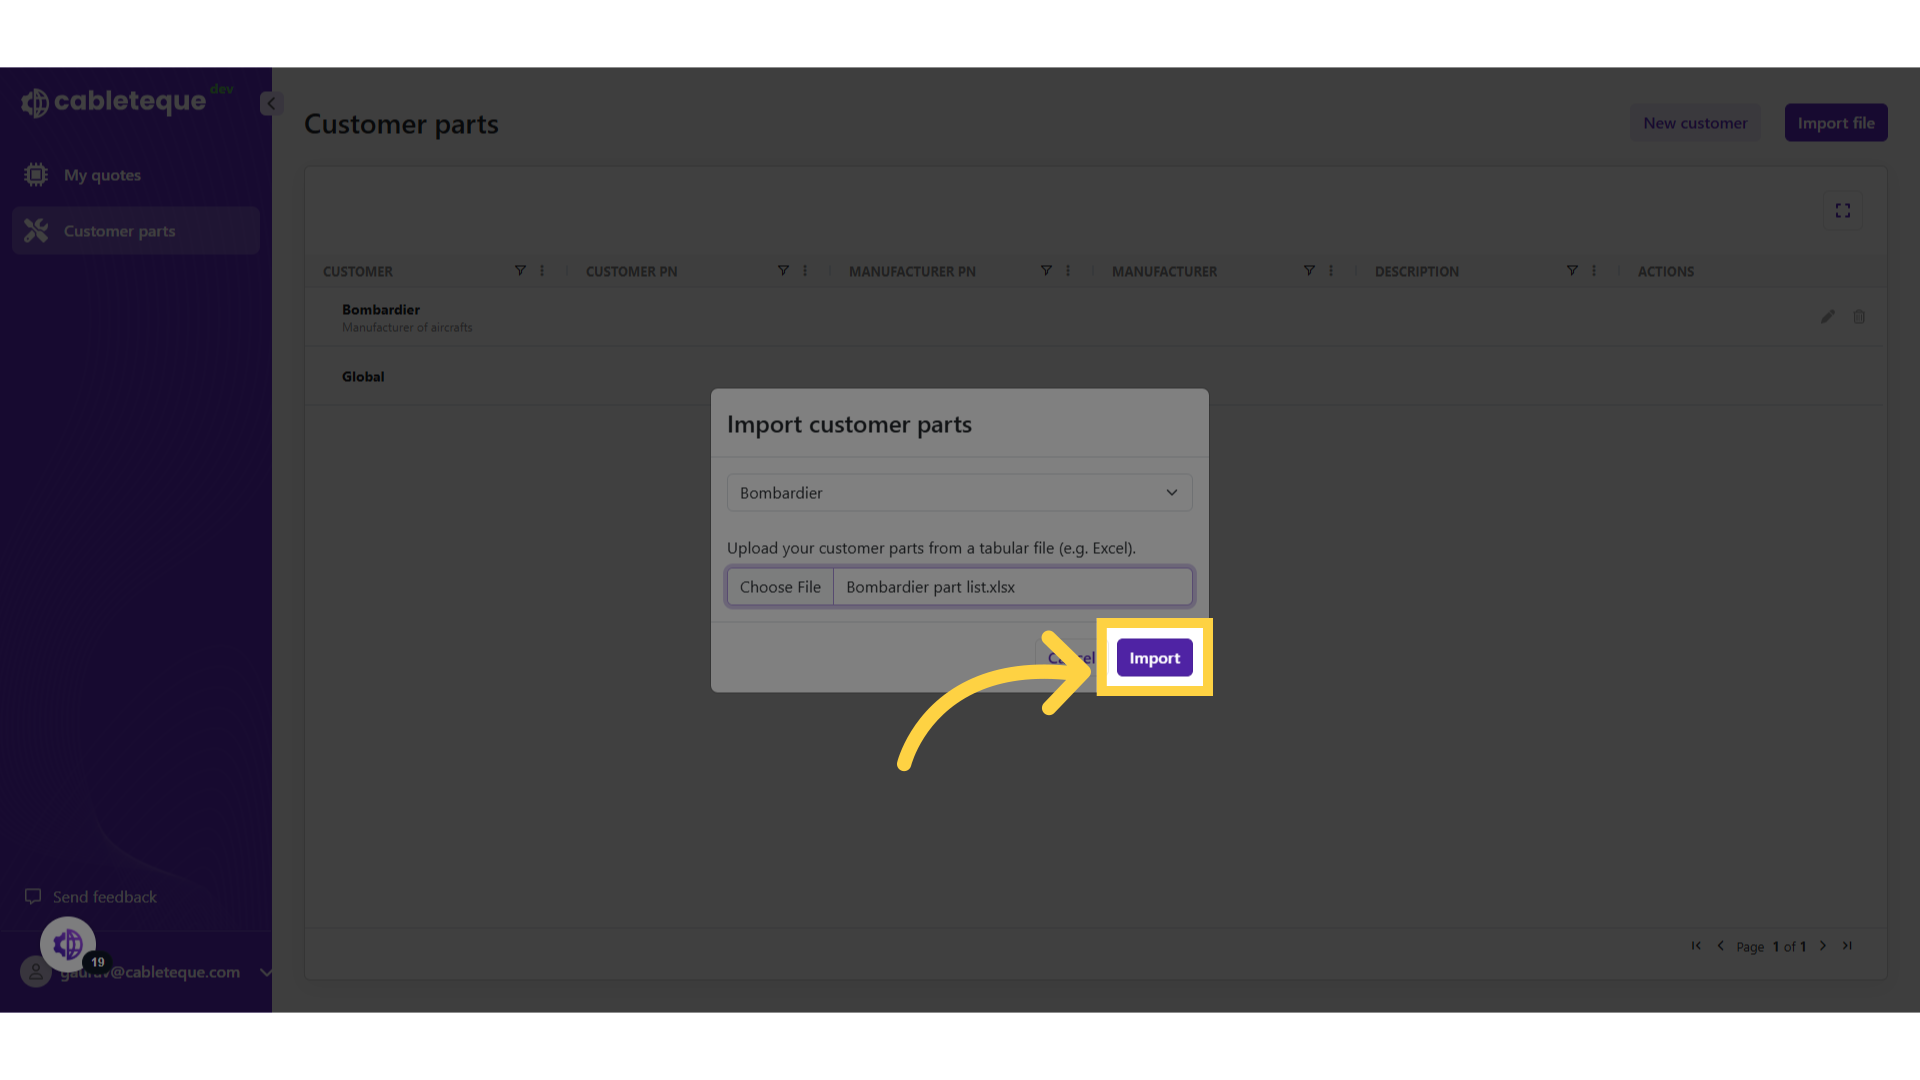
12. Import customer parts
Select customer name and import the spreadsheet.

13. Click "Select customer"
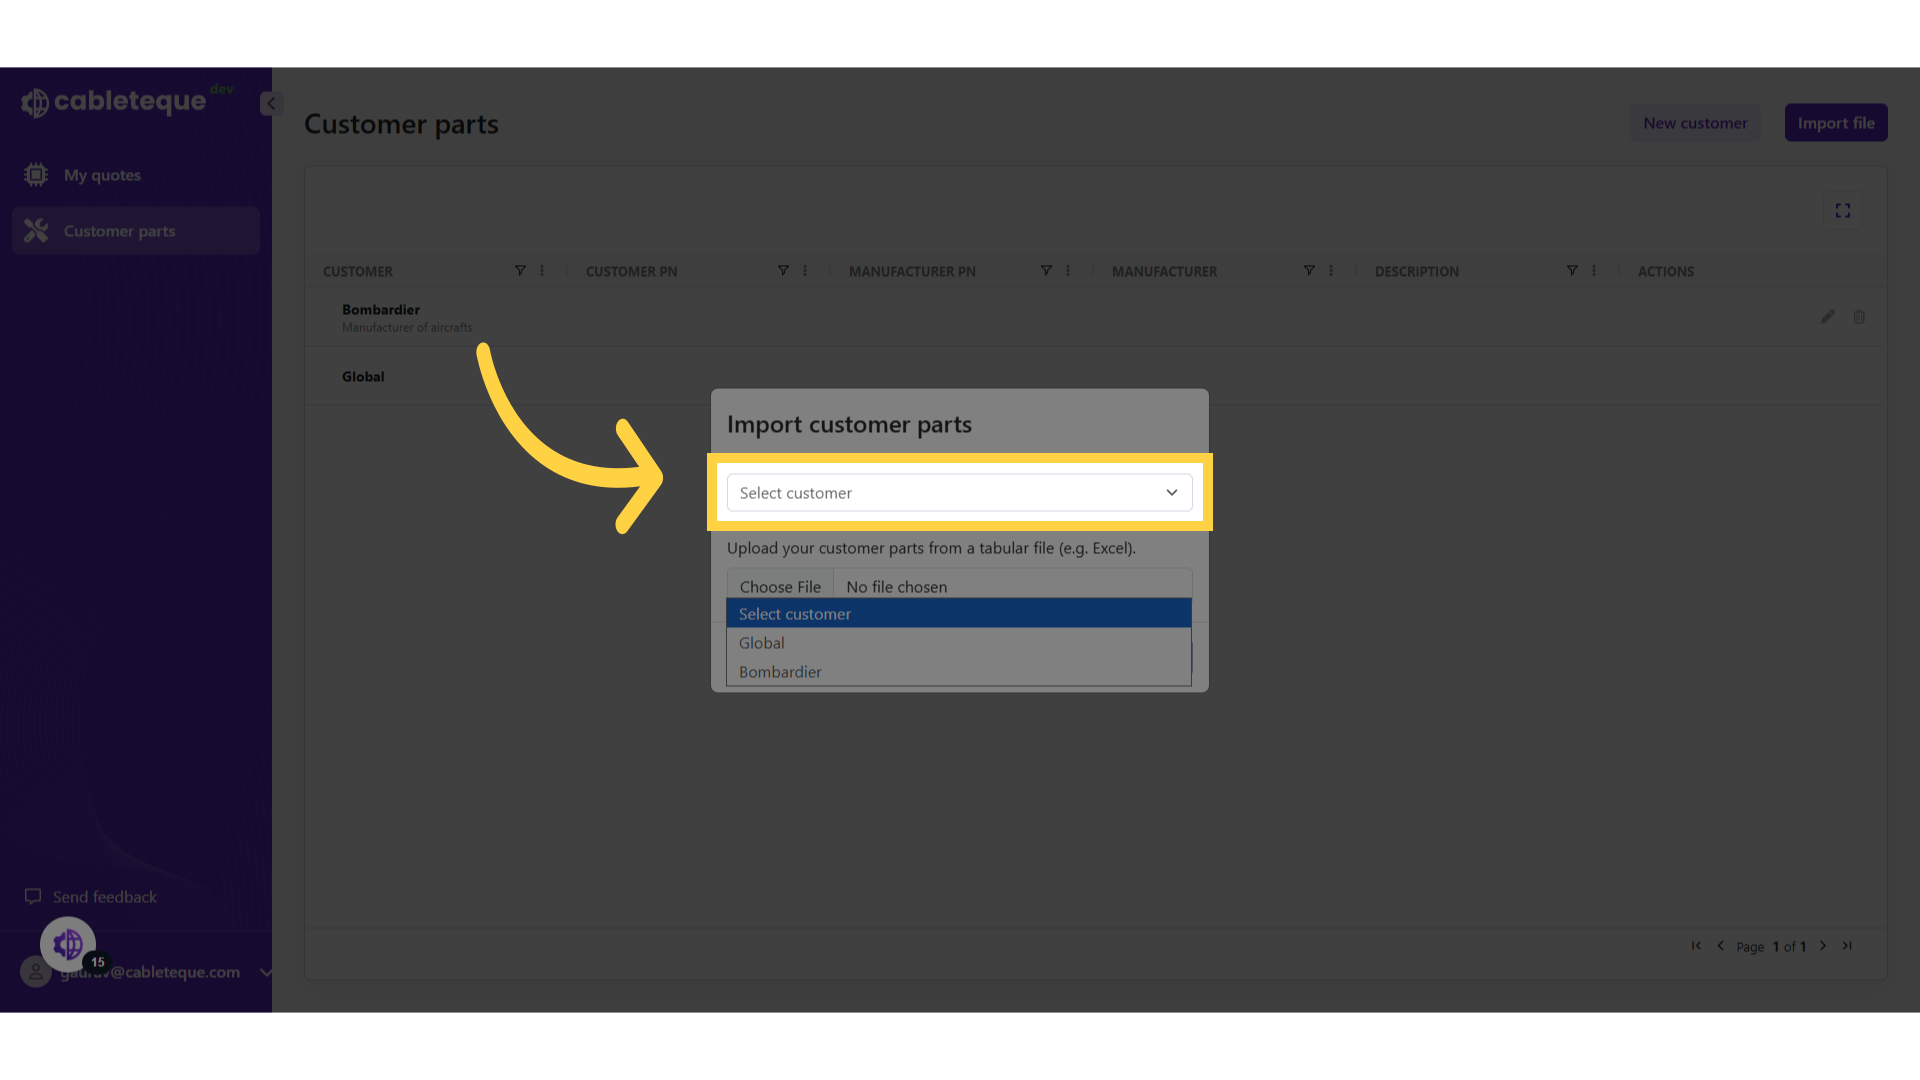
14. Select customer
Select customer name

15. Click "Choose file" to import file
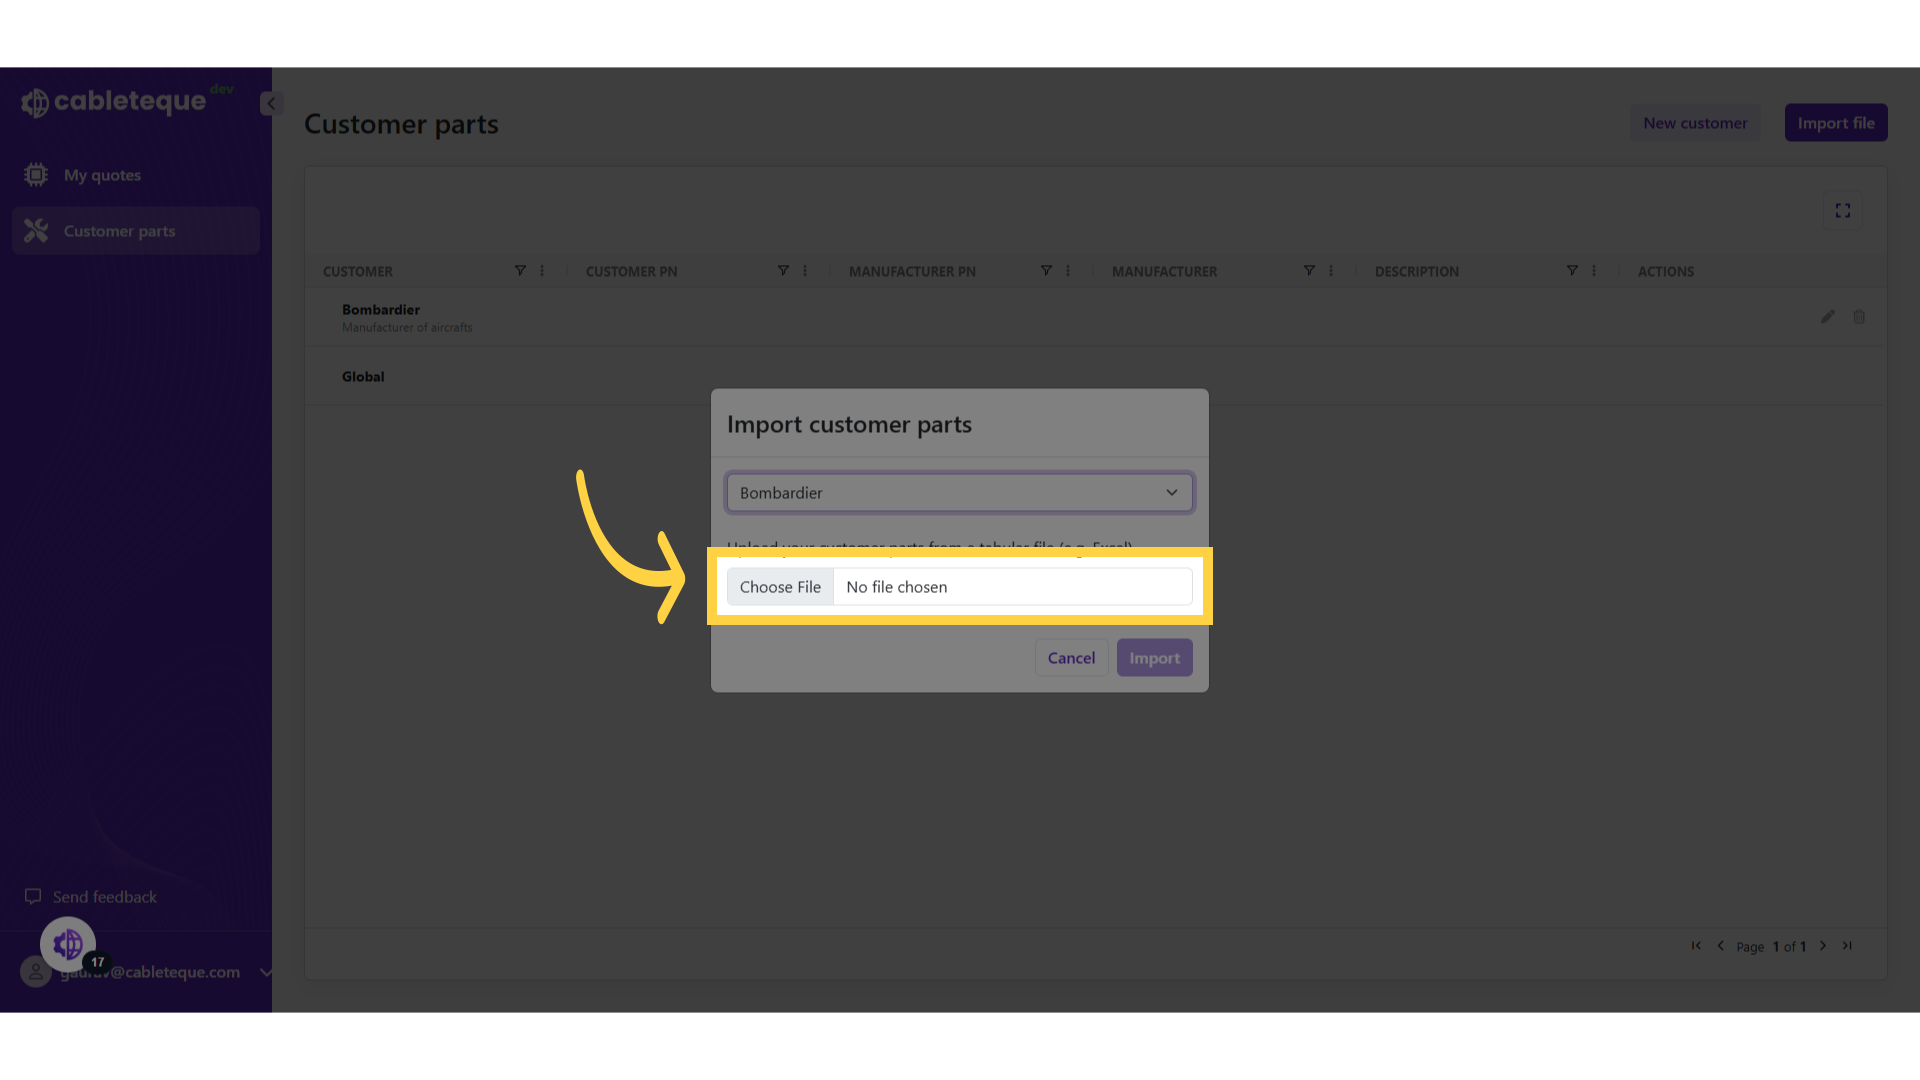
16. Import file from system
Import a file for customer part list.
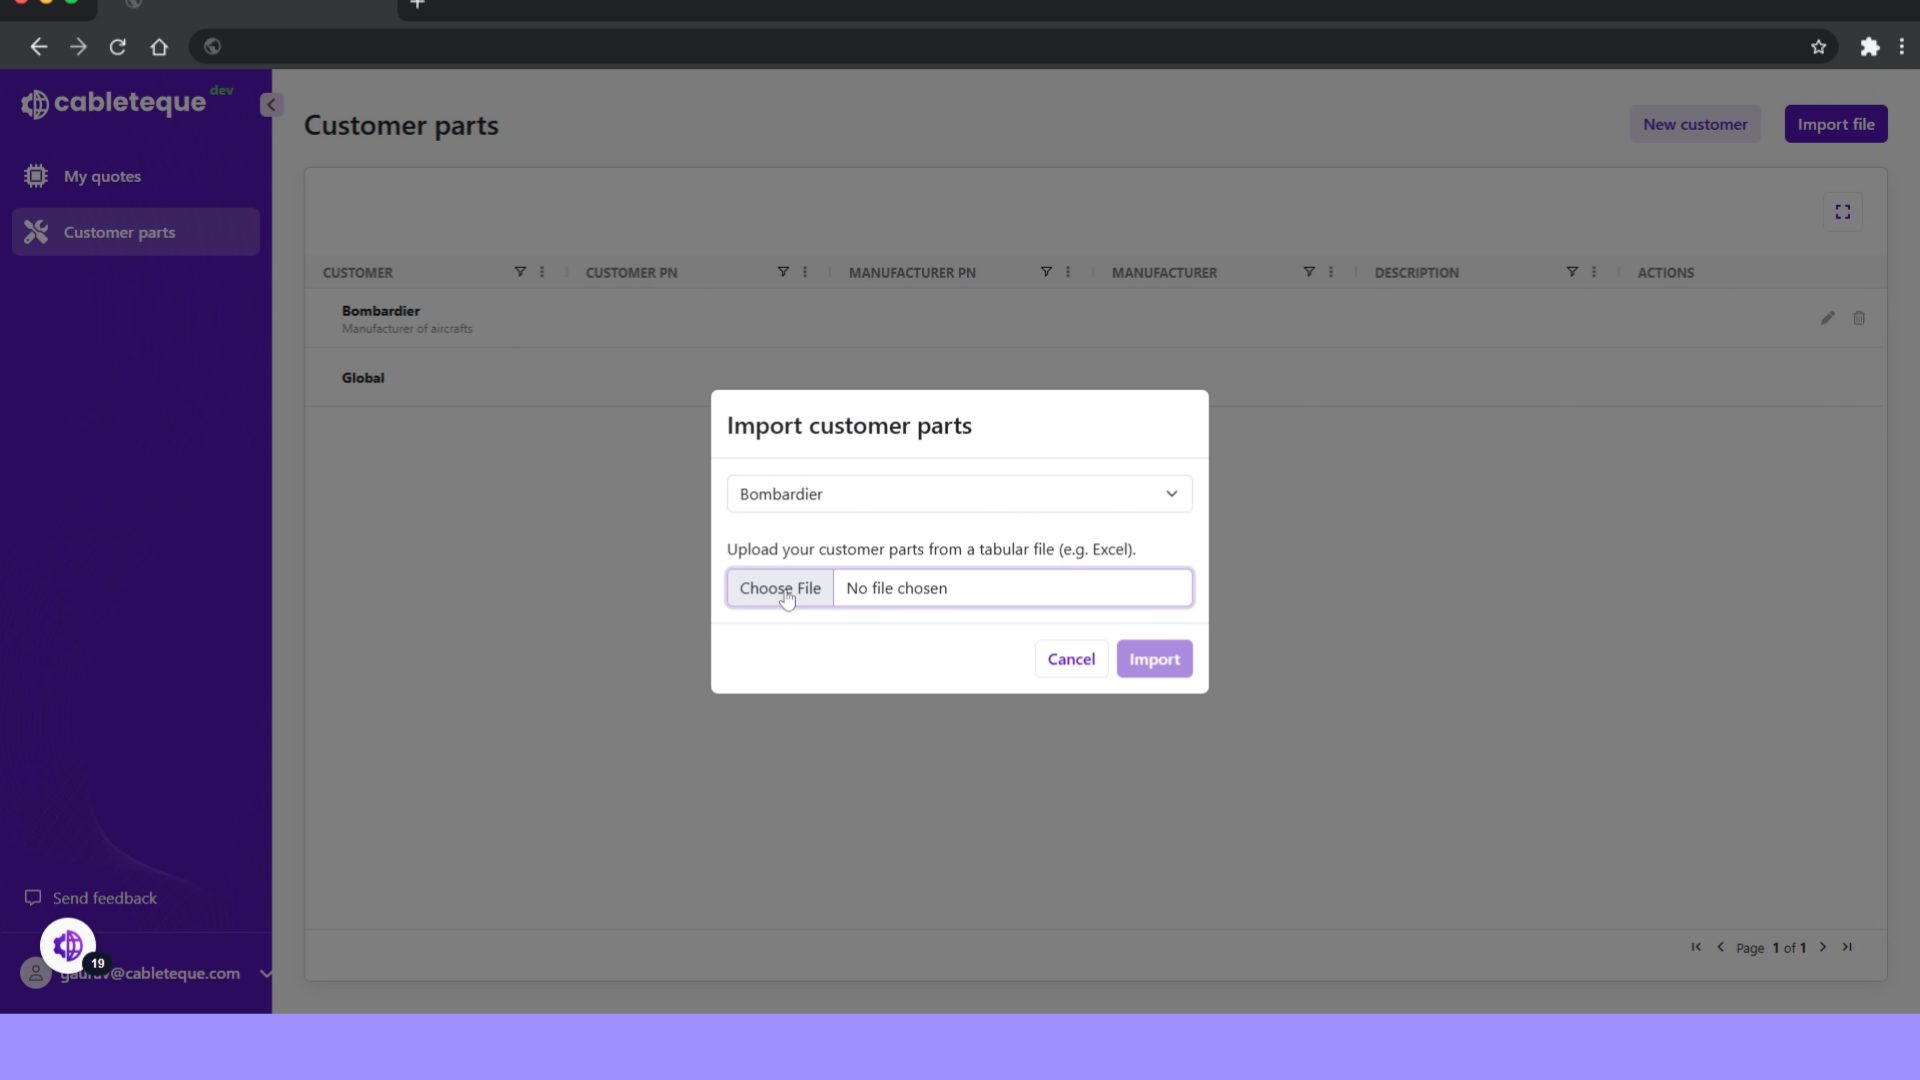
17. Click "Import"
Initiate the import process.
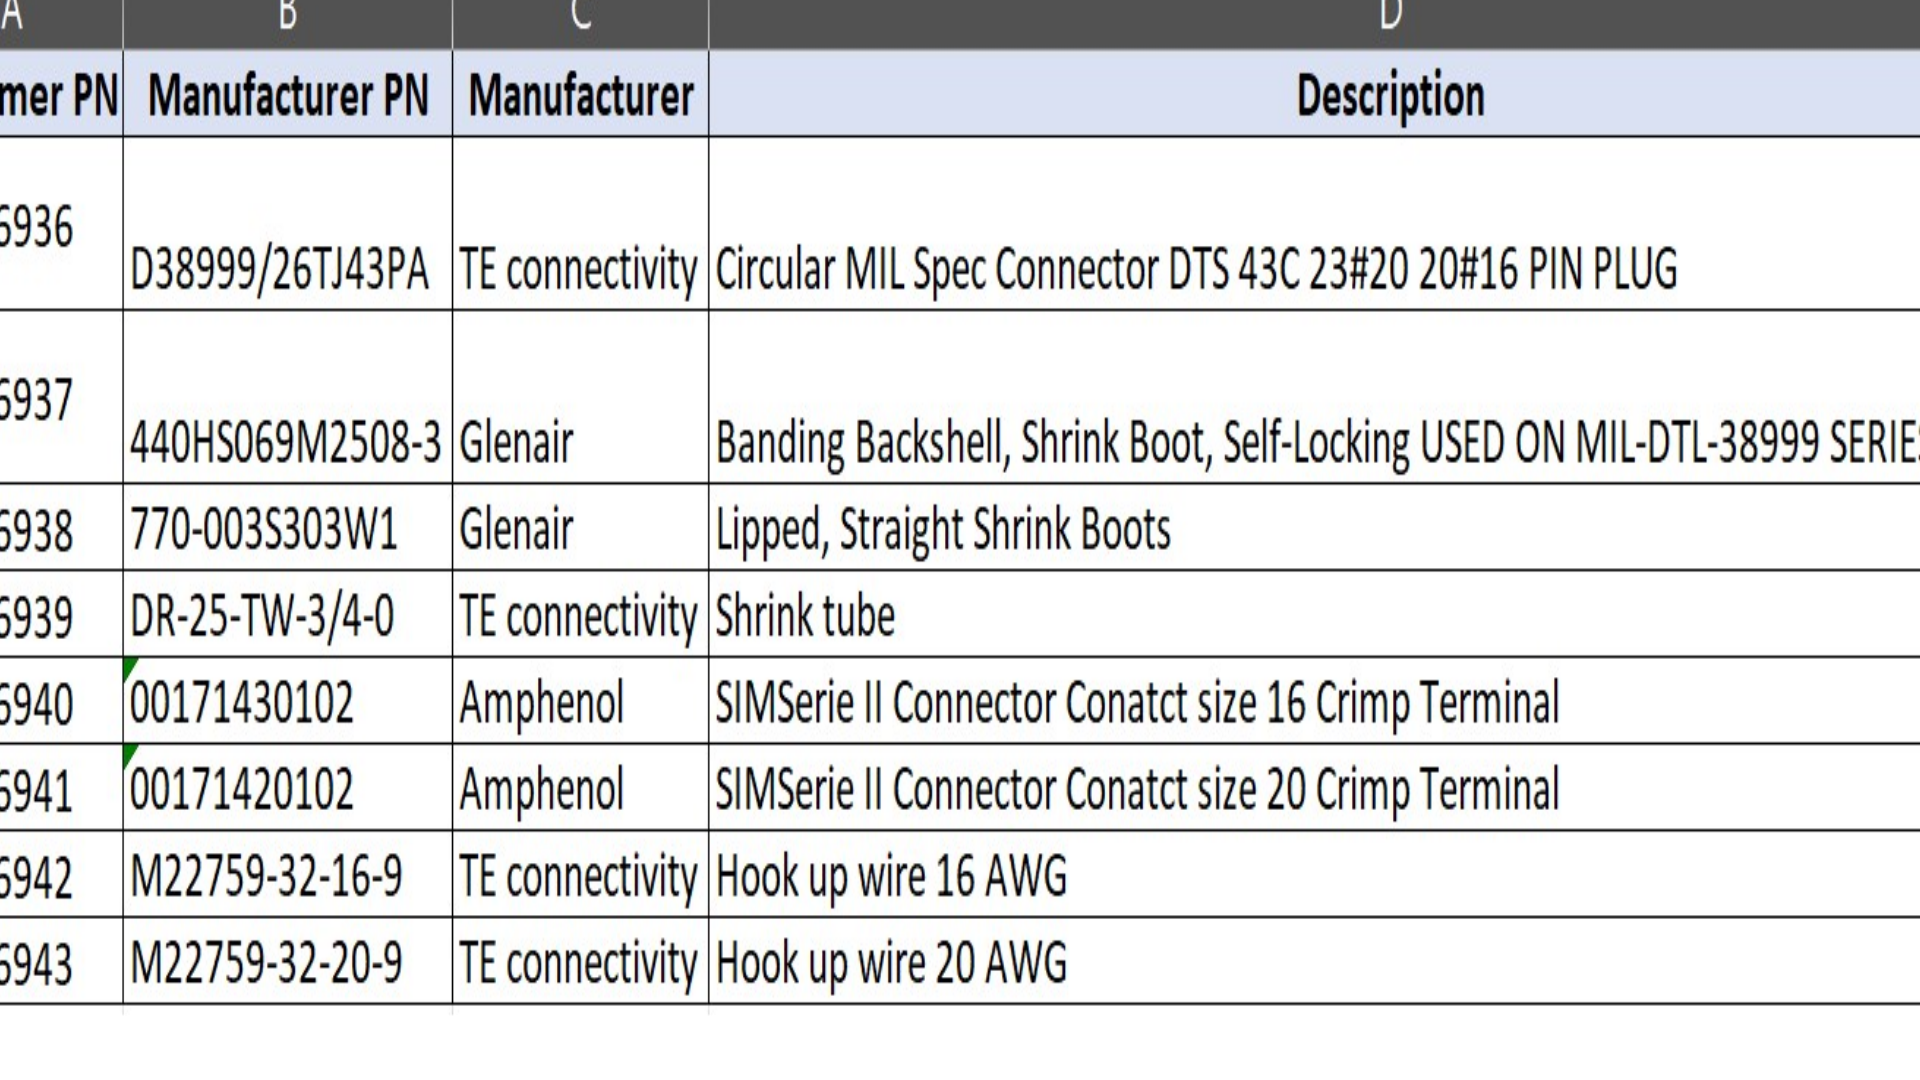
18. Imported file format
Here the format of imported spreadsheet is fixed and the columns sequence should be same as shown here.
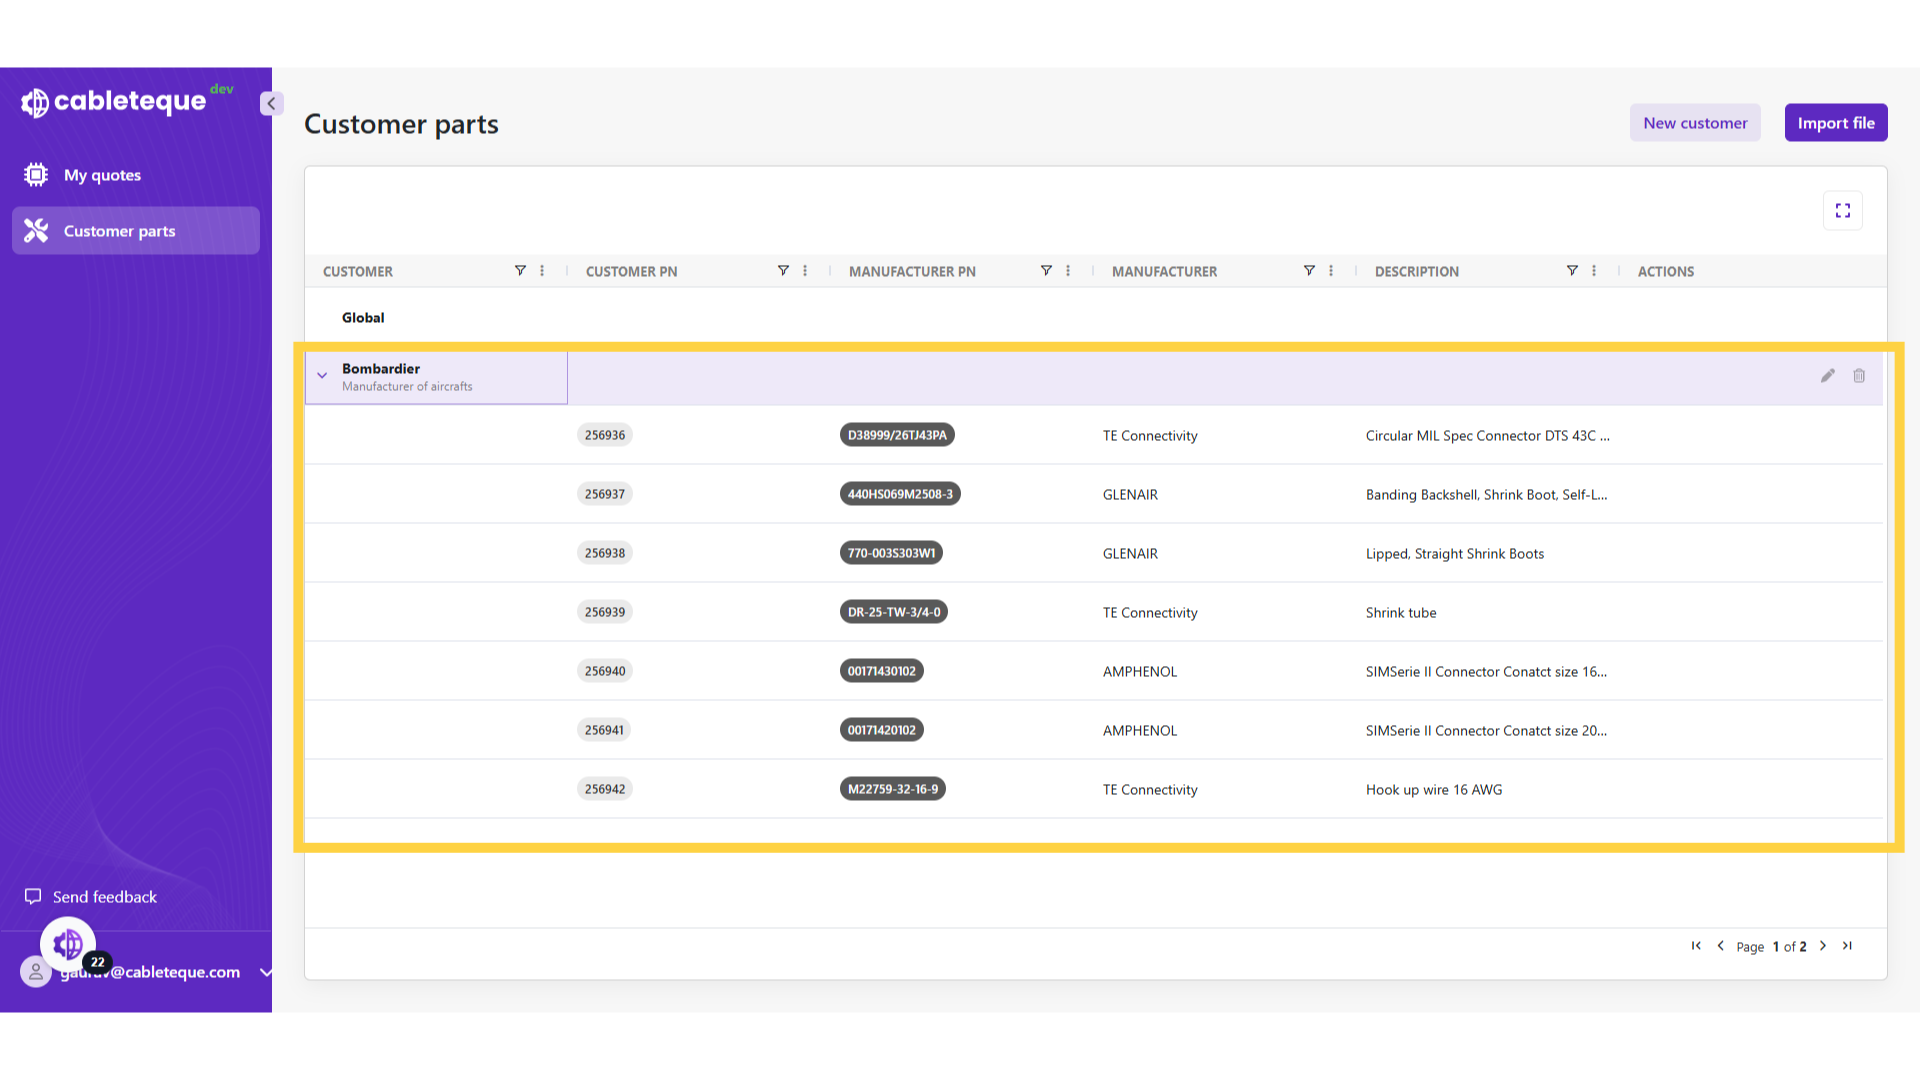
19. Customer parts
Customer part list is imported in customer parts section. Any imported part numbers will be shown under the customer, it is important to note that re-importing customer part numbers will overwrite the existing data
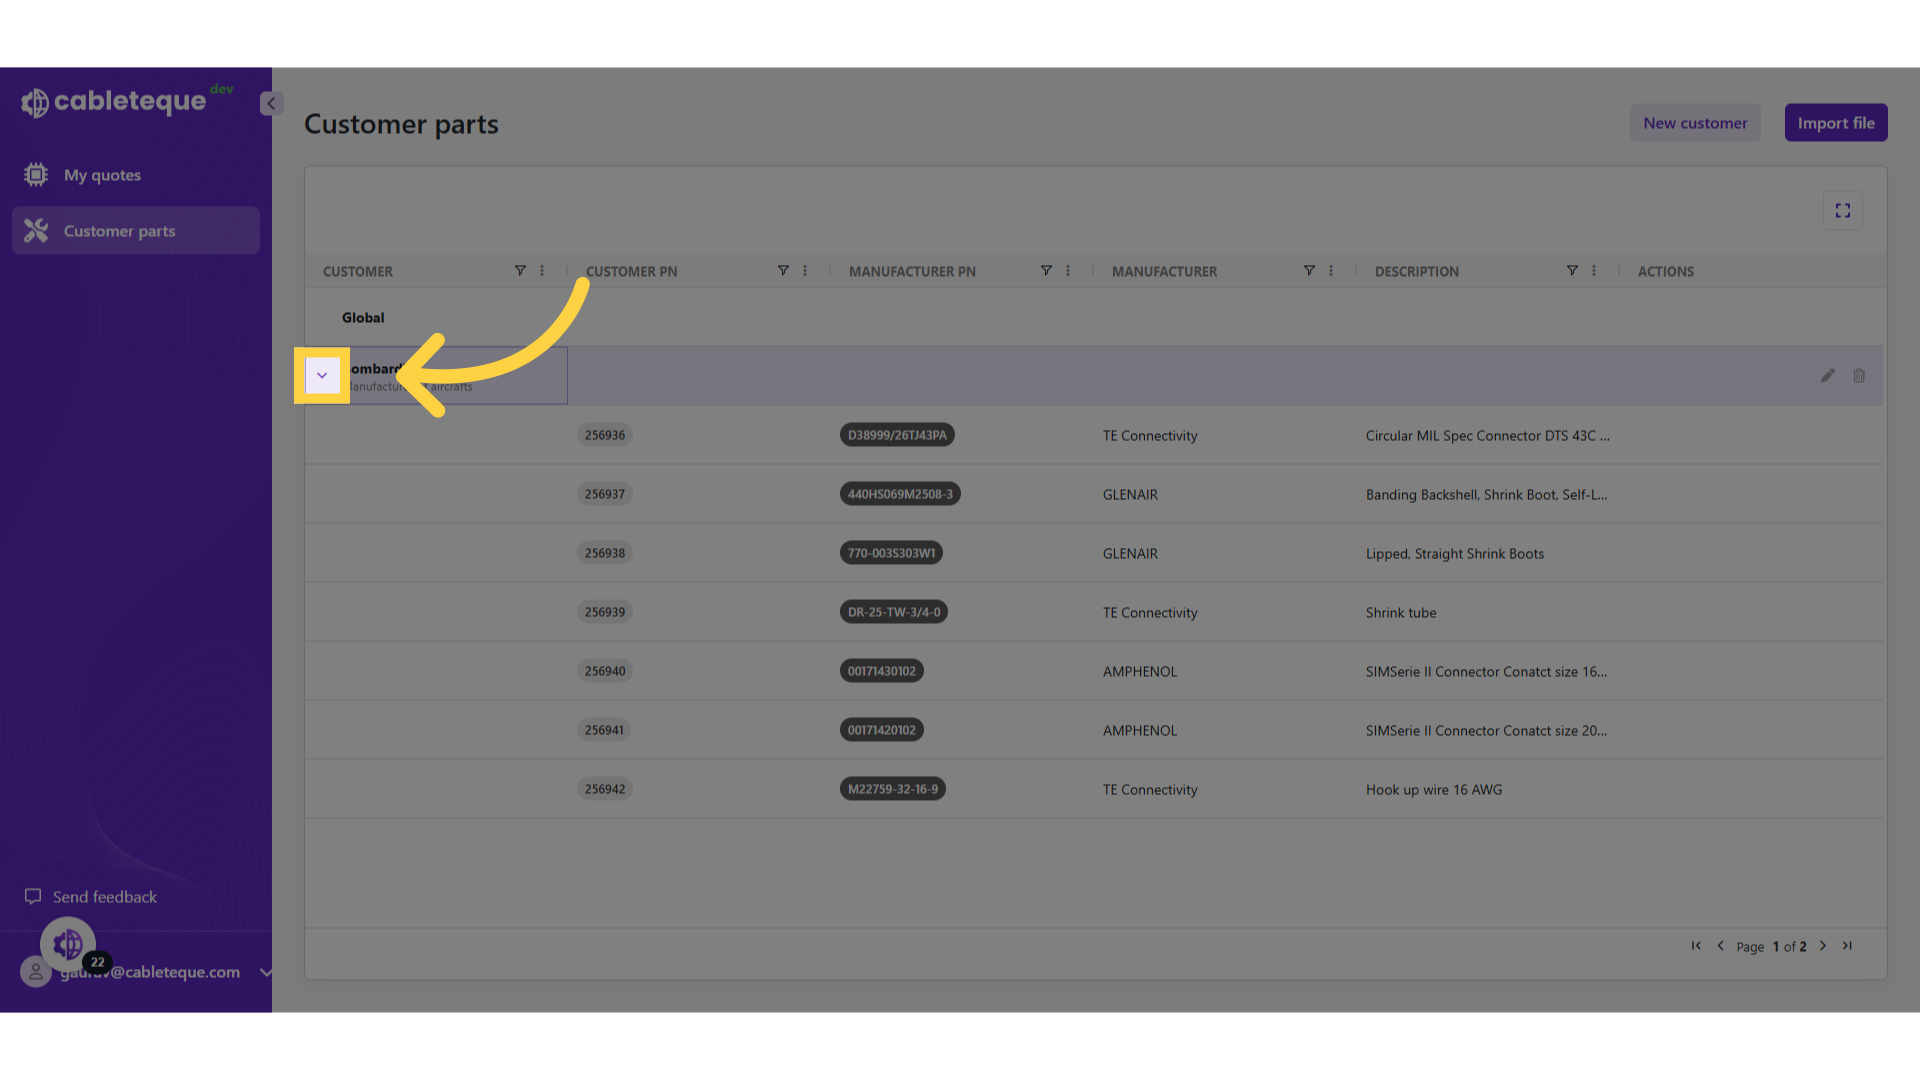
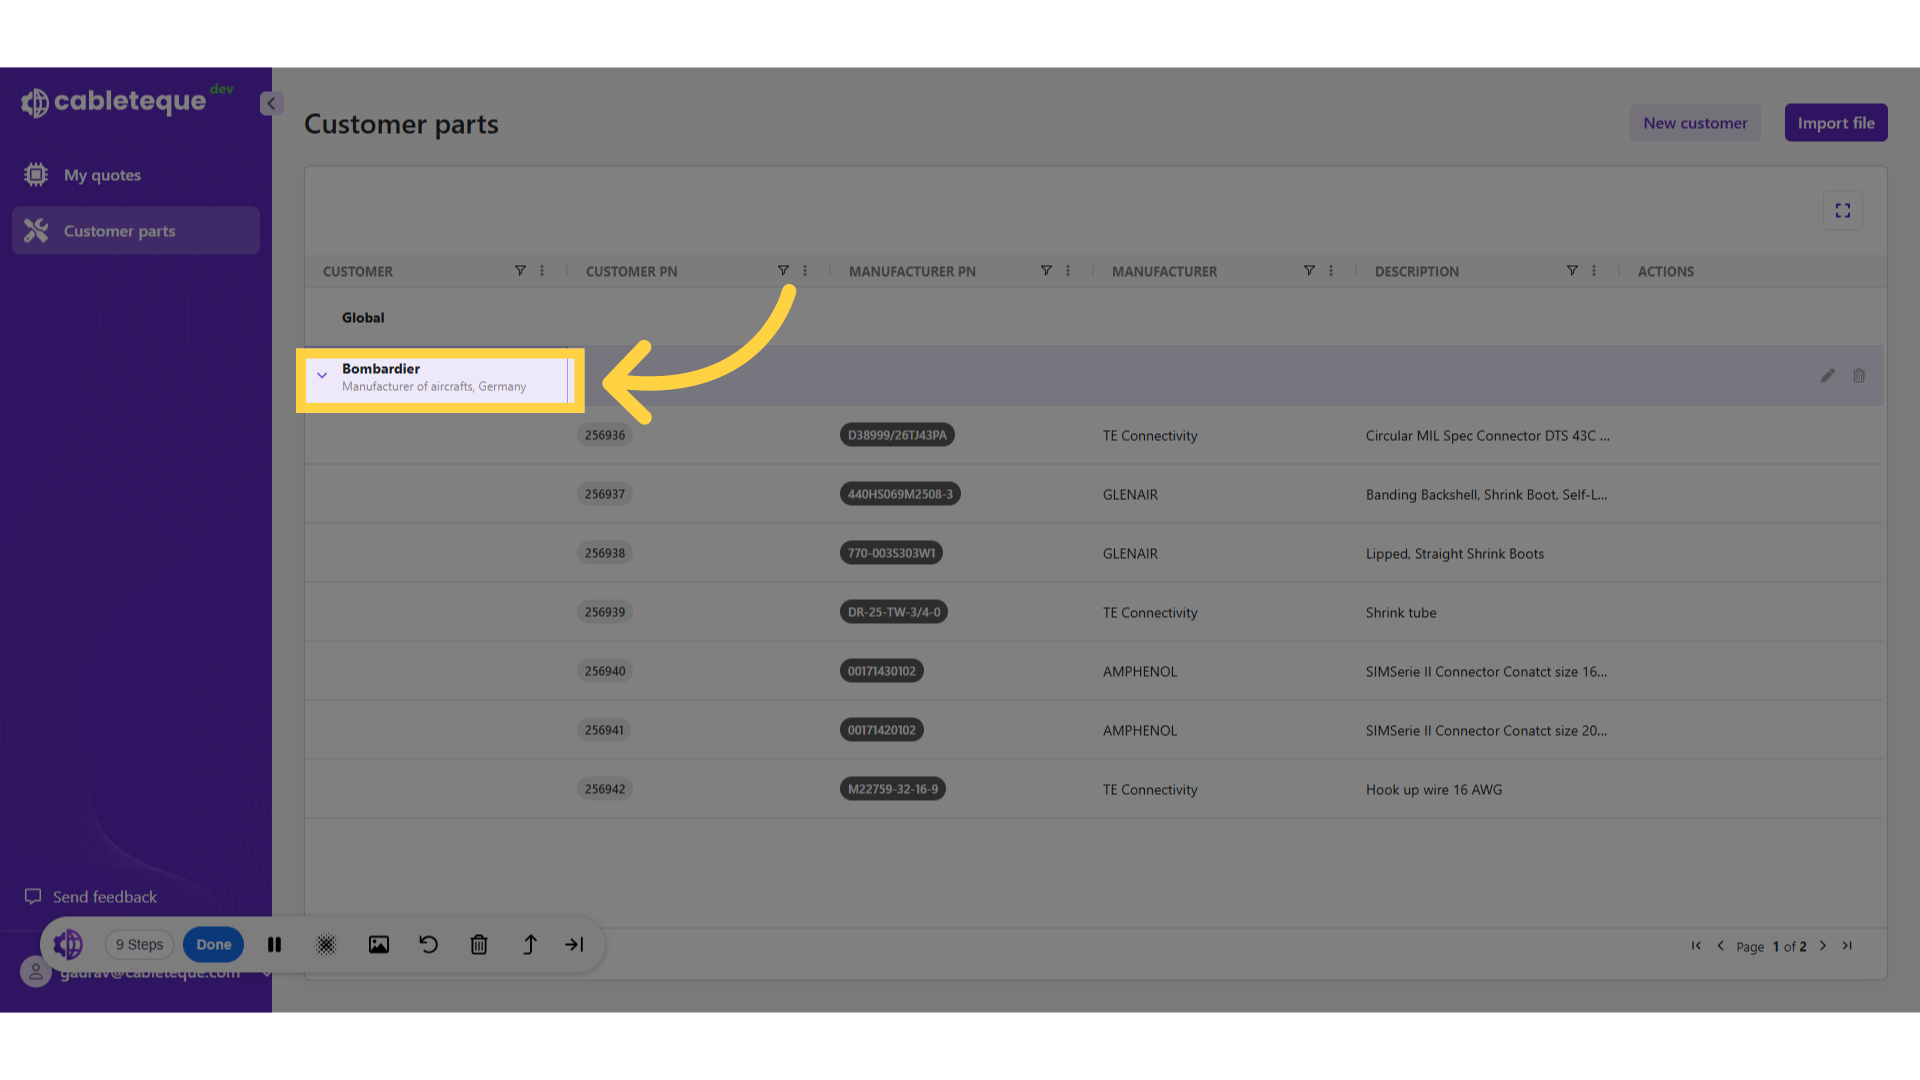
20. Icon to collapse
As there typically many customer parts these can be collapsed using this icon.
21. Collapsed customer parts
The customer part list is collapsed.

22. Default customer "Global"
In the system, a default customer name, referred to as 'Global,' is established to facilitate contract manufacturers to import their own list of parts and seamlessly map customer part numbers to corresponding manufacturer part numbers. The mapping is independent of specific customer, enabling efficient standardization across all the customer.
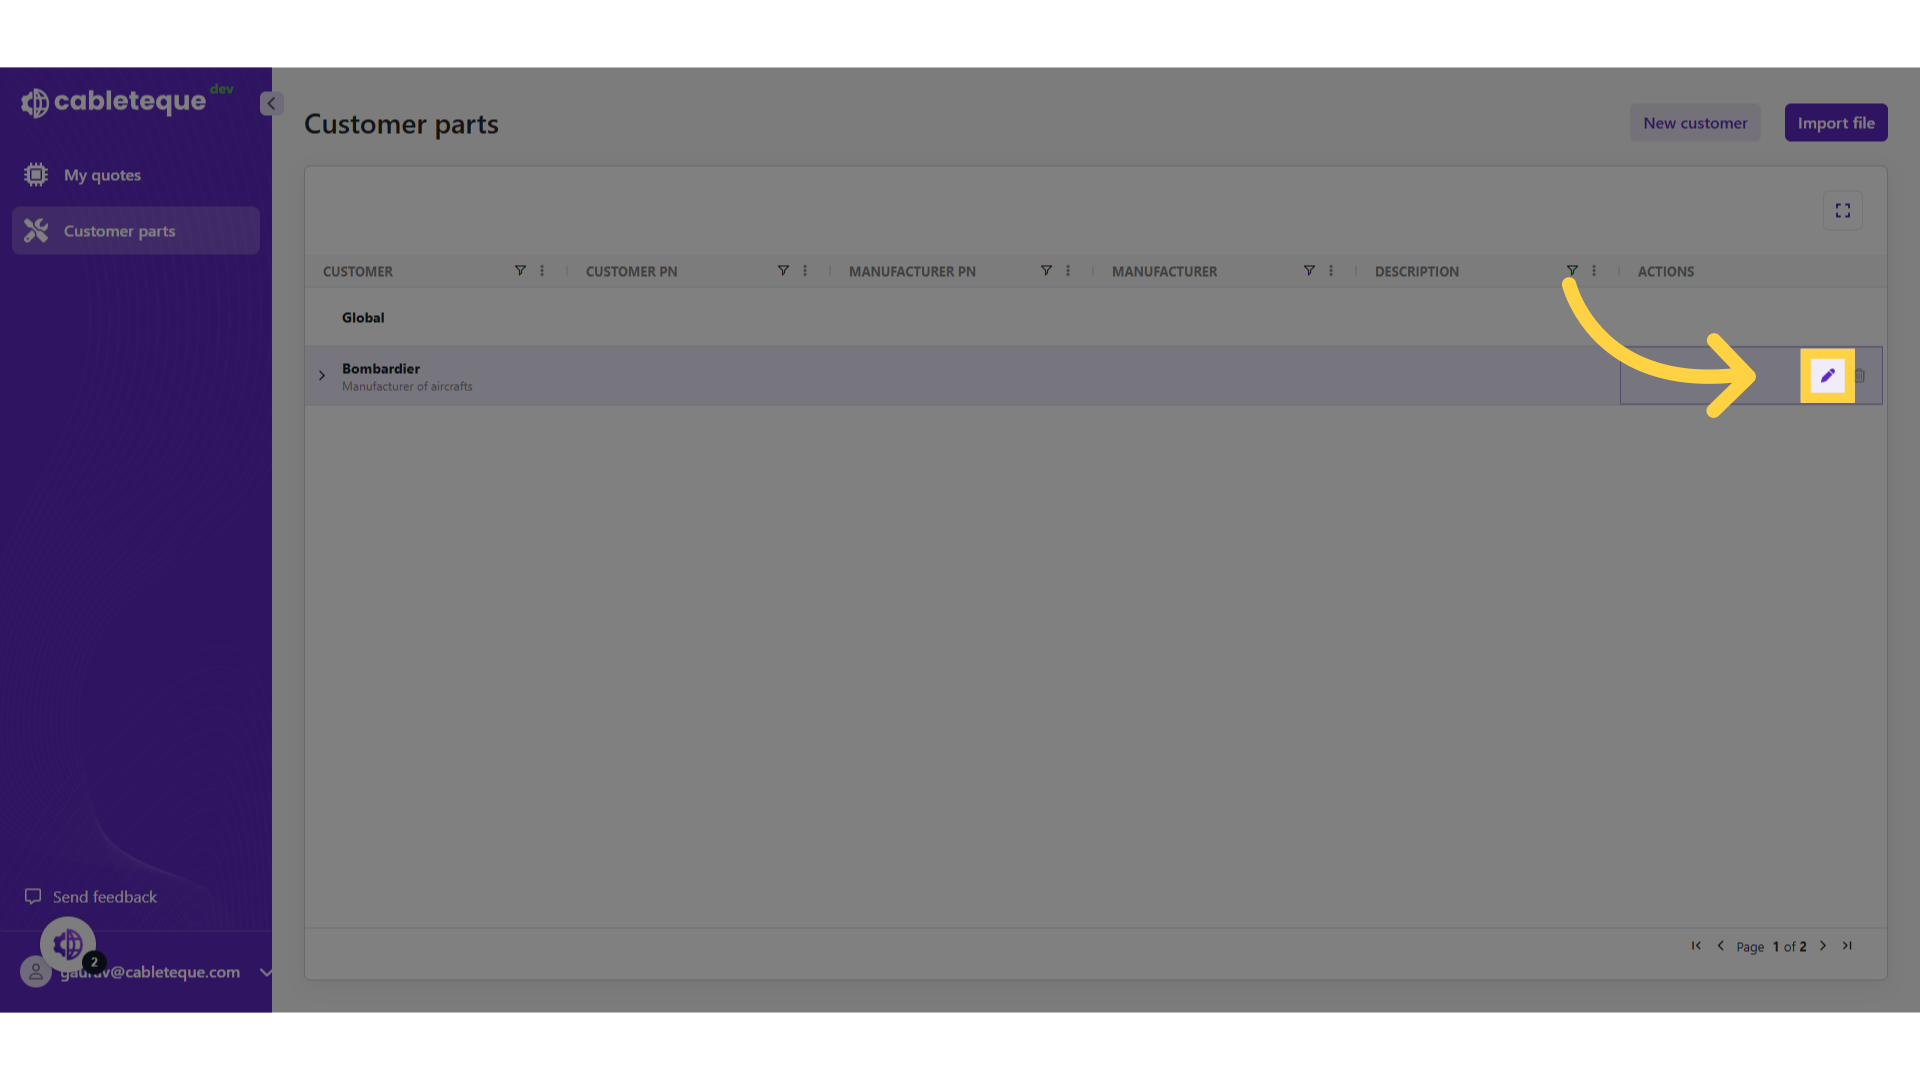
23. Changing customer details
we have seen the process to create a customer and importing customer parts. we might require to make changes in customer details.
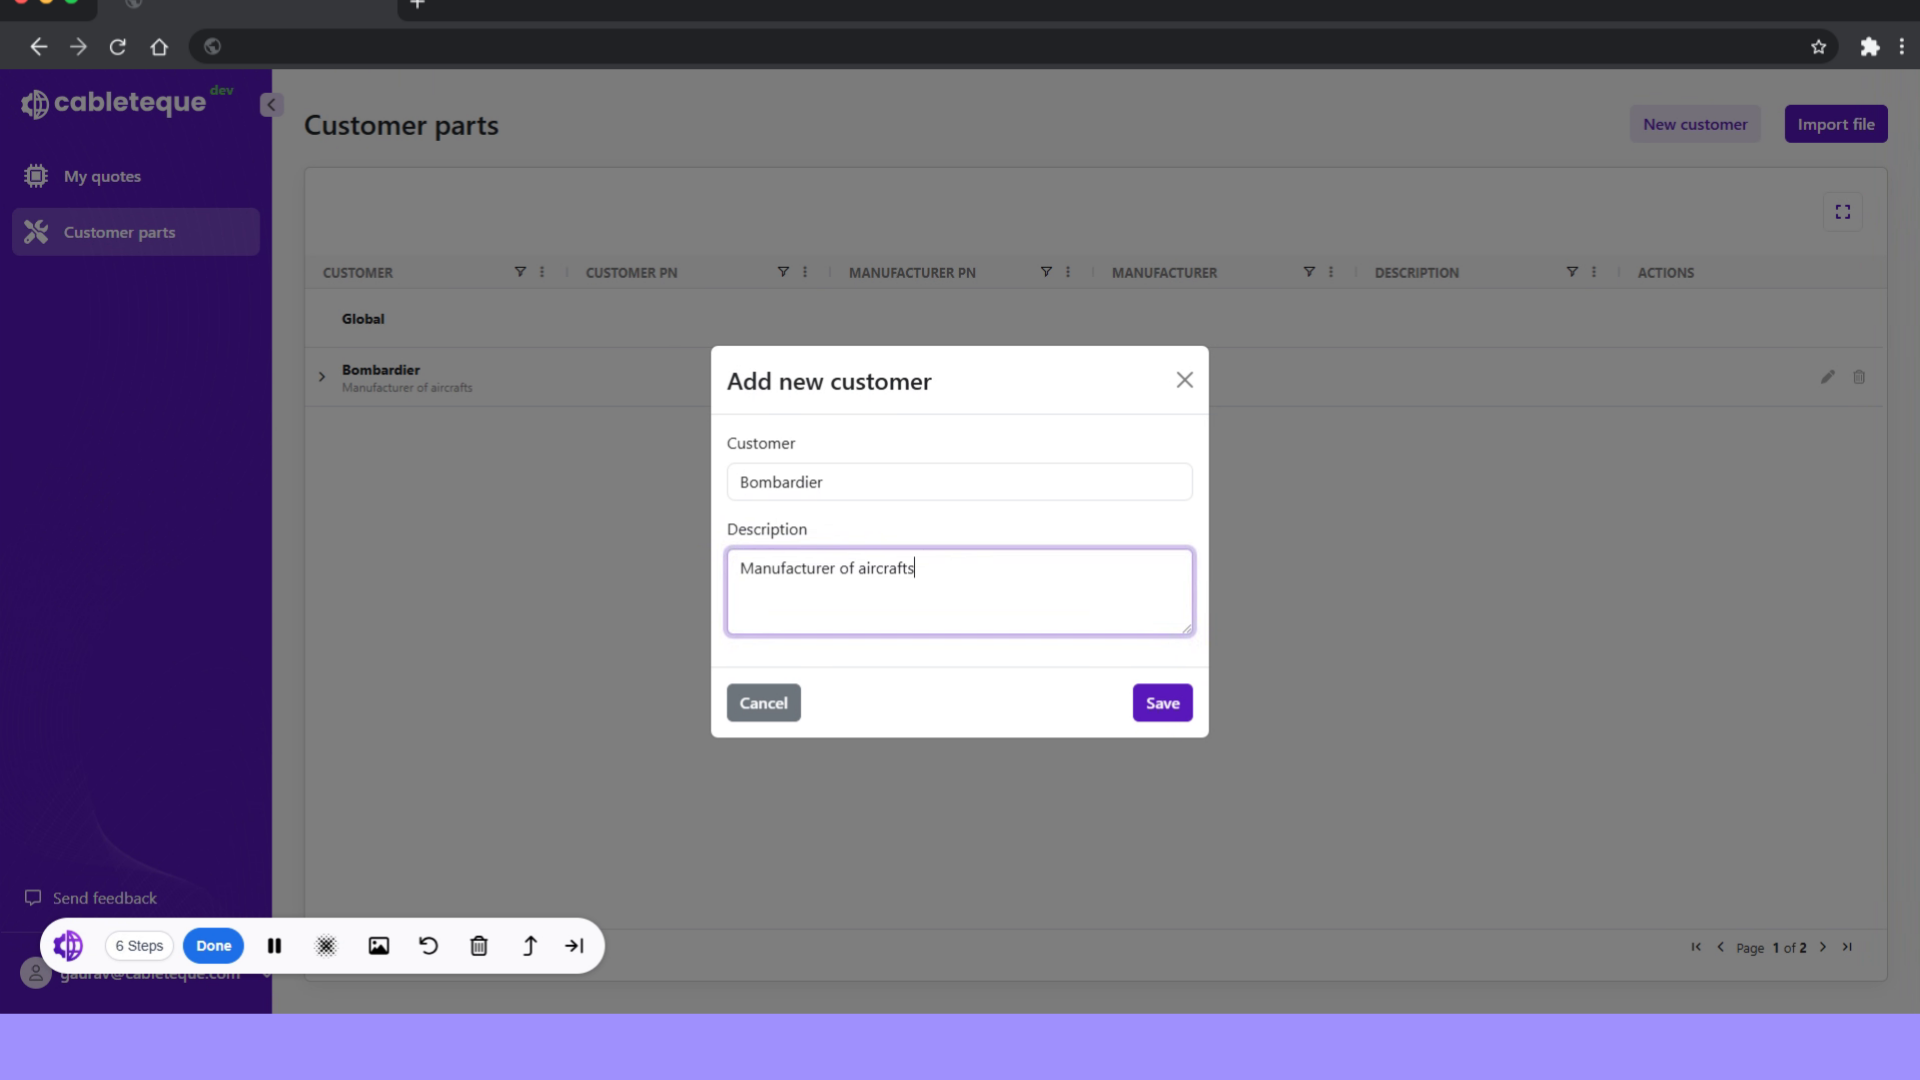
24. Click Edit icon
we can use edit icon to make any changes in customer information.
25. Click Description section
From this dialogue box we can make any required changes, for example we can change the description.
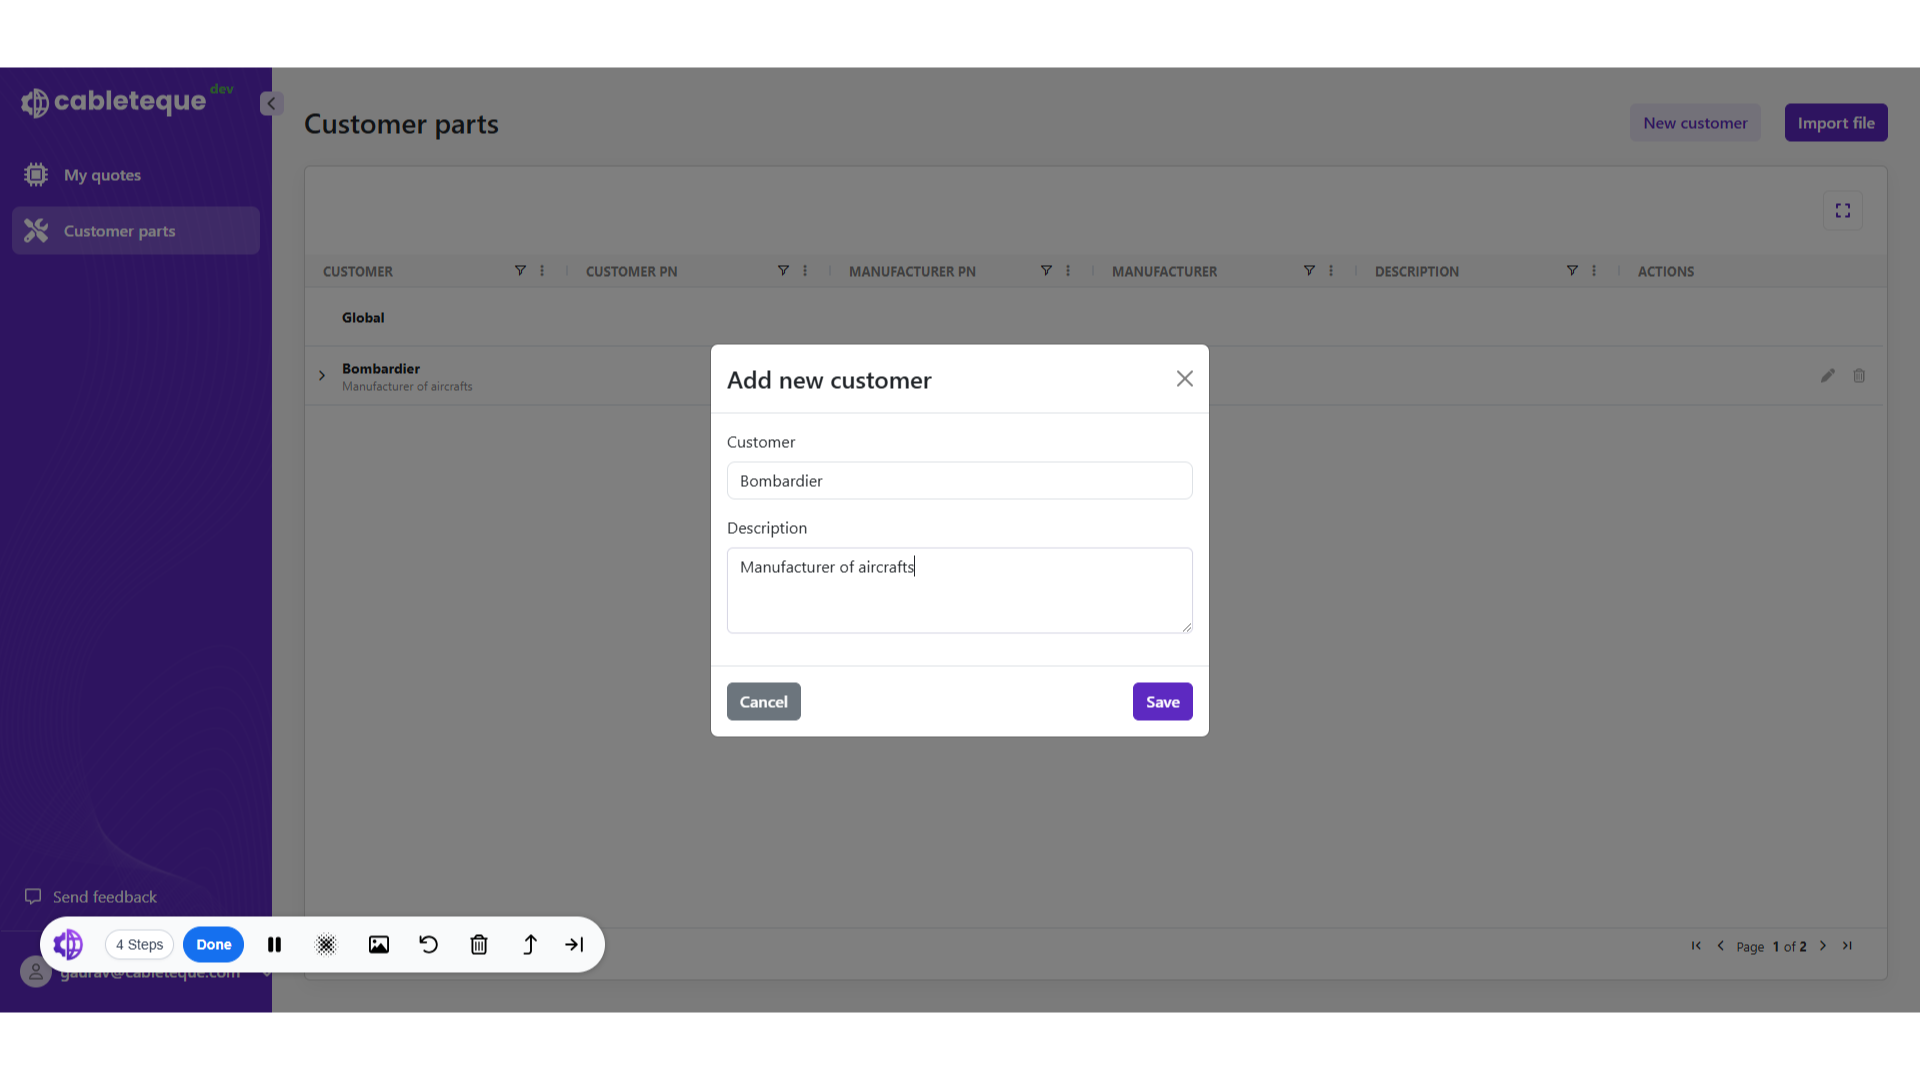
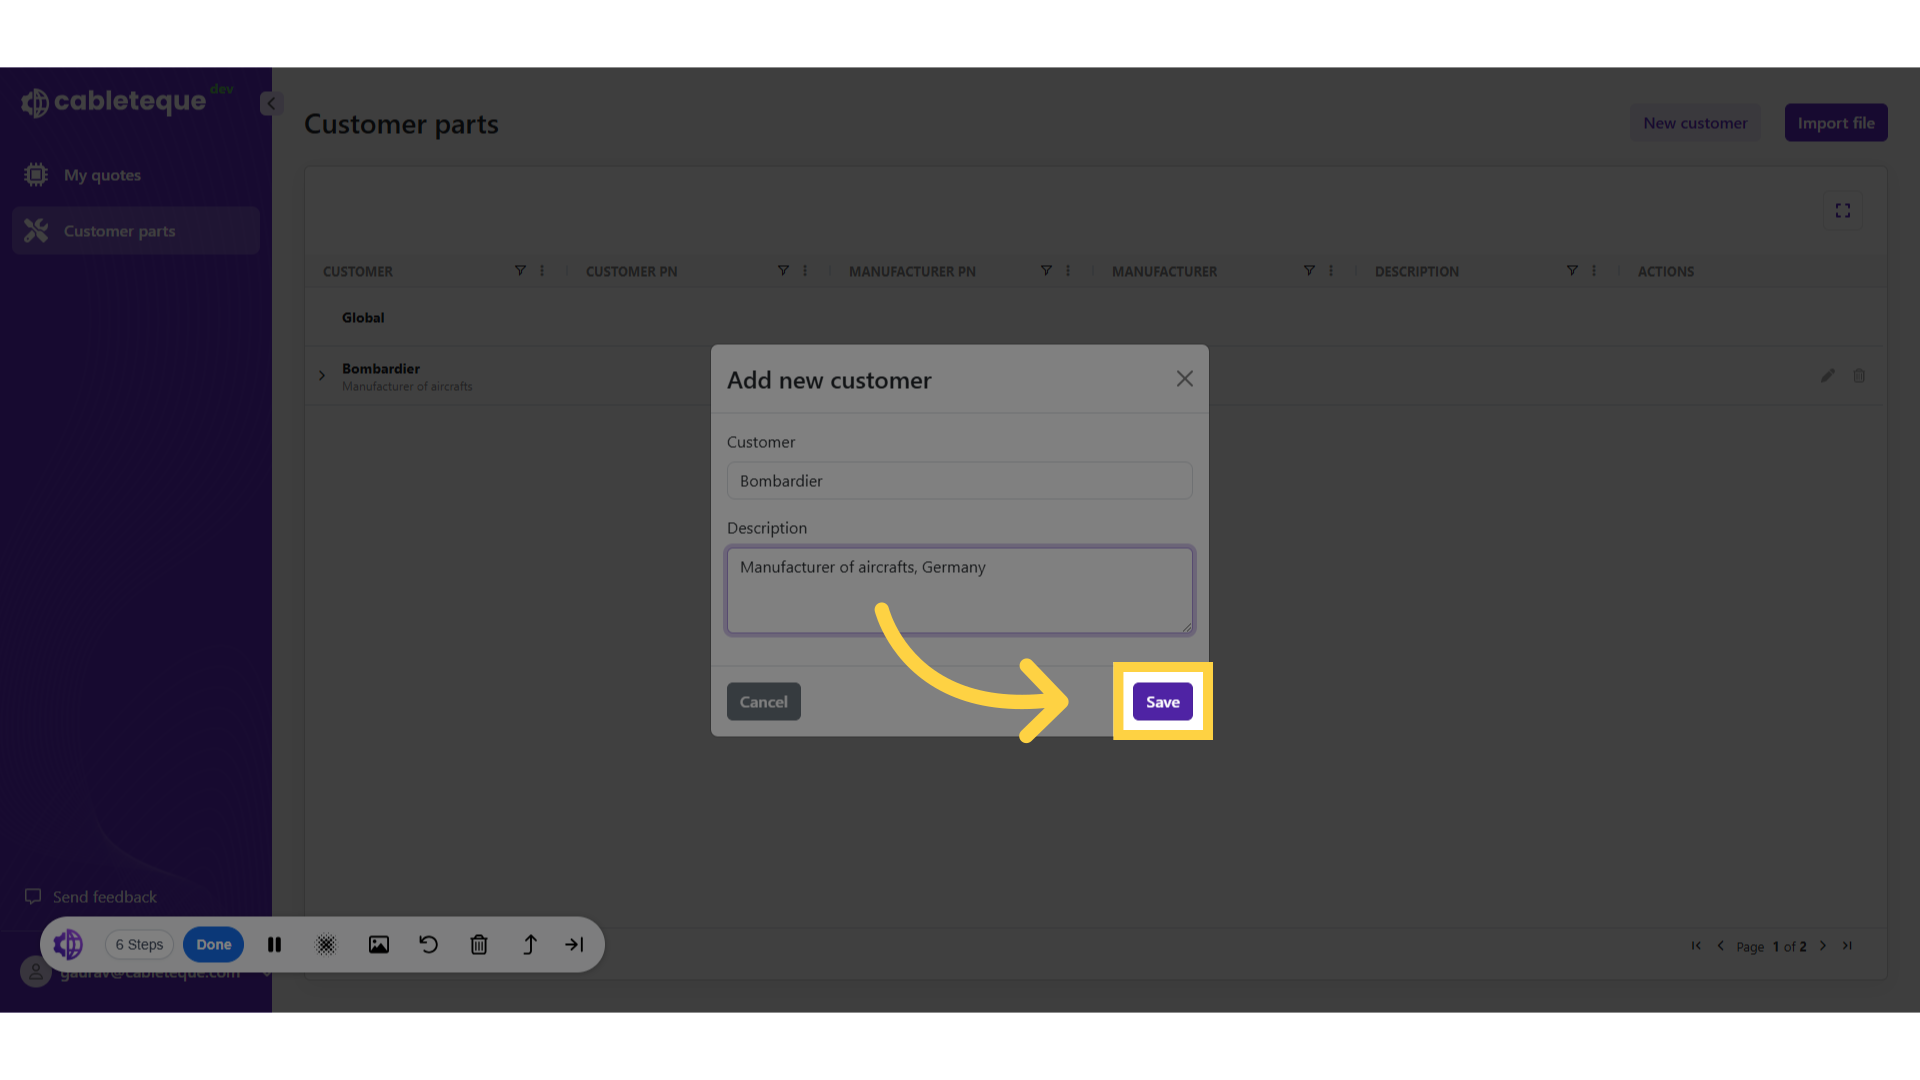
26. Update the description
27. Update the description
Change the description
28. Click "Save"
Save the customer information changes.
29. Changes are updated.
Changes made are updated.
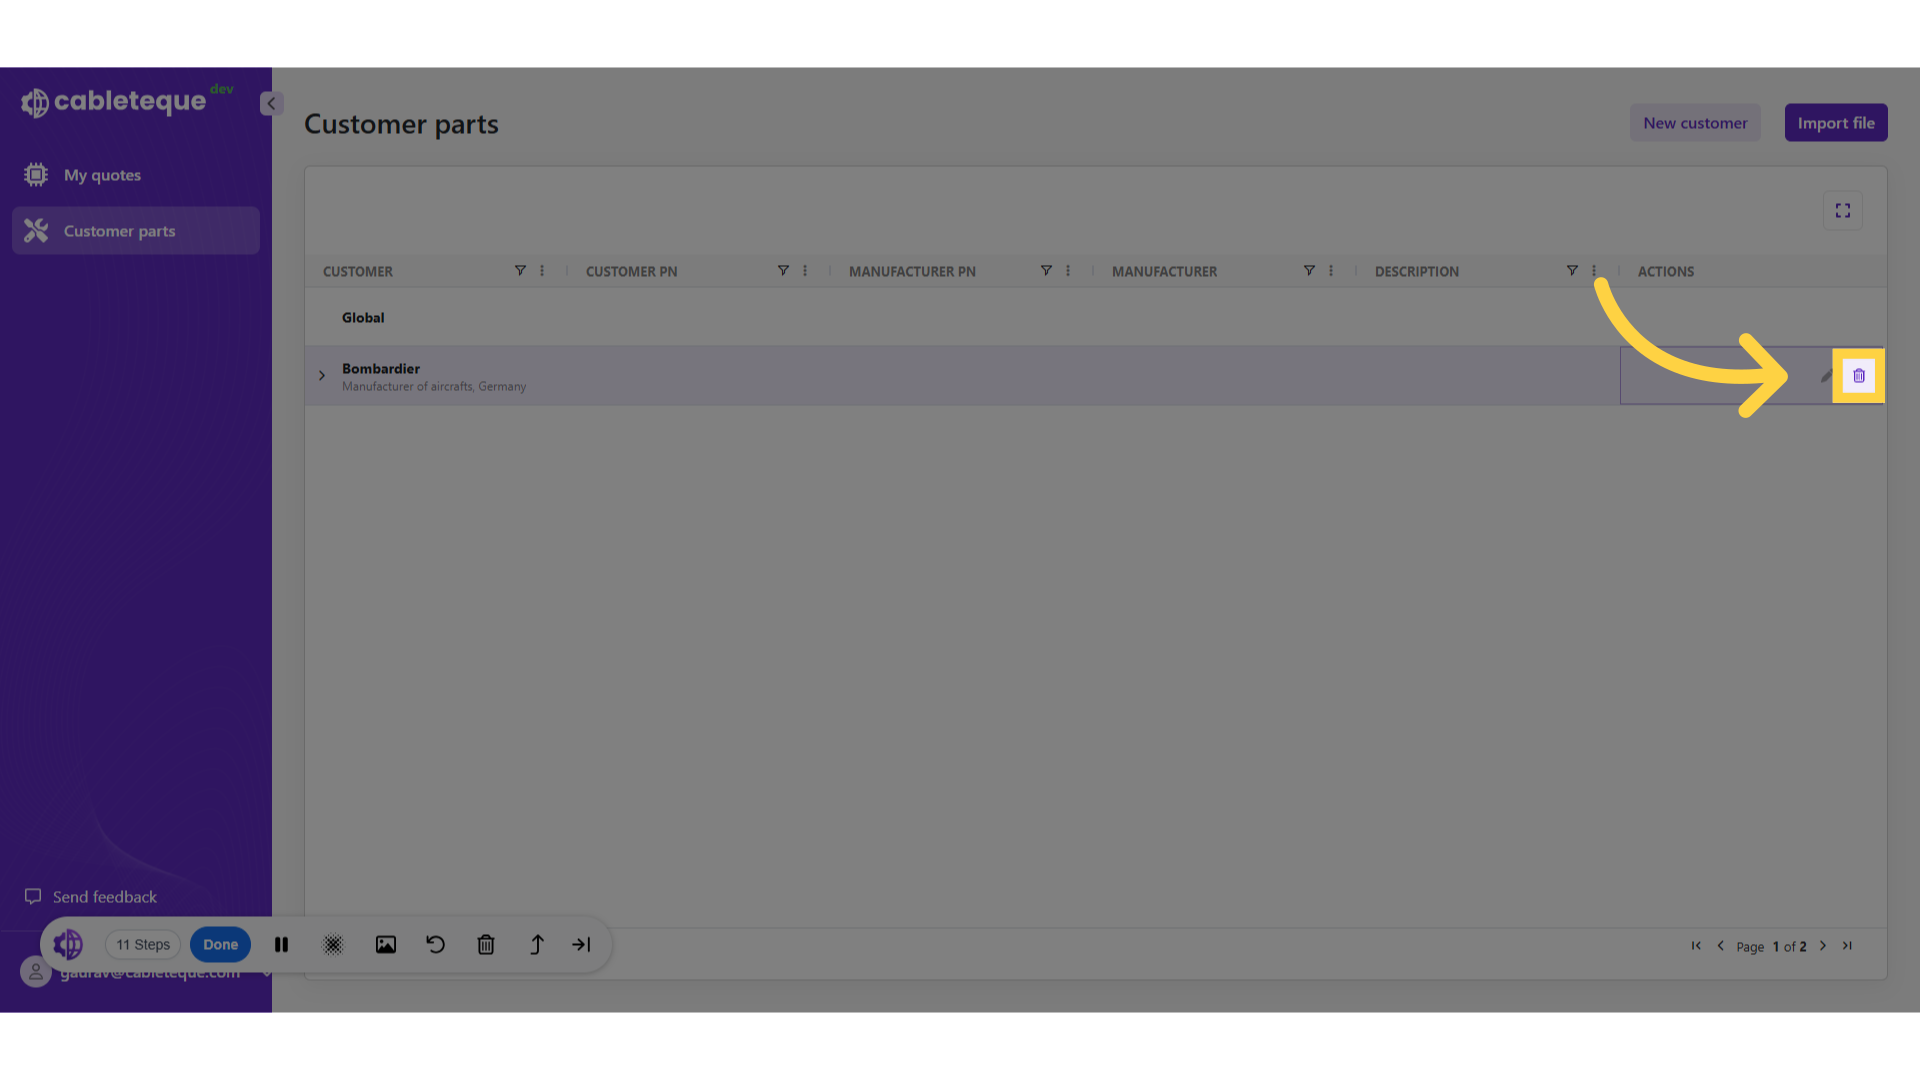
30. Deletion of customer
We have now seen to edit customer information, Occasionally it may be necessary to delete a customer.
31. Delete icon
Customer can be deleted using delete icon.
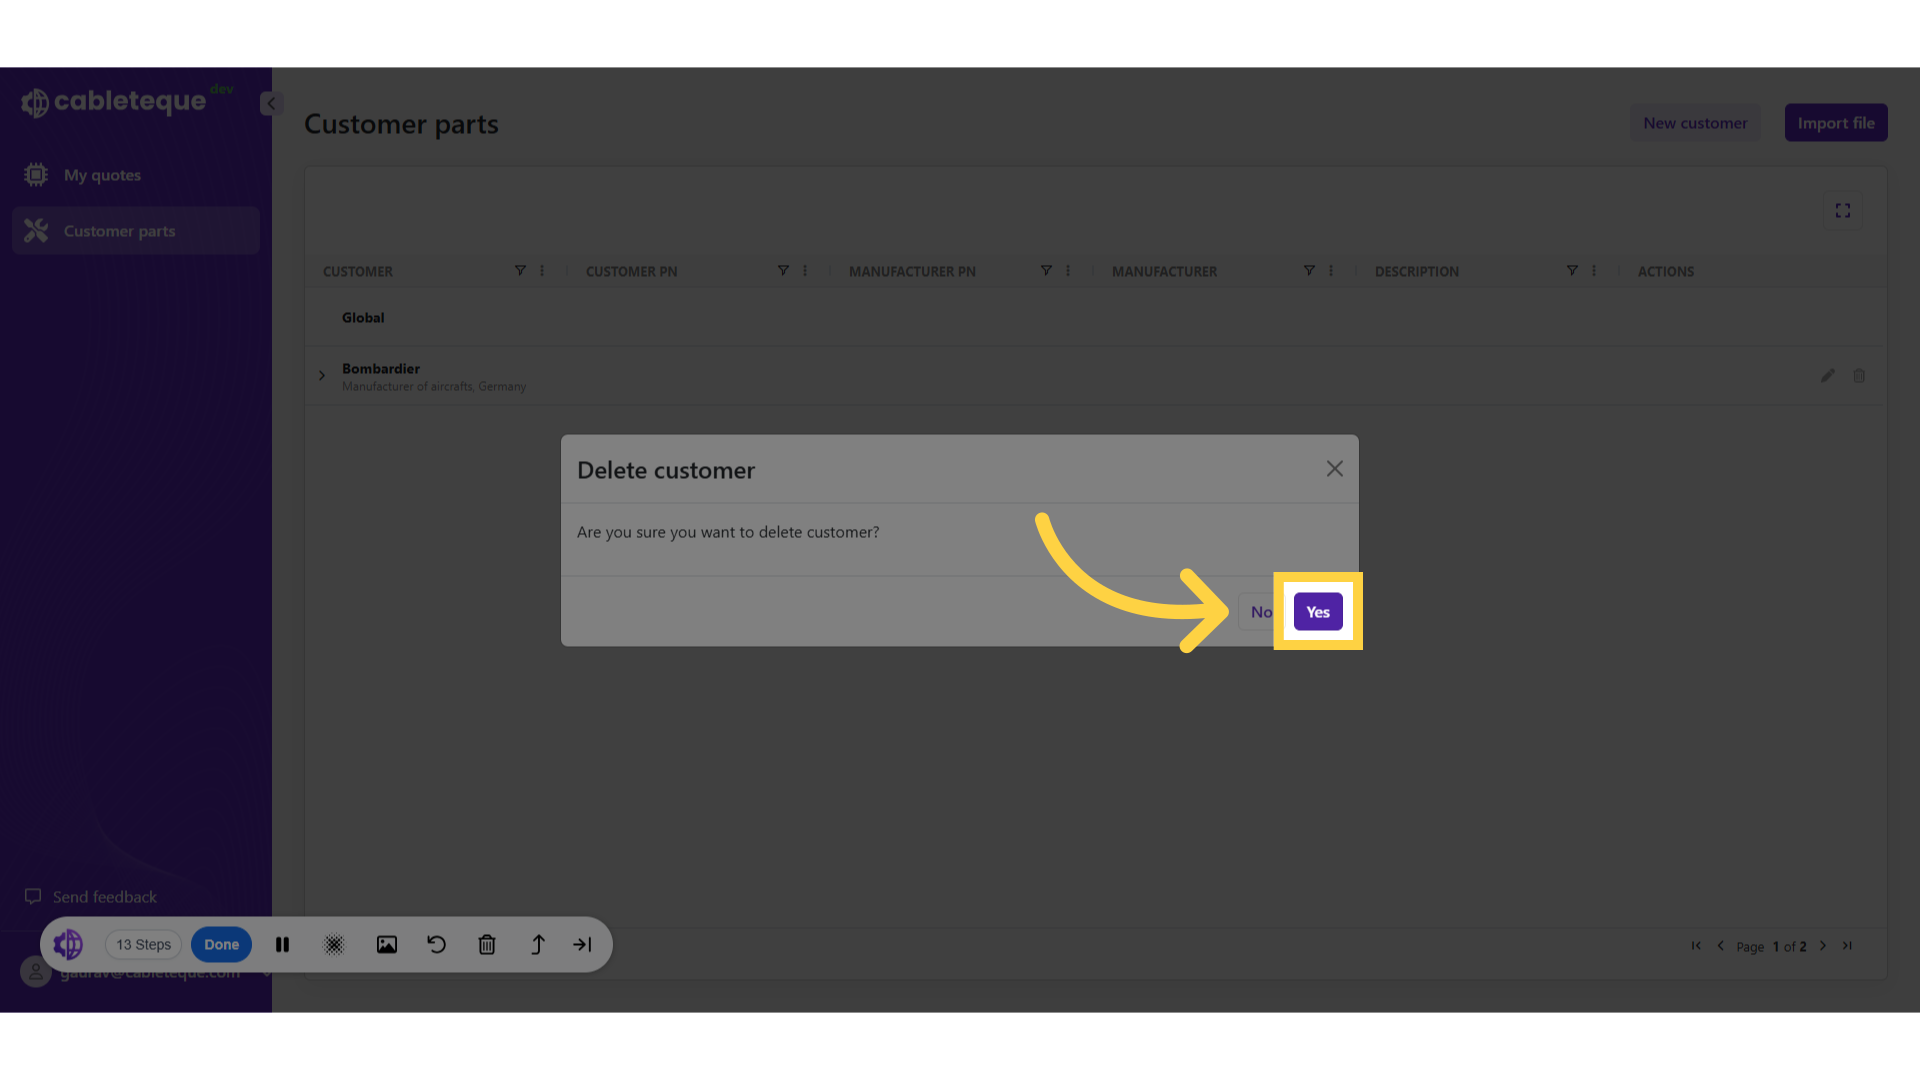
32. Click "Yes"
Finalize and delete the customer.
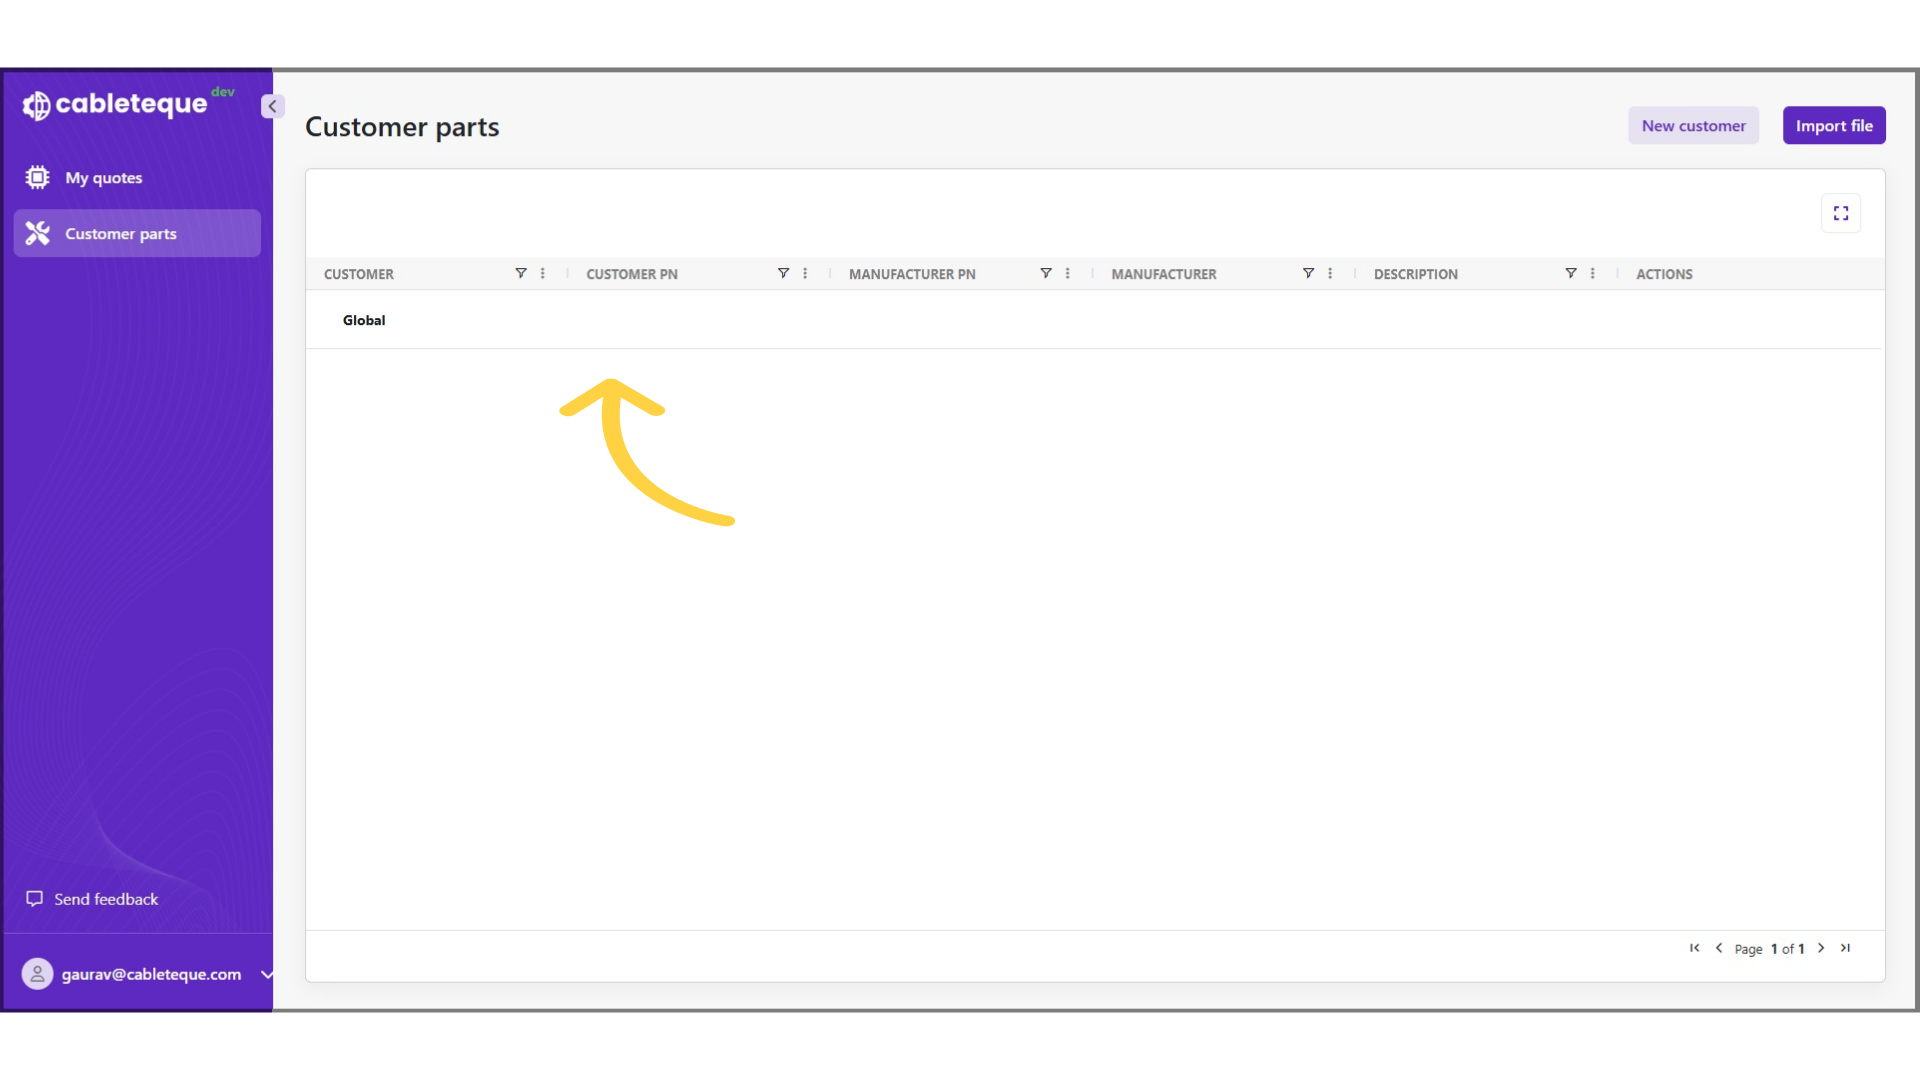
33. Customer is deleted
Customer information is deleted.
34. Thank You
this guide covered the process to efficiently Manage customers and importing customer part numbers.
Thankyou